The UCCS Microsoft Remote Desktop Gateway service allows users to connect to Windows computers located within the UCCS network without first having to establish a VPN connection or already be connected to the UCCS network. This service helps to simplify the process for performing remote desktop connections to campus, whether as Faculty or Staff to access your personal office computers, or for current users including students who wish to connect to UCCS Open Lab computers in conjunction with the OIT Desktop Finder.
Step 1: Open or Install the Microsoft Remote Desktop Application
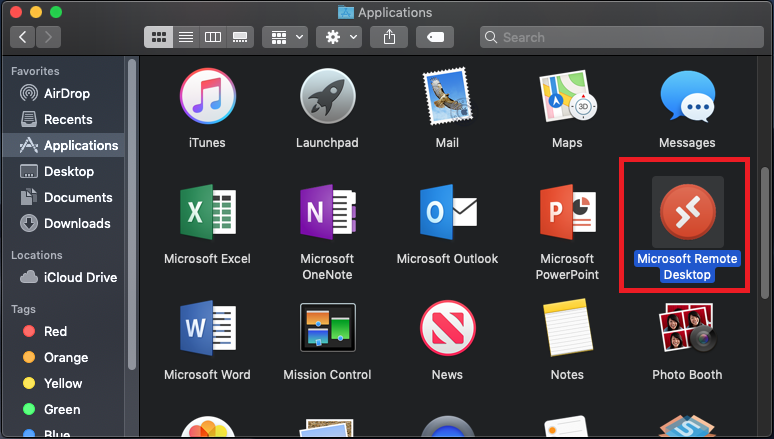
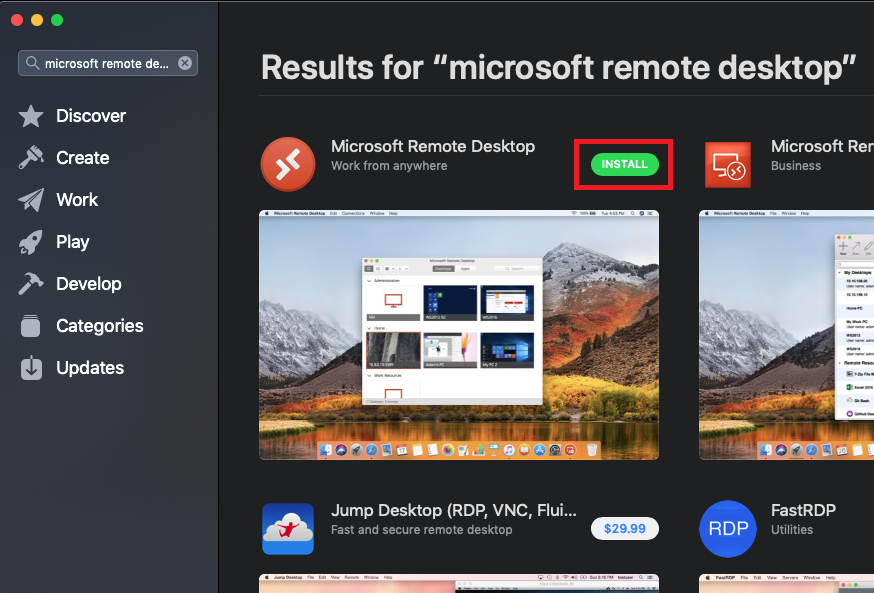
Open the Microsoft Remote Desktop app in your Finder under Applications. You may need to install this free application from the App Store if not already present.
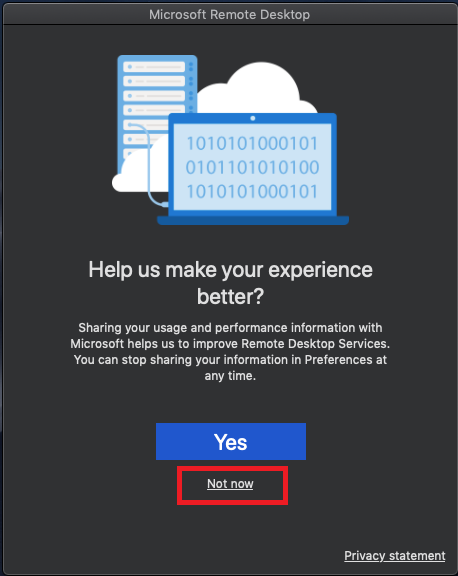
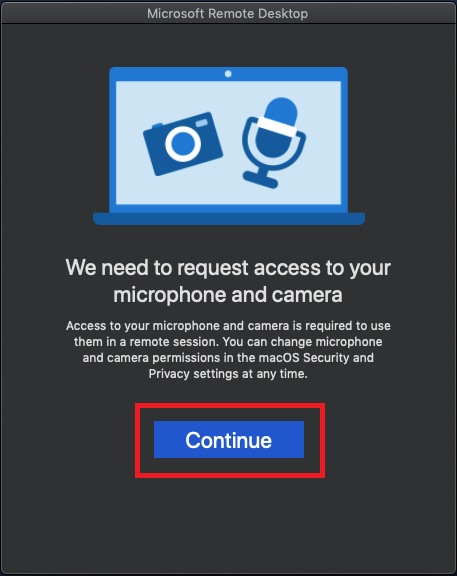
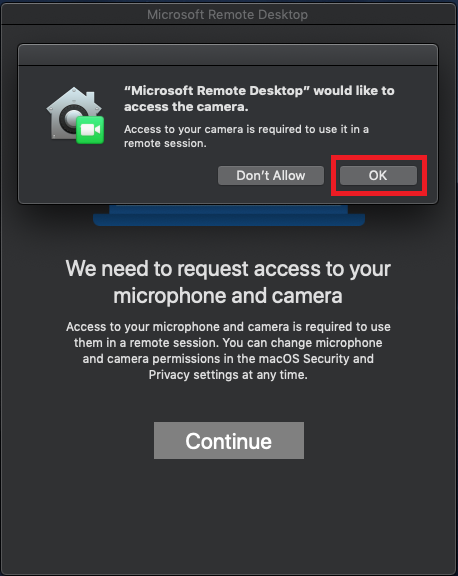
If this is the first time you have used the Microsoft Remote Desktop application, you may be prompted with the following windows at startup. Select 'Not Now', 'Continue', and 'OK' as needed to proceed.

Step 2: Add New Remote PC Connection
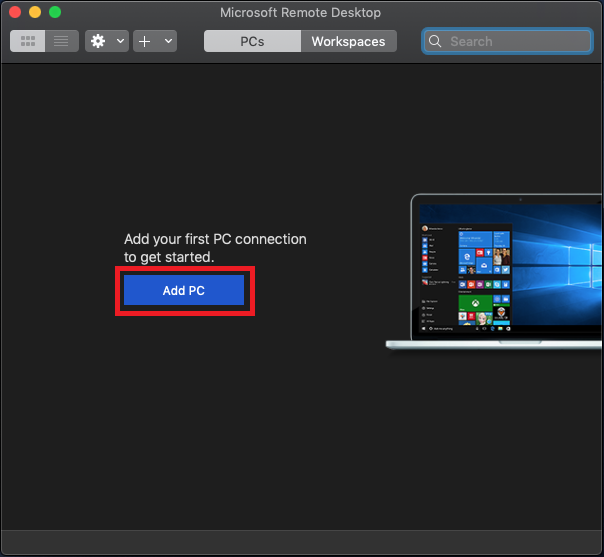
In the application's main window, select Add PC to configure a new remote desktop connection. You can also use the + symbol at the top to Add PC if one already exists.
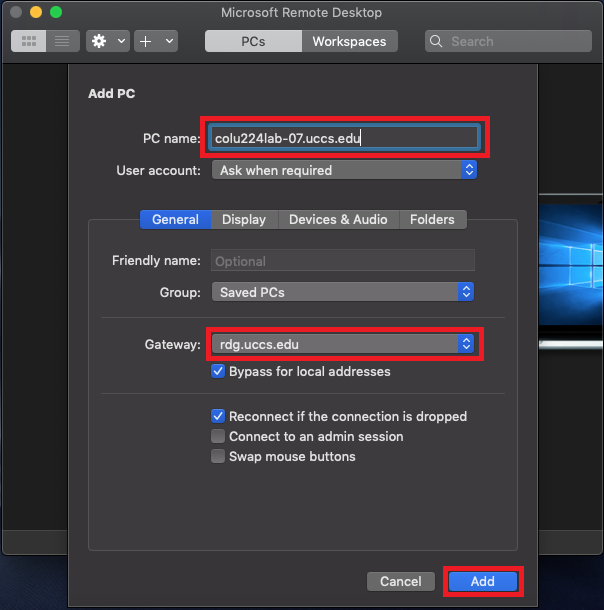
Step 3: Enter Destination PC Name
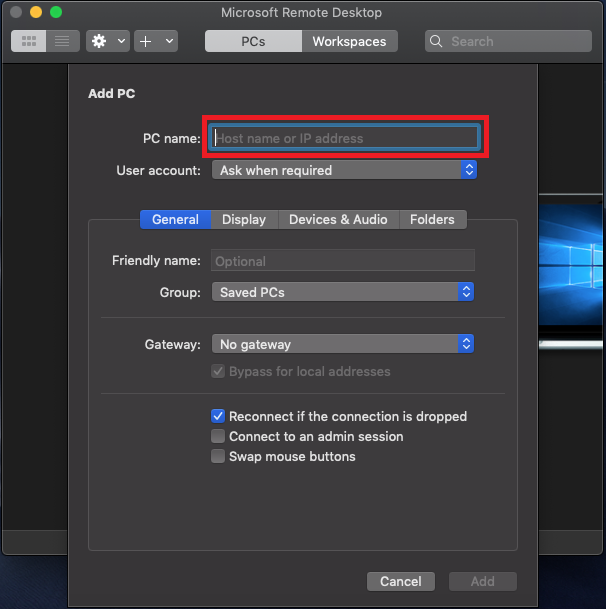
In the field for PC name, enter the full name of the desktop you would like to remote into. Note this can either be your office PC or a lab system from our Desktop Finder.
Example PC name: colu224lab-07.uccs.edu
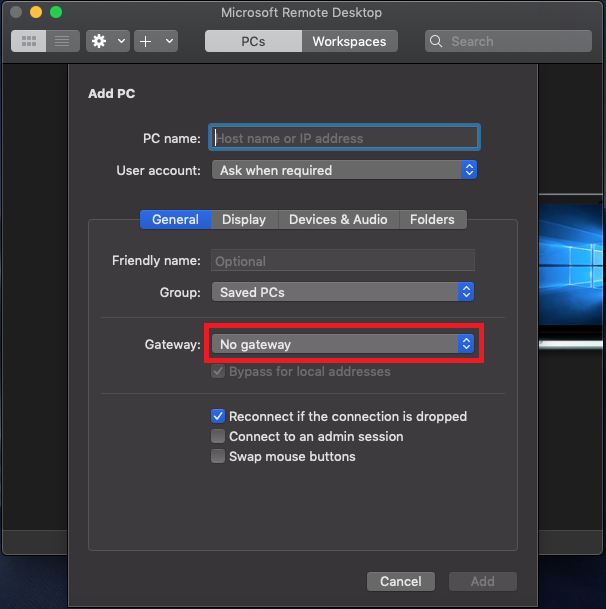
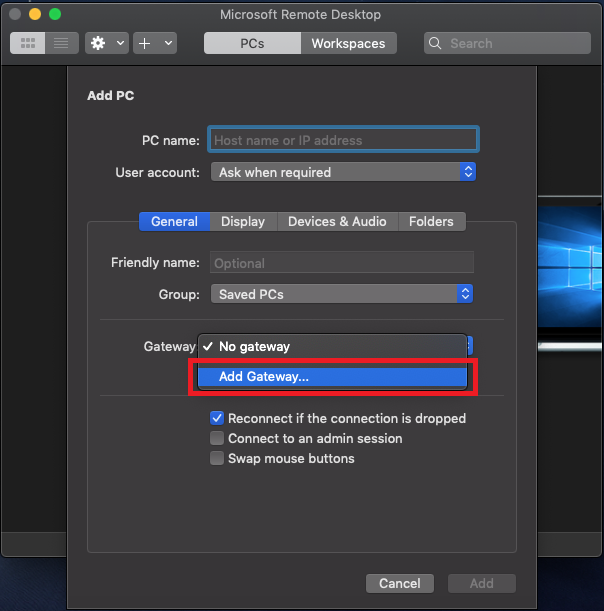
Step 4: Access the Remote Gateway Window
Select the drop down menu under Gateway, then Add Gateway... to open the Add a Gateway window.
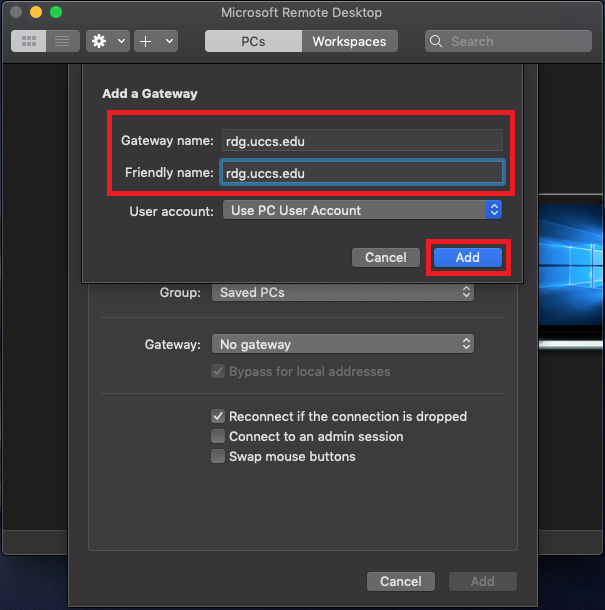
Step 5: Configure the Remote Gateway
In the fields for Gateway name and Friendly name, enter rdg.uccs.edu. Select Add to save these settings.
Step 6: Verify Connection Settings
On the 'Add PC' menu, confirm the PC name and Gateway are entered correct, then select Add
Step 7: Connect to the Remote Desktop
On the main app window, double click your new connection icon. If multiple connection icons exist, confirm you are connecting to the desired name.
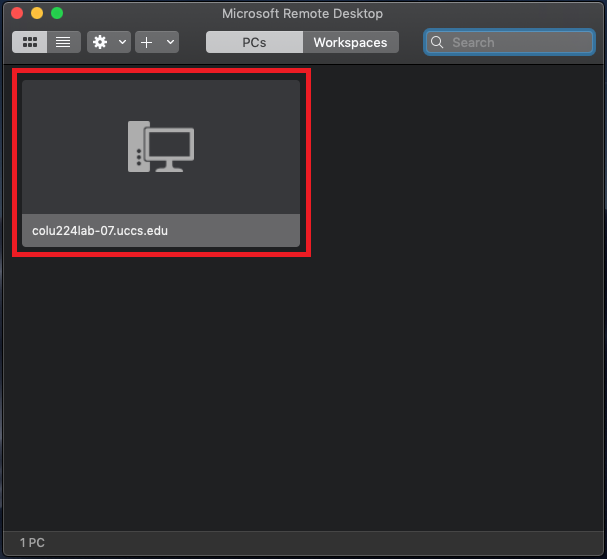
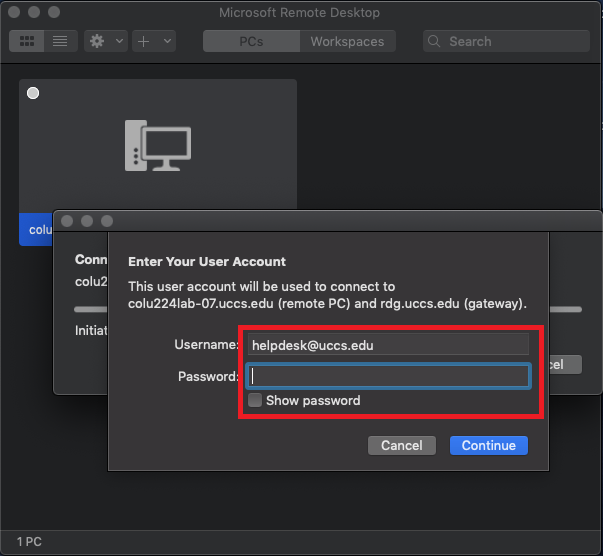
Step 8: Enter Your UCCS Email Credentials
You will be prompted to Enter Your User Account while connecting. Enter your normal UCCS Email Account username and password here, then select Continue.
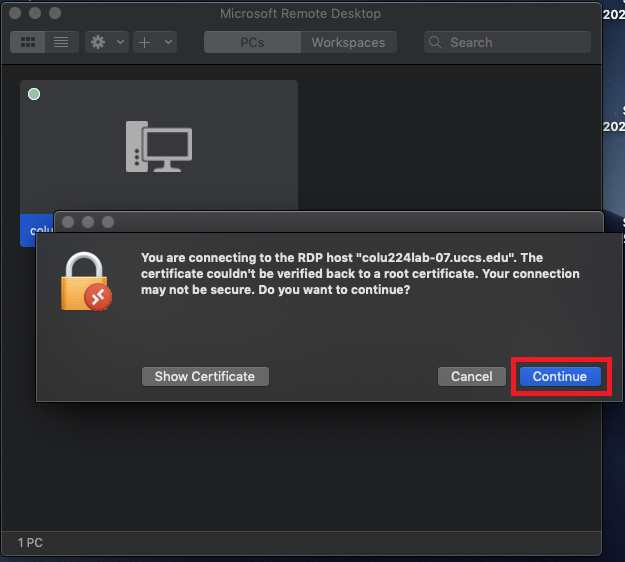
Step 9: Continue Through Certificate Verification
Select Continue if you are prompted with a warning or error regarding a 'certificate'.
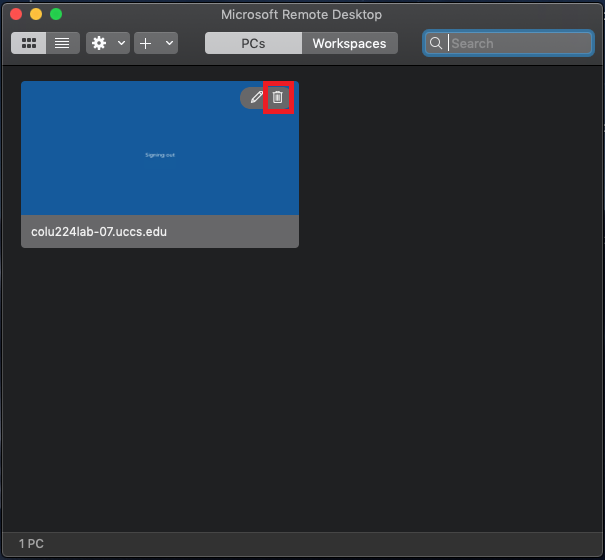
Step 10 (Lab Only): Delete Old Lab PC Connections
All Lab desktops found through the Desktop Finder are only available on a temporary basis. You should always delete a Lab PC's remote desktop connection from your application, then recreate it with a new Lab PC Name using the steps 2-6.
To delete old connections, Mouse Over the connection icon then select the Trash icon in the top right corner.