How users accept an invitation
- Each user that is invited to your account will receive an email similar to this:
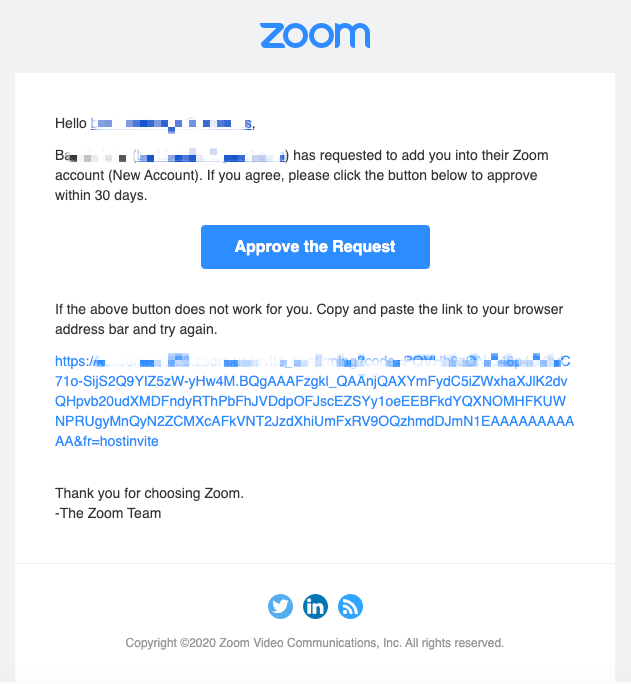
- The user will click the hyperlink or paste it into a browser to accept the invitation.
- If the user is the owner of a paid account, they will then see a page like the one below where refund details can be arranged. Please ensure that you are sending the refund to yourself, or to your department if they paid for it.
- After the above steps are complete, the user can sign in like before by navigating to zoom.us. This user is now a member of your organization's account.
Notes:
- If you cannot accept the invite due to error 1009, there are still users on your account, which must be deleted, unlinked, or invited to the other account before the owner can accept the invite. Alternatively, you may have a Zoom Room that needs to be deleted on the Zoom Rooms page before accepting the invite. Help Desk - please obtain the ZOOM account information (ID, email address) before escalating. Even free accounts have this information.
- After accepting the invite and joining the account, your profile details (name, profile picture, time zone, etc), scheduled meetings and webinars, cloud recordings, IM history, contacts, and settings will be transferred with you. Settings may be altered if they conflict with group or account settings on the account you are joining. Reporting data will not be transferred, so it is recommended you access and download any needed reports before accepting the account invitation.