...
There is no physical "on" button, so to turn on the phone, make sure to plug in the phone with the provided Ethernet cable connecting from the wall to the yellow middle port on the back of the device between the AUX port and the PC port, as indicated below. Once seated, the phone should flash and begin booting automatically.
...
The first time boot-up can take a while for one of the teams phones. Please allow it some time to update and configure itself.
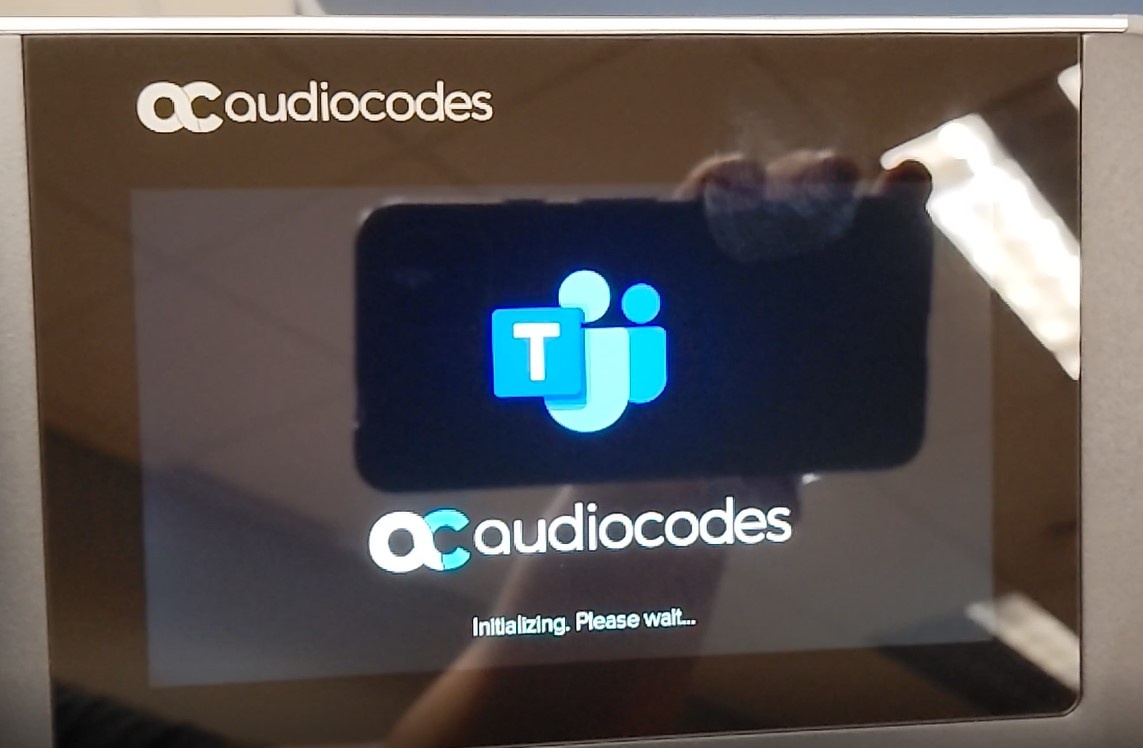
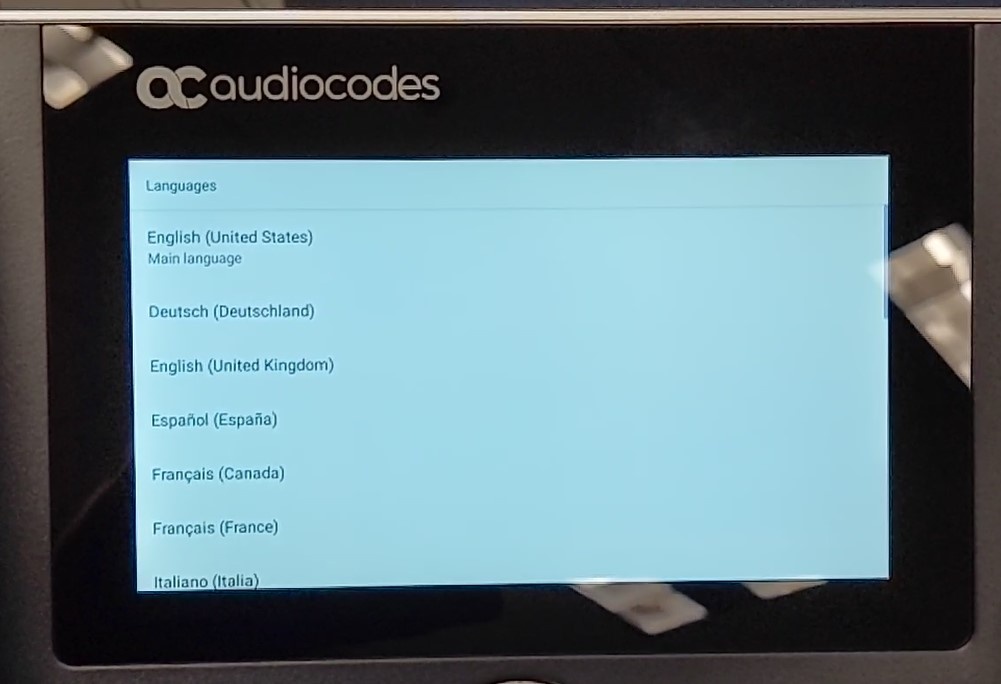
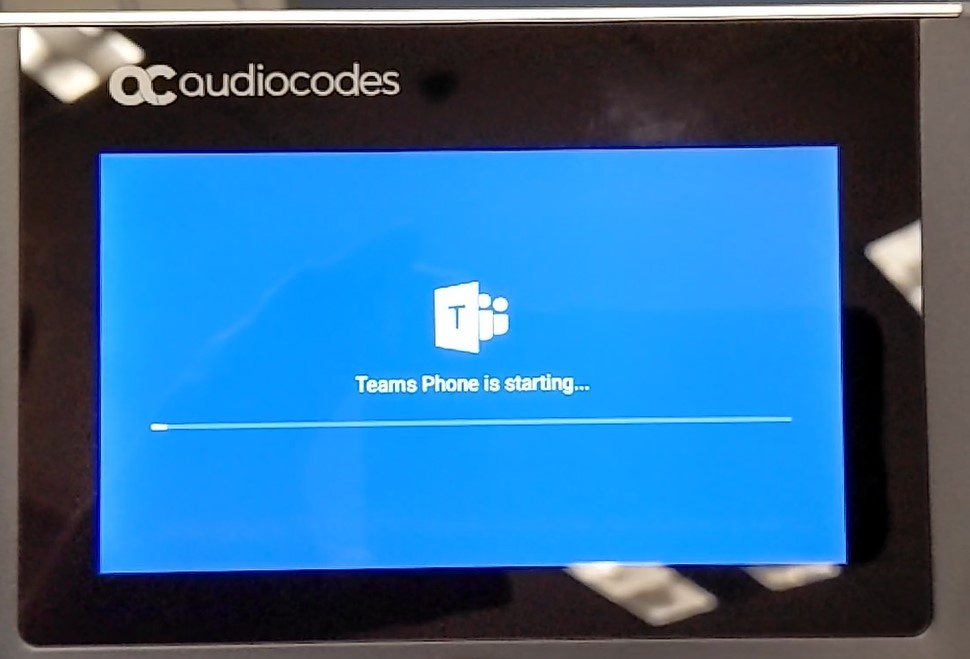
Below are the different steps of the boot process:
Screen 1: Initializing |
|
Screen 2: Language Selections Please select your primary |
|
Screen 3: Final Sequence |
|
...
Step 3 - Sign in
After the phone has started up, you should see a screen like the one below:
...
- If you would rather sign in on the phone itself, please click the Sign in on this Device
This should take you to a page asking for your email. Please enter your full UCCS email address (including the '@uccs@uccs.edu' ):
- After typing in your email and tapping Sign in, you should be brought to the UCCS sign in page where you can enter your password.
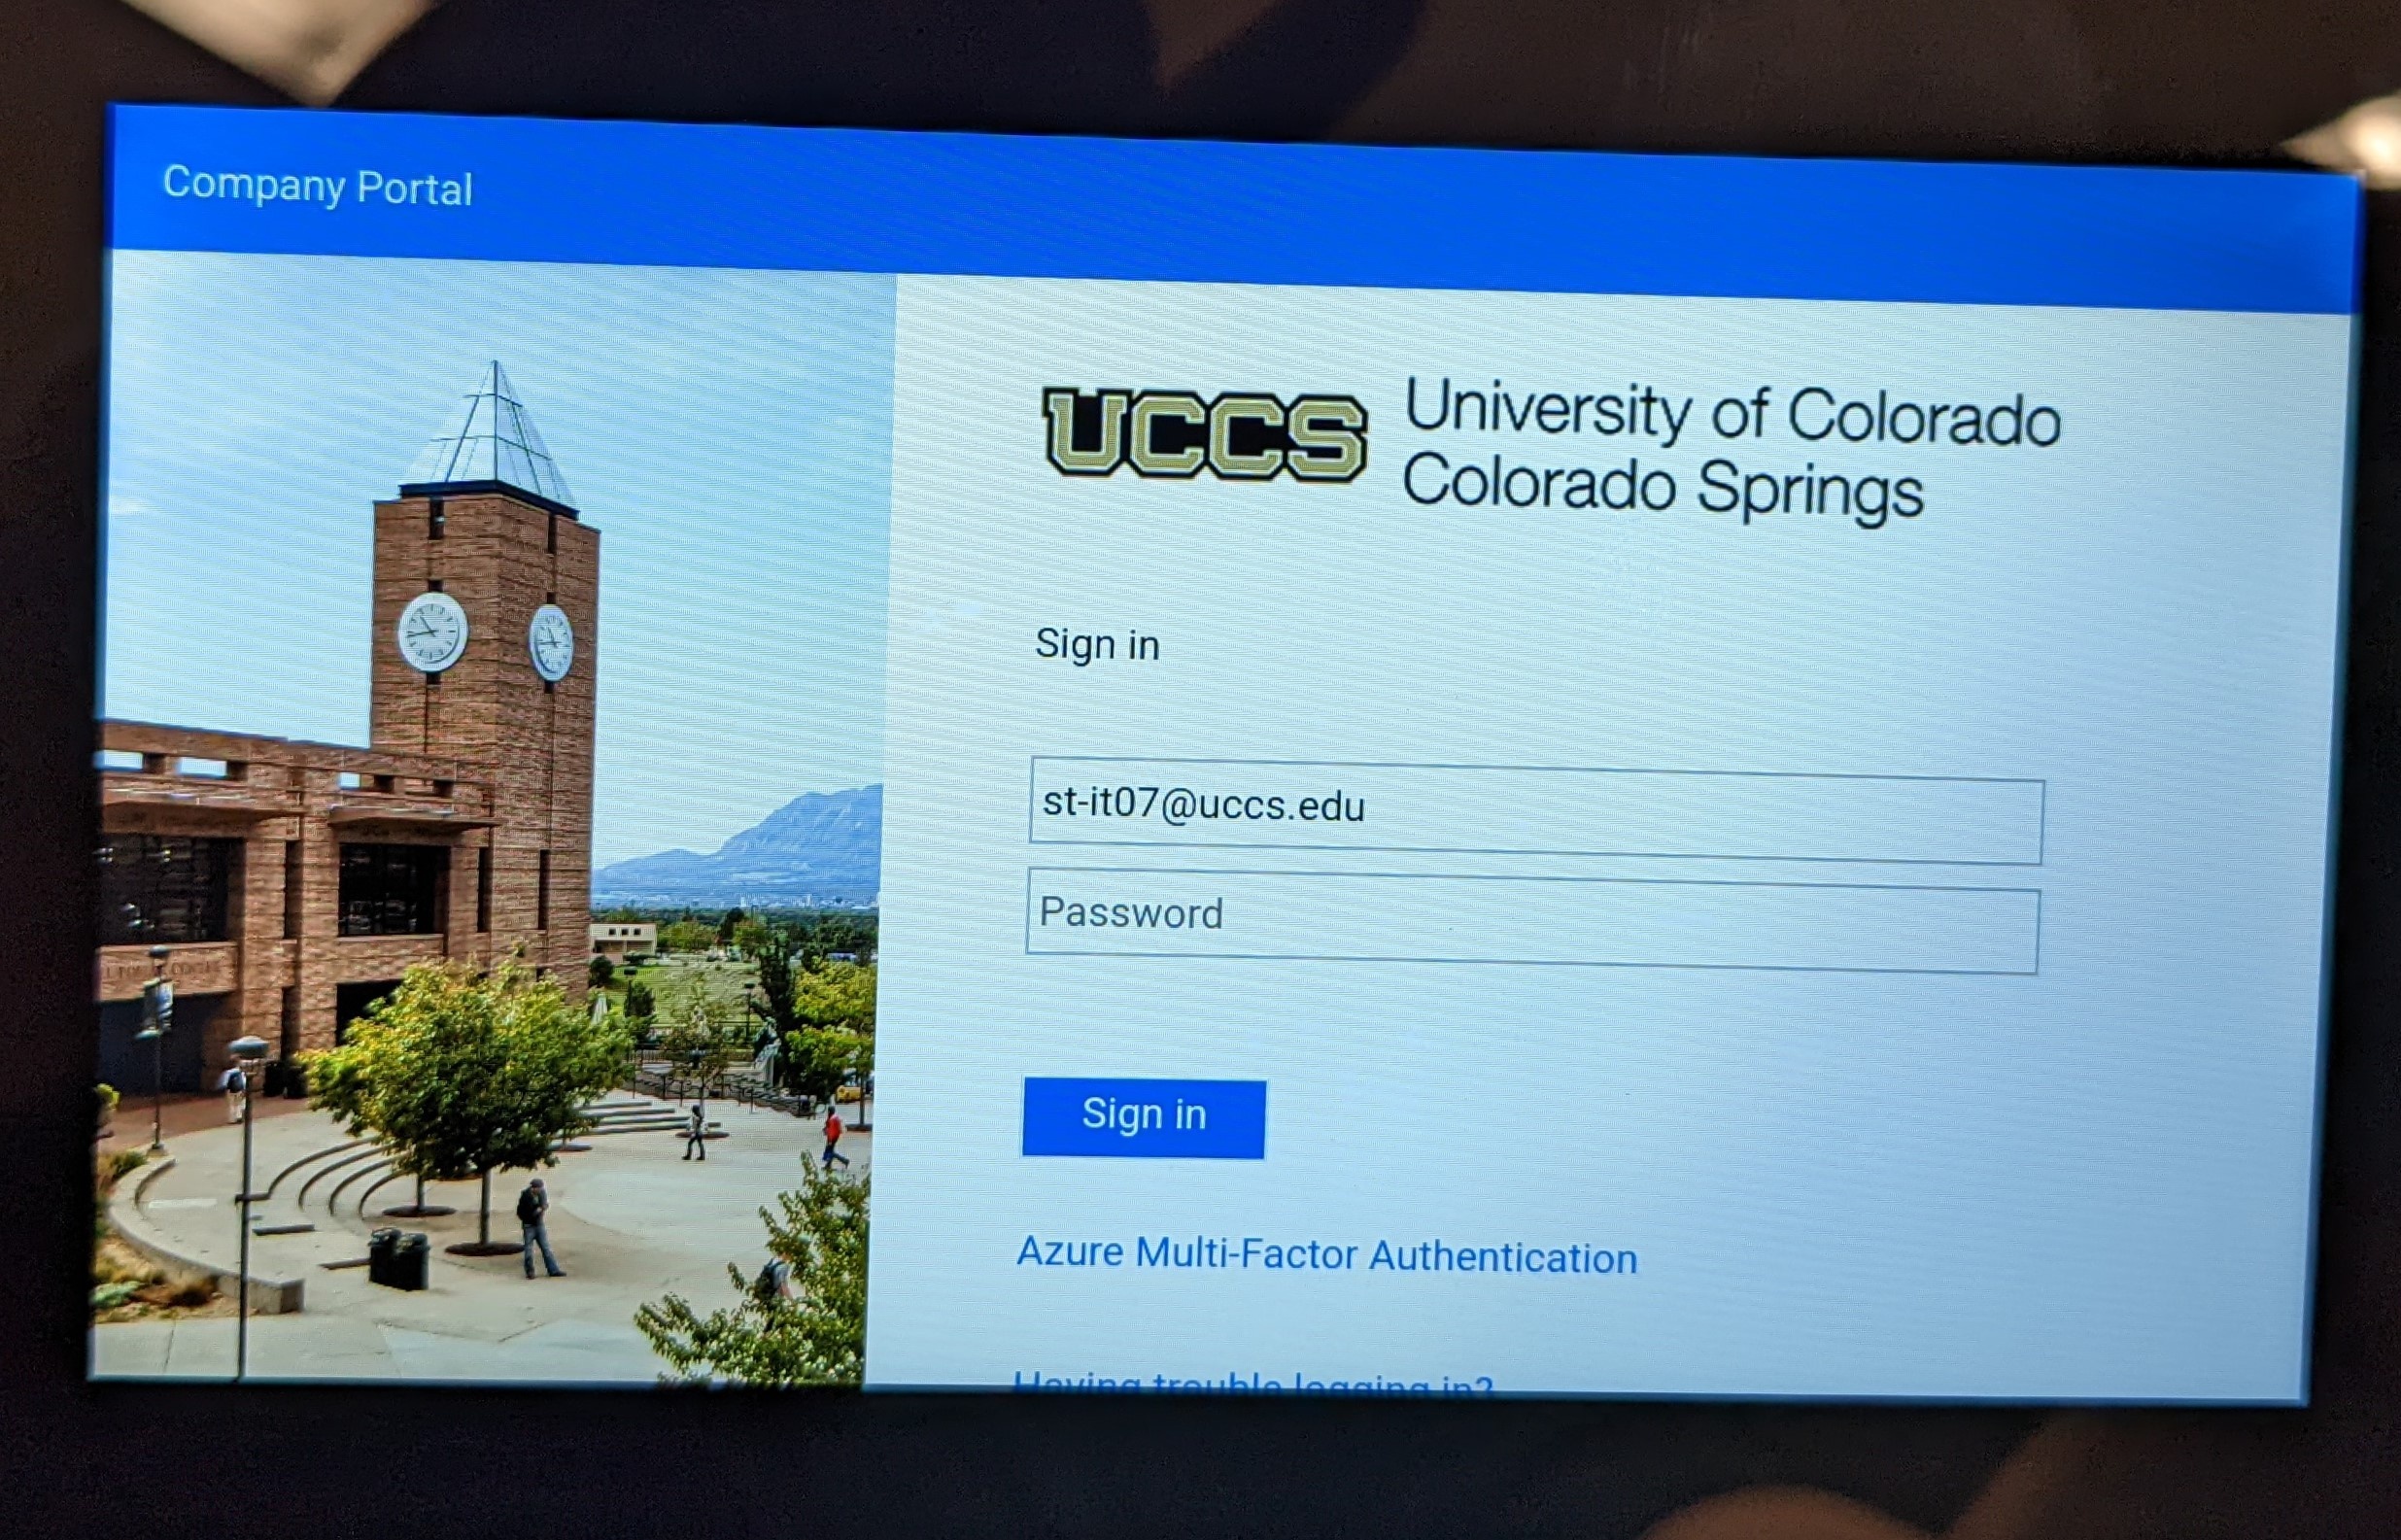
- Press Sign in once more to finish the sign in process
Step 4 - After You've Logged In
After you've signed in, the phone should be ready to use. A screen similar to the photo below should be seen.
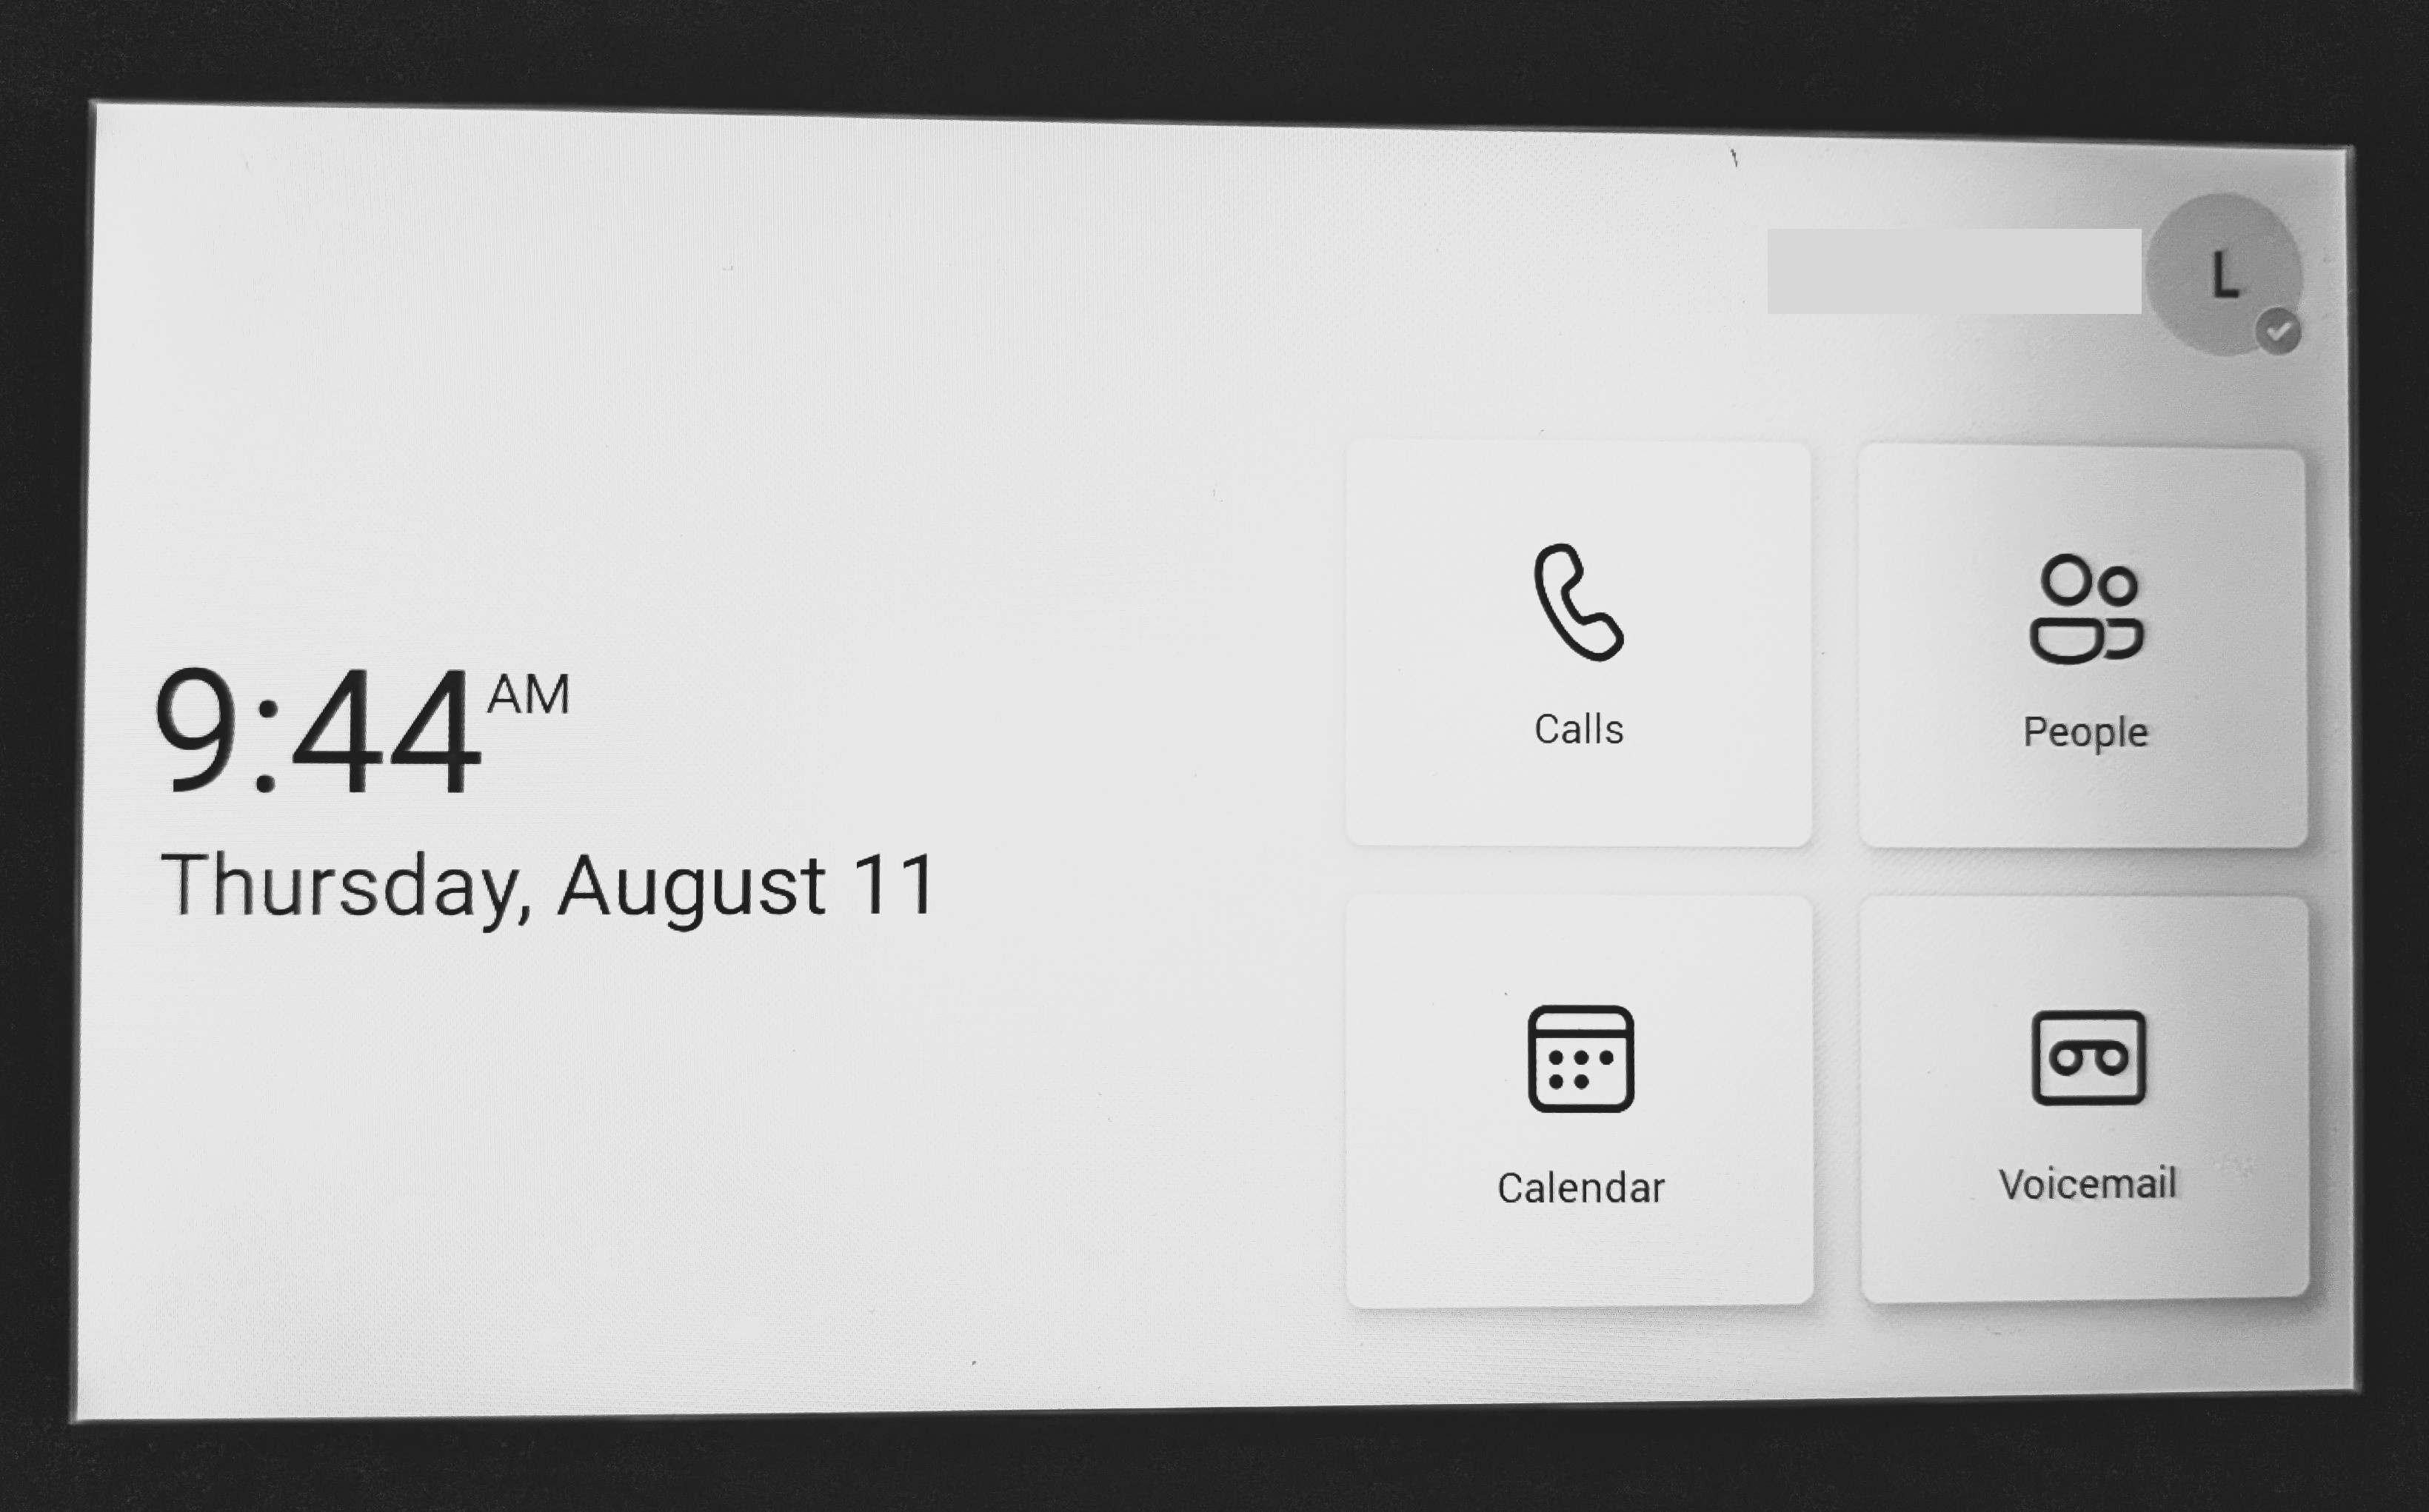
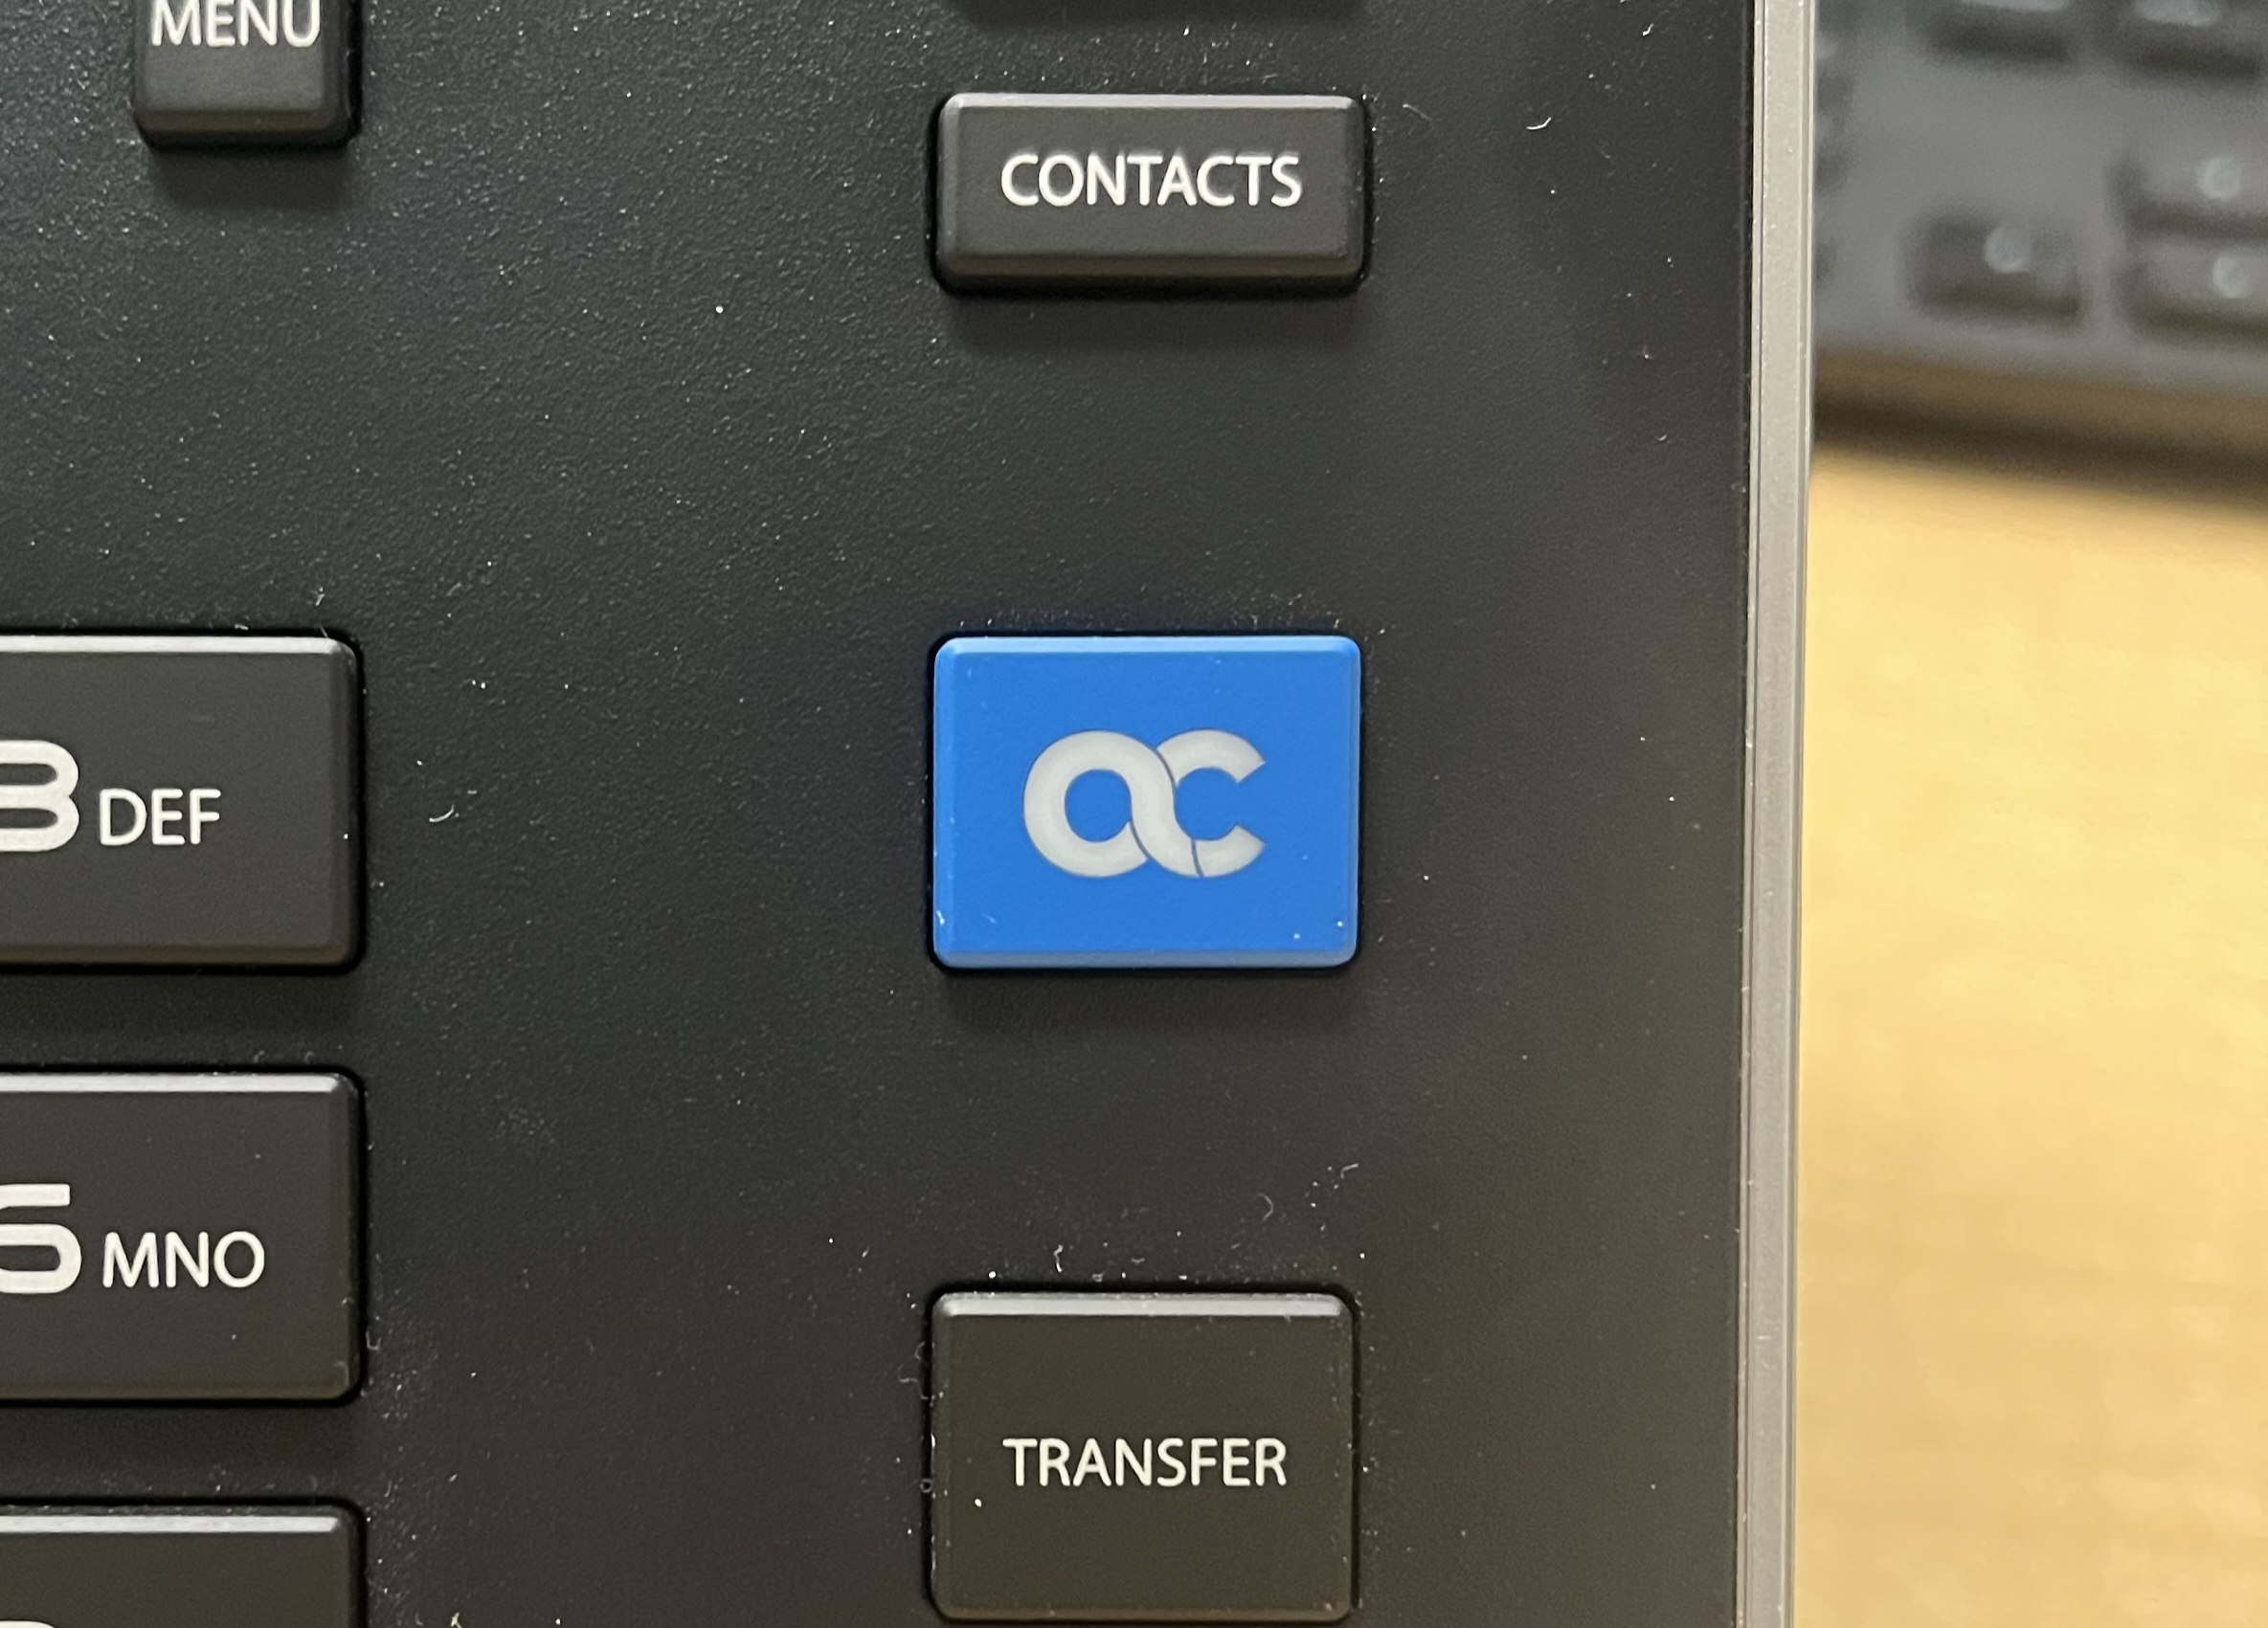
This is your homepage, and it can be reached by pressing the Blue blue button with the AudioCodes logo on it on the phone. It is on the right-hand side under 'contacts'.
Questions or Issues?
...