...
| Info |
|---|
This guide is geared specifically to creating an inbox rule to help clean up Undelivered emails after an email account has been compromised. |
Table of Contents
...
| Table of Contents | ||
|---|---|---|
|
...
Step 1:
...
Click the
...
Settings Menu
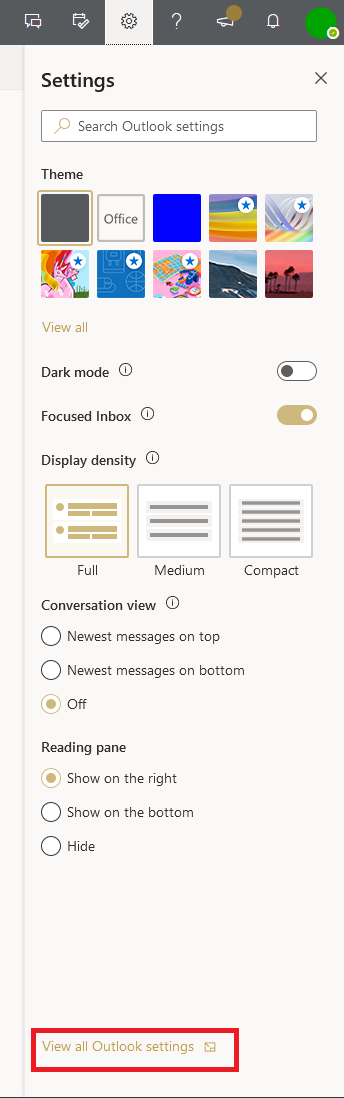
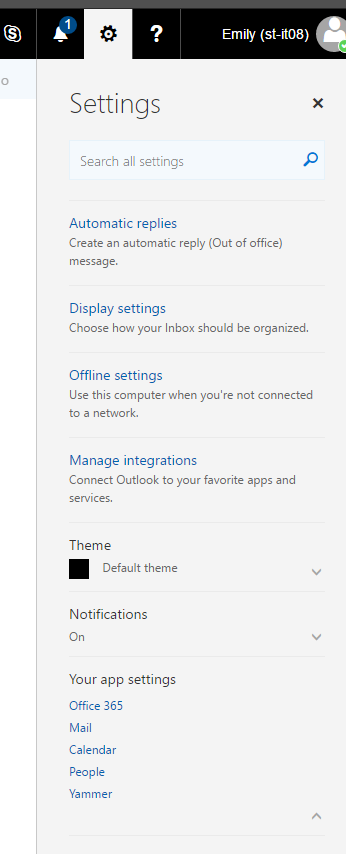
Once you log in, click on the cog in the Settings (gear icon in the upper right hand corner of the screen), then select Options.select View All Outlook Settings at the bottom:
Step 2: Select the
...
Rules Menu
In the options menu, select Mail and then select Inbox and Sweep Rules.
Click Rules → Add new rule


Step 3: Create a New
...
Rule
...
Choose the type of rule you wish to create, this will decide what you select for 'When the message arrives' and 'Do all of the following.'
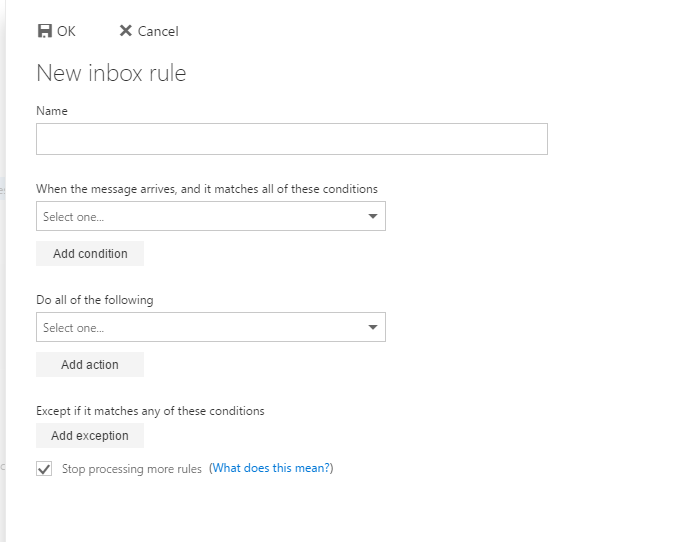
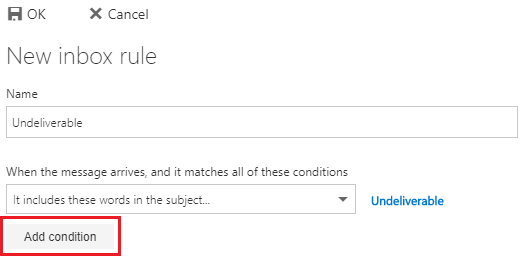
Under the "When the message arrives, and it matches all of these conditions" area you'll want to select the drop down and then select It includes these words and then in the subject...
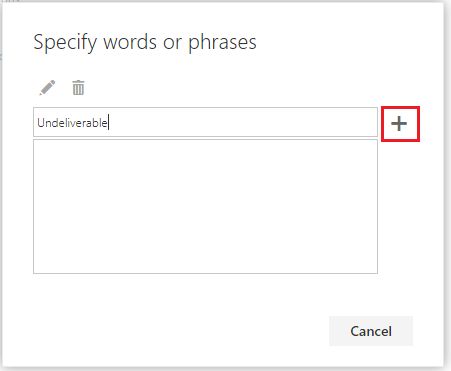
The word you'll want to add to the rule is Undeliverable and then you'll click the + icon.

Step 6: Setting Up Date Span
| Note |
|---|
This rule is critical! The rule only needs to run for about two days before it is once again disabled. This allows you to get Undelivereable emails in the future if an email you send to a professor or another student couldn't be sent. |
...
From the drop down box select it's received within a specific date span...

For the date you'll want to check the Before box. The date you'll want to select is 2 days from the current date. In this example today's date is 11/2/2017. So the date picked is 11/5/2017 so that for the current date and over the next two days the rule will be applied.

Step 7: Setup the Action to Delete
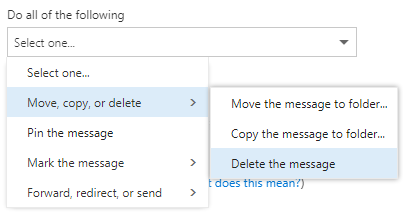
Under the Do all of the following area you'll want to select the drop down box and then select Move, copy, or delete and then select Delete the message
Step 8: Verify Final Settings
Make sure that your rule looks similar to the image below, with the date being set according to Step 6.
Make sure that the check box at the bottom of the screen for Stop processing more rules is unchecked.
...
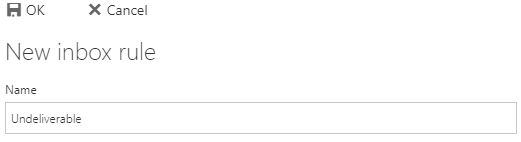
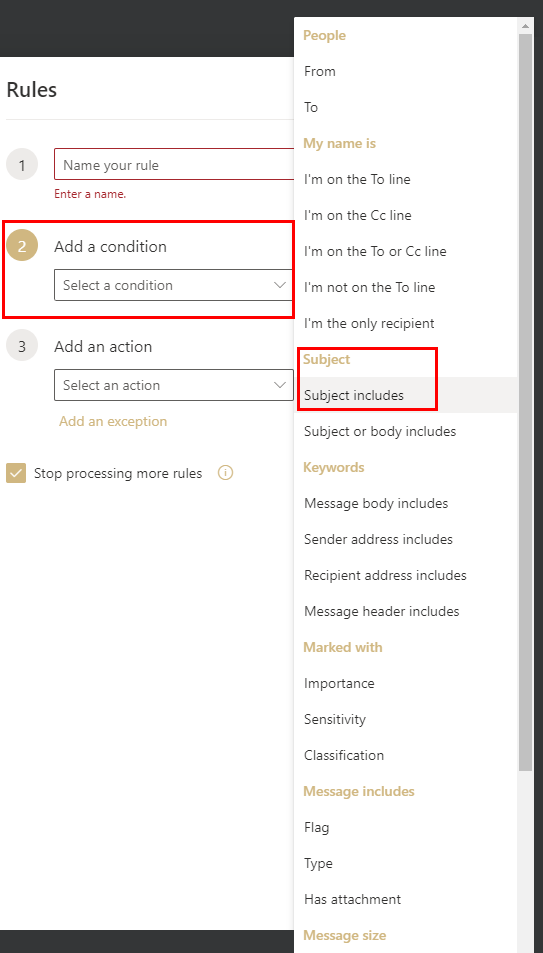
- Enter a descriptive name for the rule


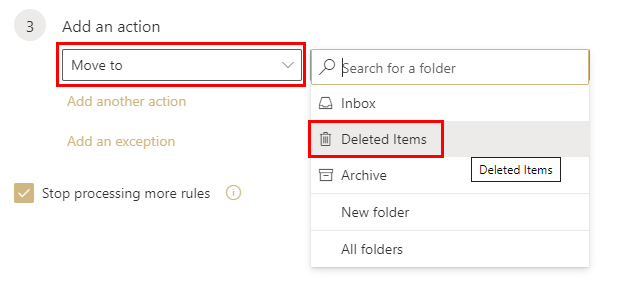
Step 7: Select what to do with the messages
- Under Add an action, select what you'd like to do with the message
- In this example, we want to move the message to the Deleted Items folder
Step 8: Save the Rule


- You can temporarily turn off the rule by toggling the switch to the left of the rule
- You can edit or delete the rule by pressing the respective icon to the right of the rule
| Note |
|---|
This rule only works on new emails coming in. You will have to either manually delete the emails currently in your mailbox or use the Outlook desktop application to run the rule on your mailbox. To manually run a rule in the Outlook desktop application please see this Microsoft KB article: https://support.office.com/en-us/article/Manage-email-messages-by-using-rules-c24f5dea-9465-4df4-ad17-a50704d66c59 |
...