
Table of Contents
| Table of Contents | ||
|---|---|---|
|
Features
This is a standard Crestron equipped classroom with a full-size panel and a Vaddio Hyflex system installed.
- Podium Computer
- Full HD Laser Projector
- Automated Projection Screen
- Audio system with built-in ceiling speakers
- Height-adjustable ADA lectern
- VGA/Audio input, HDMI, and Network connections
- Crestron touch panel
- Hyflex VTC System with Camera and Microphones
- Document Camera
- Wireless Presentation
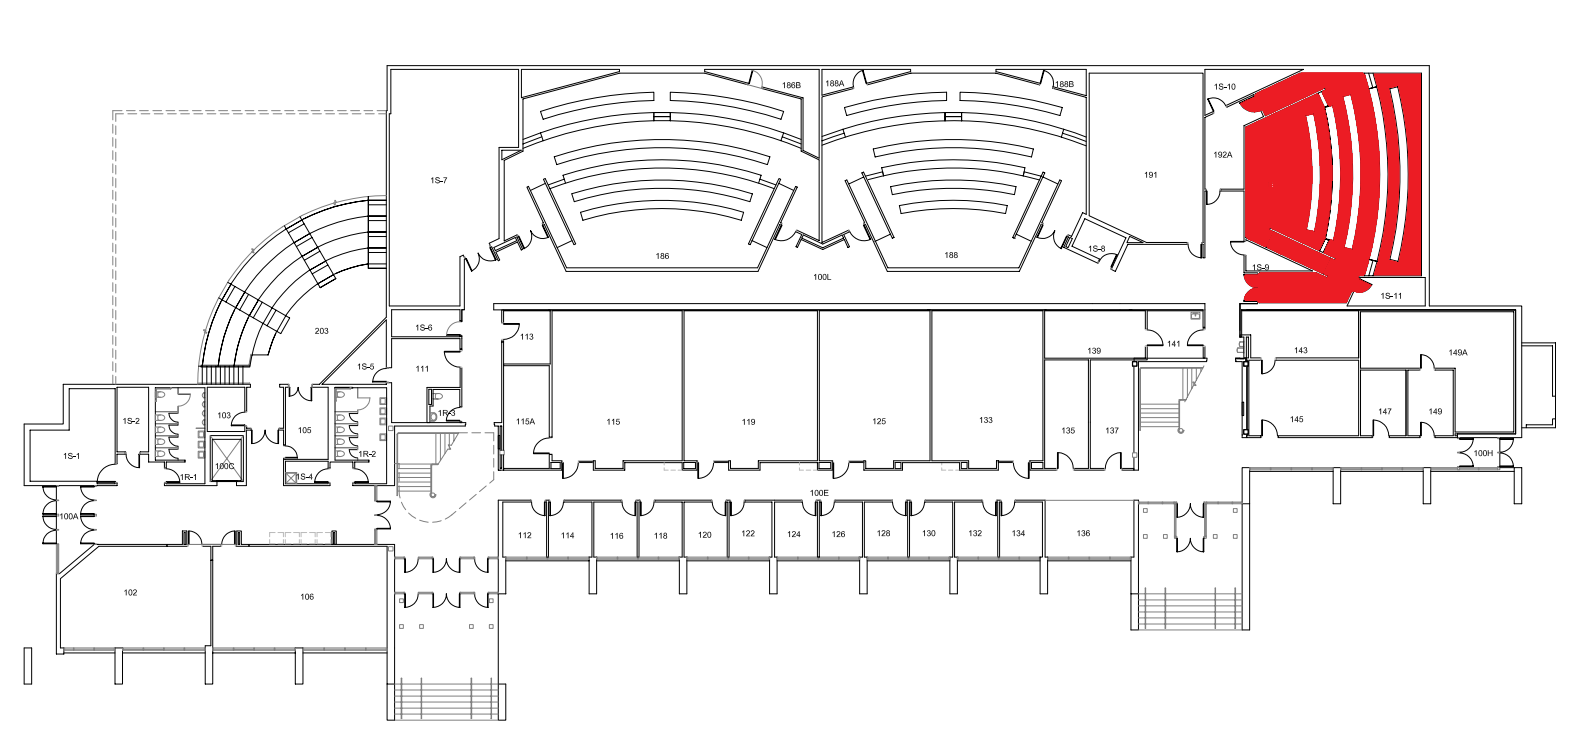
Location: 1st Floor in Centennial Hall
Remote
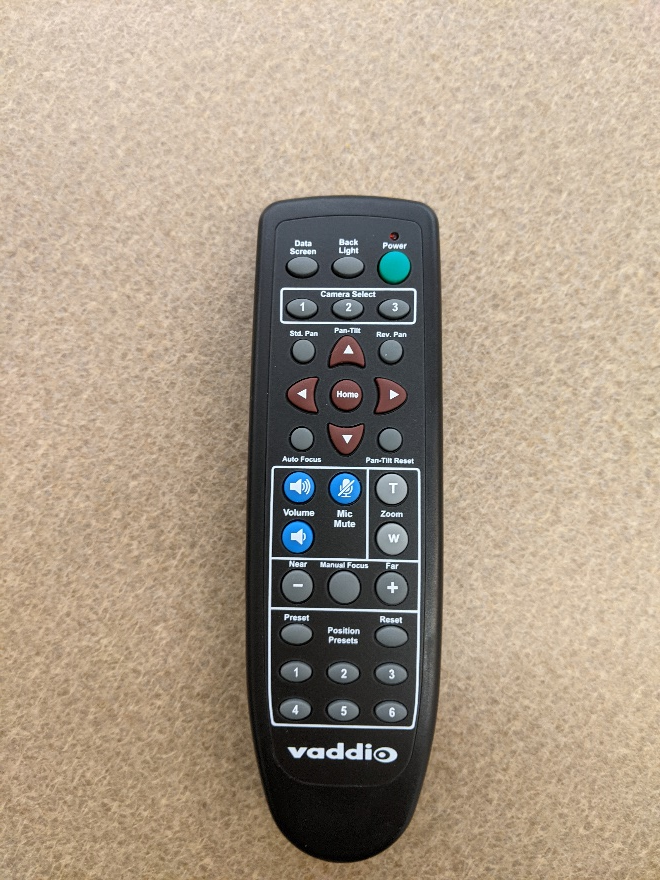
The Hyflex remote controls the Hyflex VTC System. Located in a podium drawer or more commonly, on top of the podium.
Controlling the A/V System
Using the Touch Panel
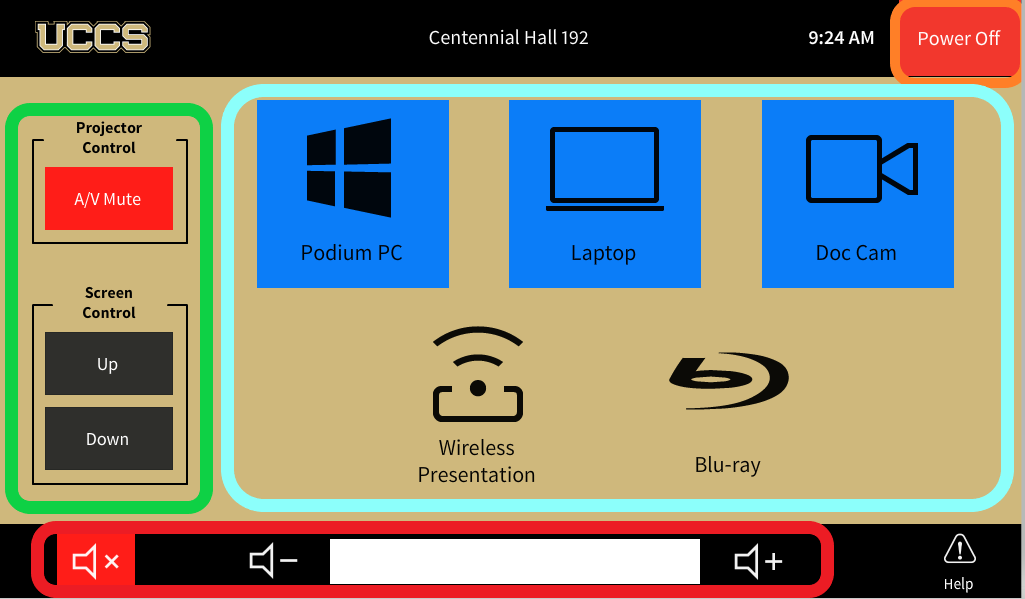
The touch panel controls most functions in the room. The touch panel is labeled below with the colors corresponding to a particular section explaining that function.
Turning the system on and off
The AV system will power on when pressing the start page on the touch panel. This will turn on the projector, lower the screen, and switch the panel to the main menu page.
To turn the AV system off, press the red Power Off button in the upper right corner. You will have 10 seconds to cancel the power off, then the system will shut down.
Source Selection
To change sources, select the input you would like to send to the projector. You may choose between Podium PC, Laptop, Doc Cam, Wireless Presentation, or Blu-Ray.
Volume Control
Volume can be controlled using the volume buttons at the bottom of any page on the touch panel. The raise and lower buttons are on either side of the volume bar and the mute button is located in the lower left corner.
Projector Controls
The projector and screen will automatically power on and off/raise and lower with the system.
On the left side of the touch panel are options for A/V Mute and screen controls.
- A/V Mute will shutter the projector and raise the screen. Use this feature when you want to use the whiteboard or front of the room without shutting down the system. Please only use this feature for up to 20 minutes, otherwise it's best to shut down the system.
Inputs
Using the Podium PC and Lectern
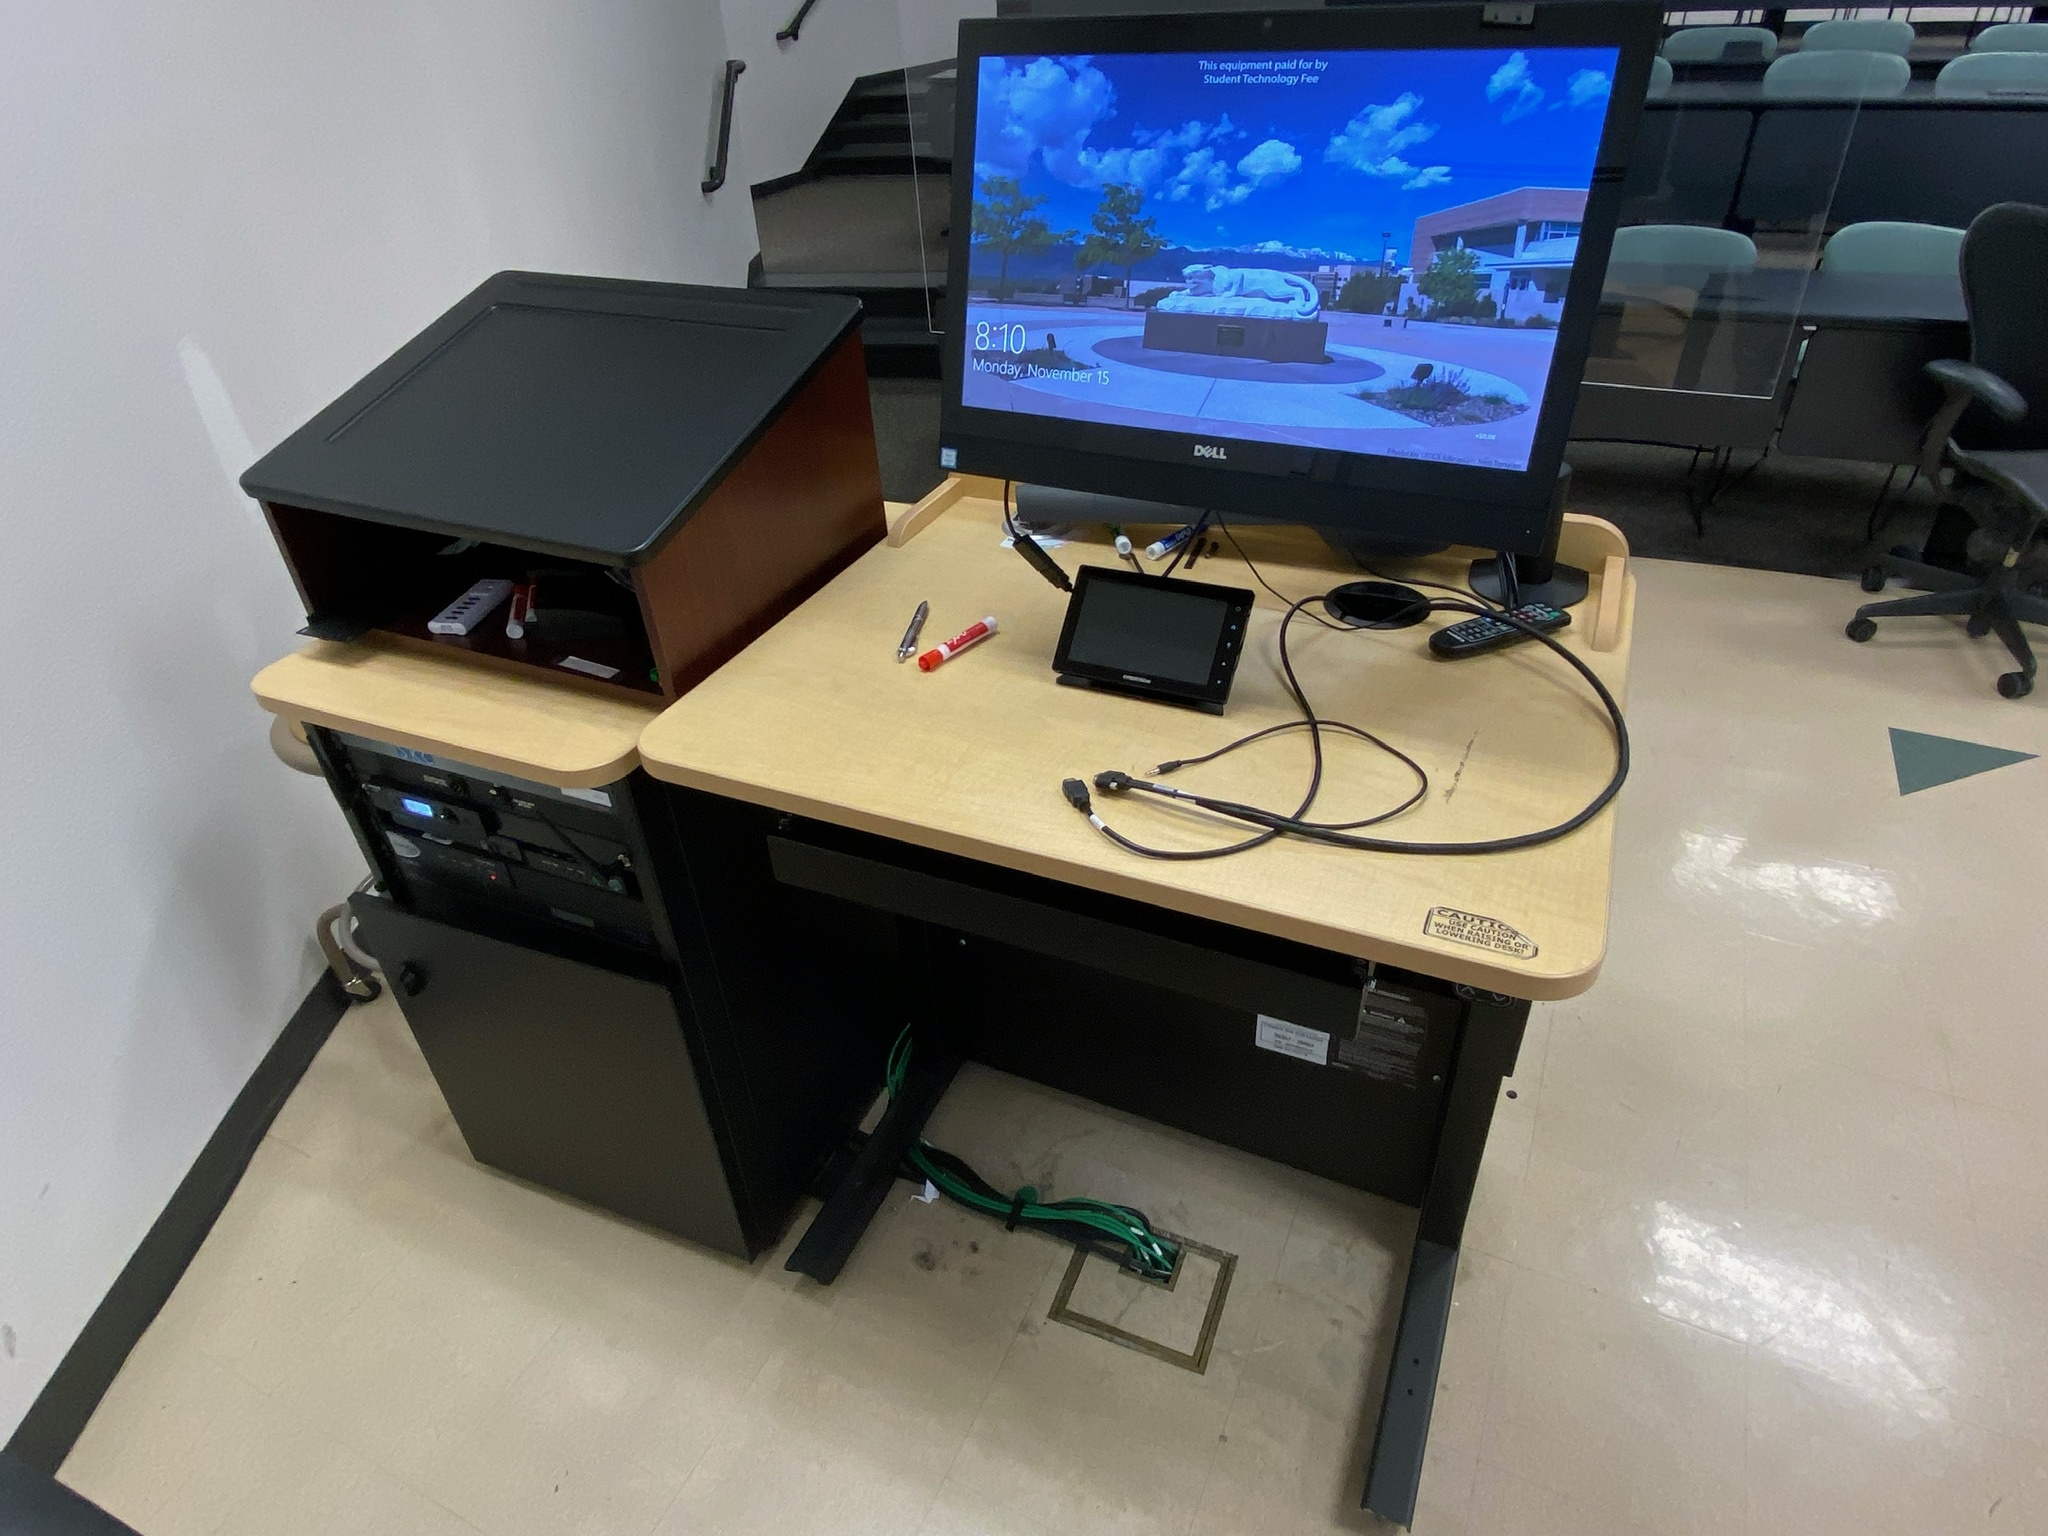
The computer located on the podium is the primary source for this AV system. This computer runs the same Windows image as our other podium PCs and can be signed into with your UCCS credentials.
Using a Laptop

The VGA/Audio on the lectern is for use with a laptop. Connect your device, and the system will automatically switch to the correct input. There is also a network cable which will give access to the UCCS network and internet when connected to a device.
Using the Document Camera
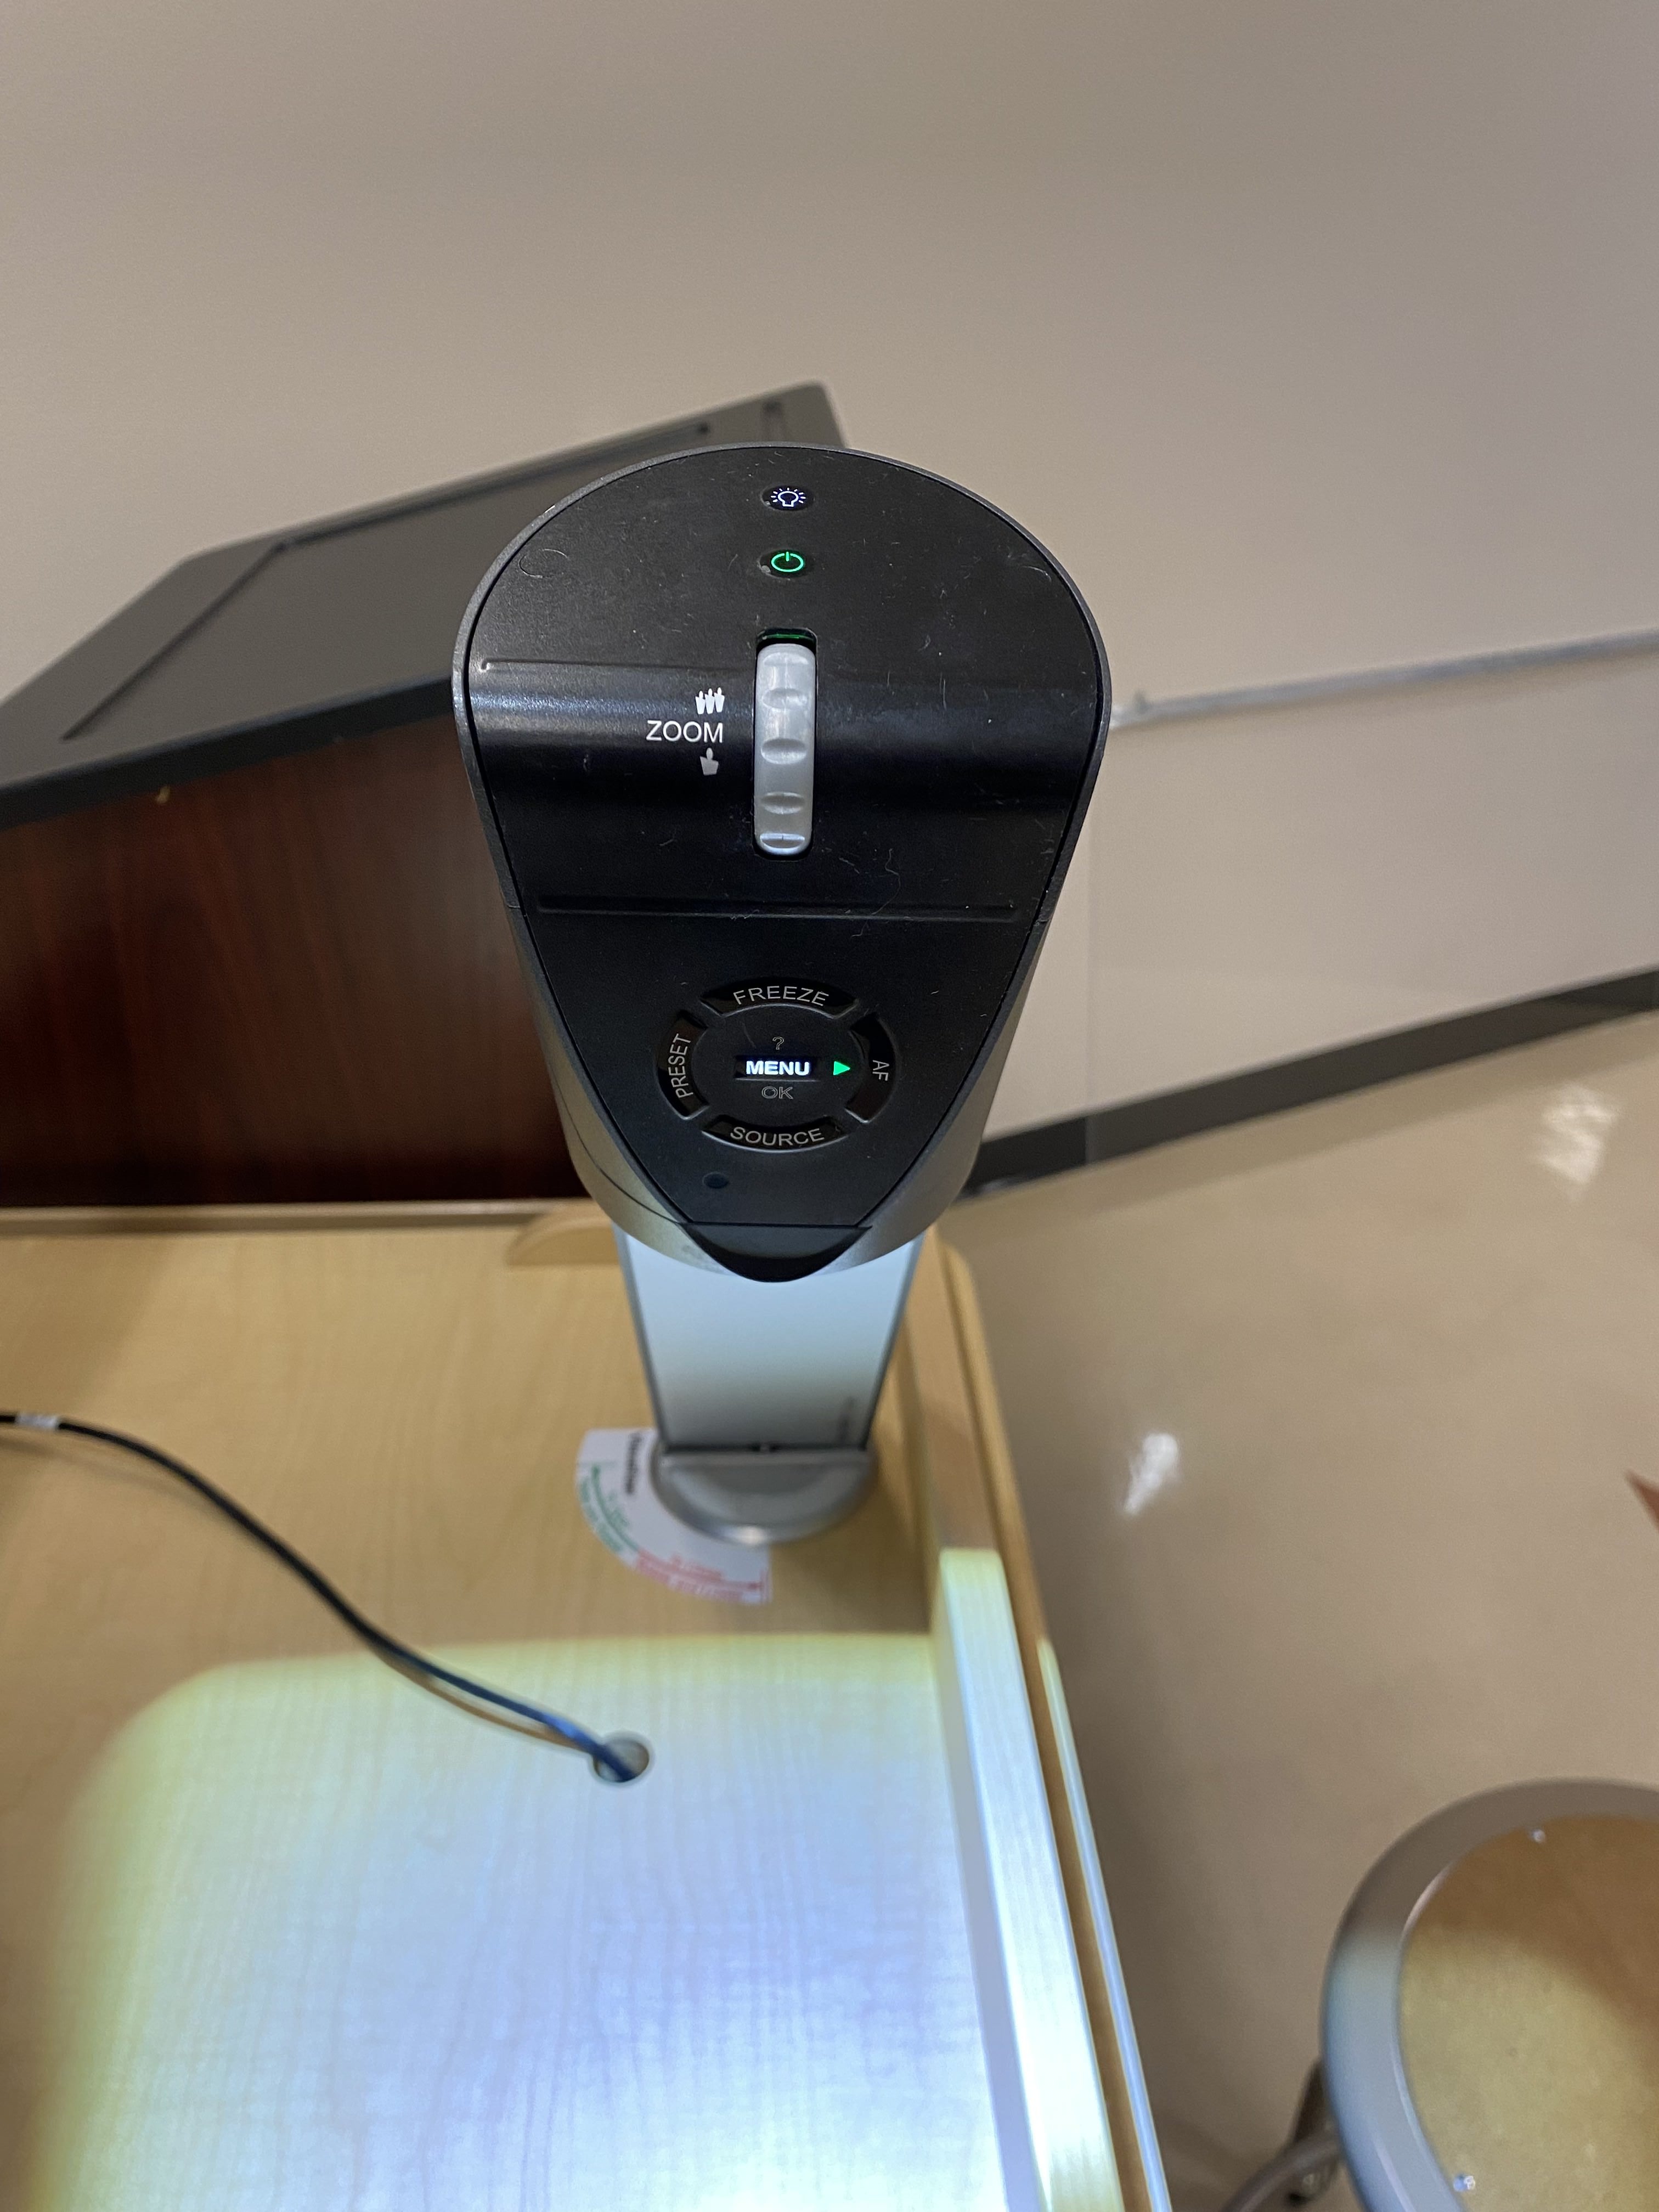
Selecting the document camera source on the panel will route it to the projector. The document camera on the lectern is powered on by holding the power button. All camera controls are located at the base of the camera.
Using a Microphone
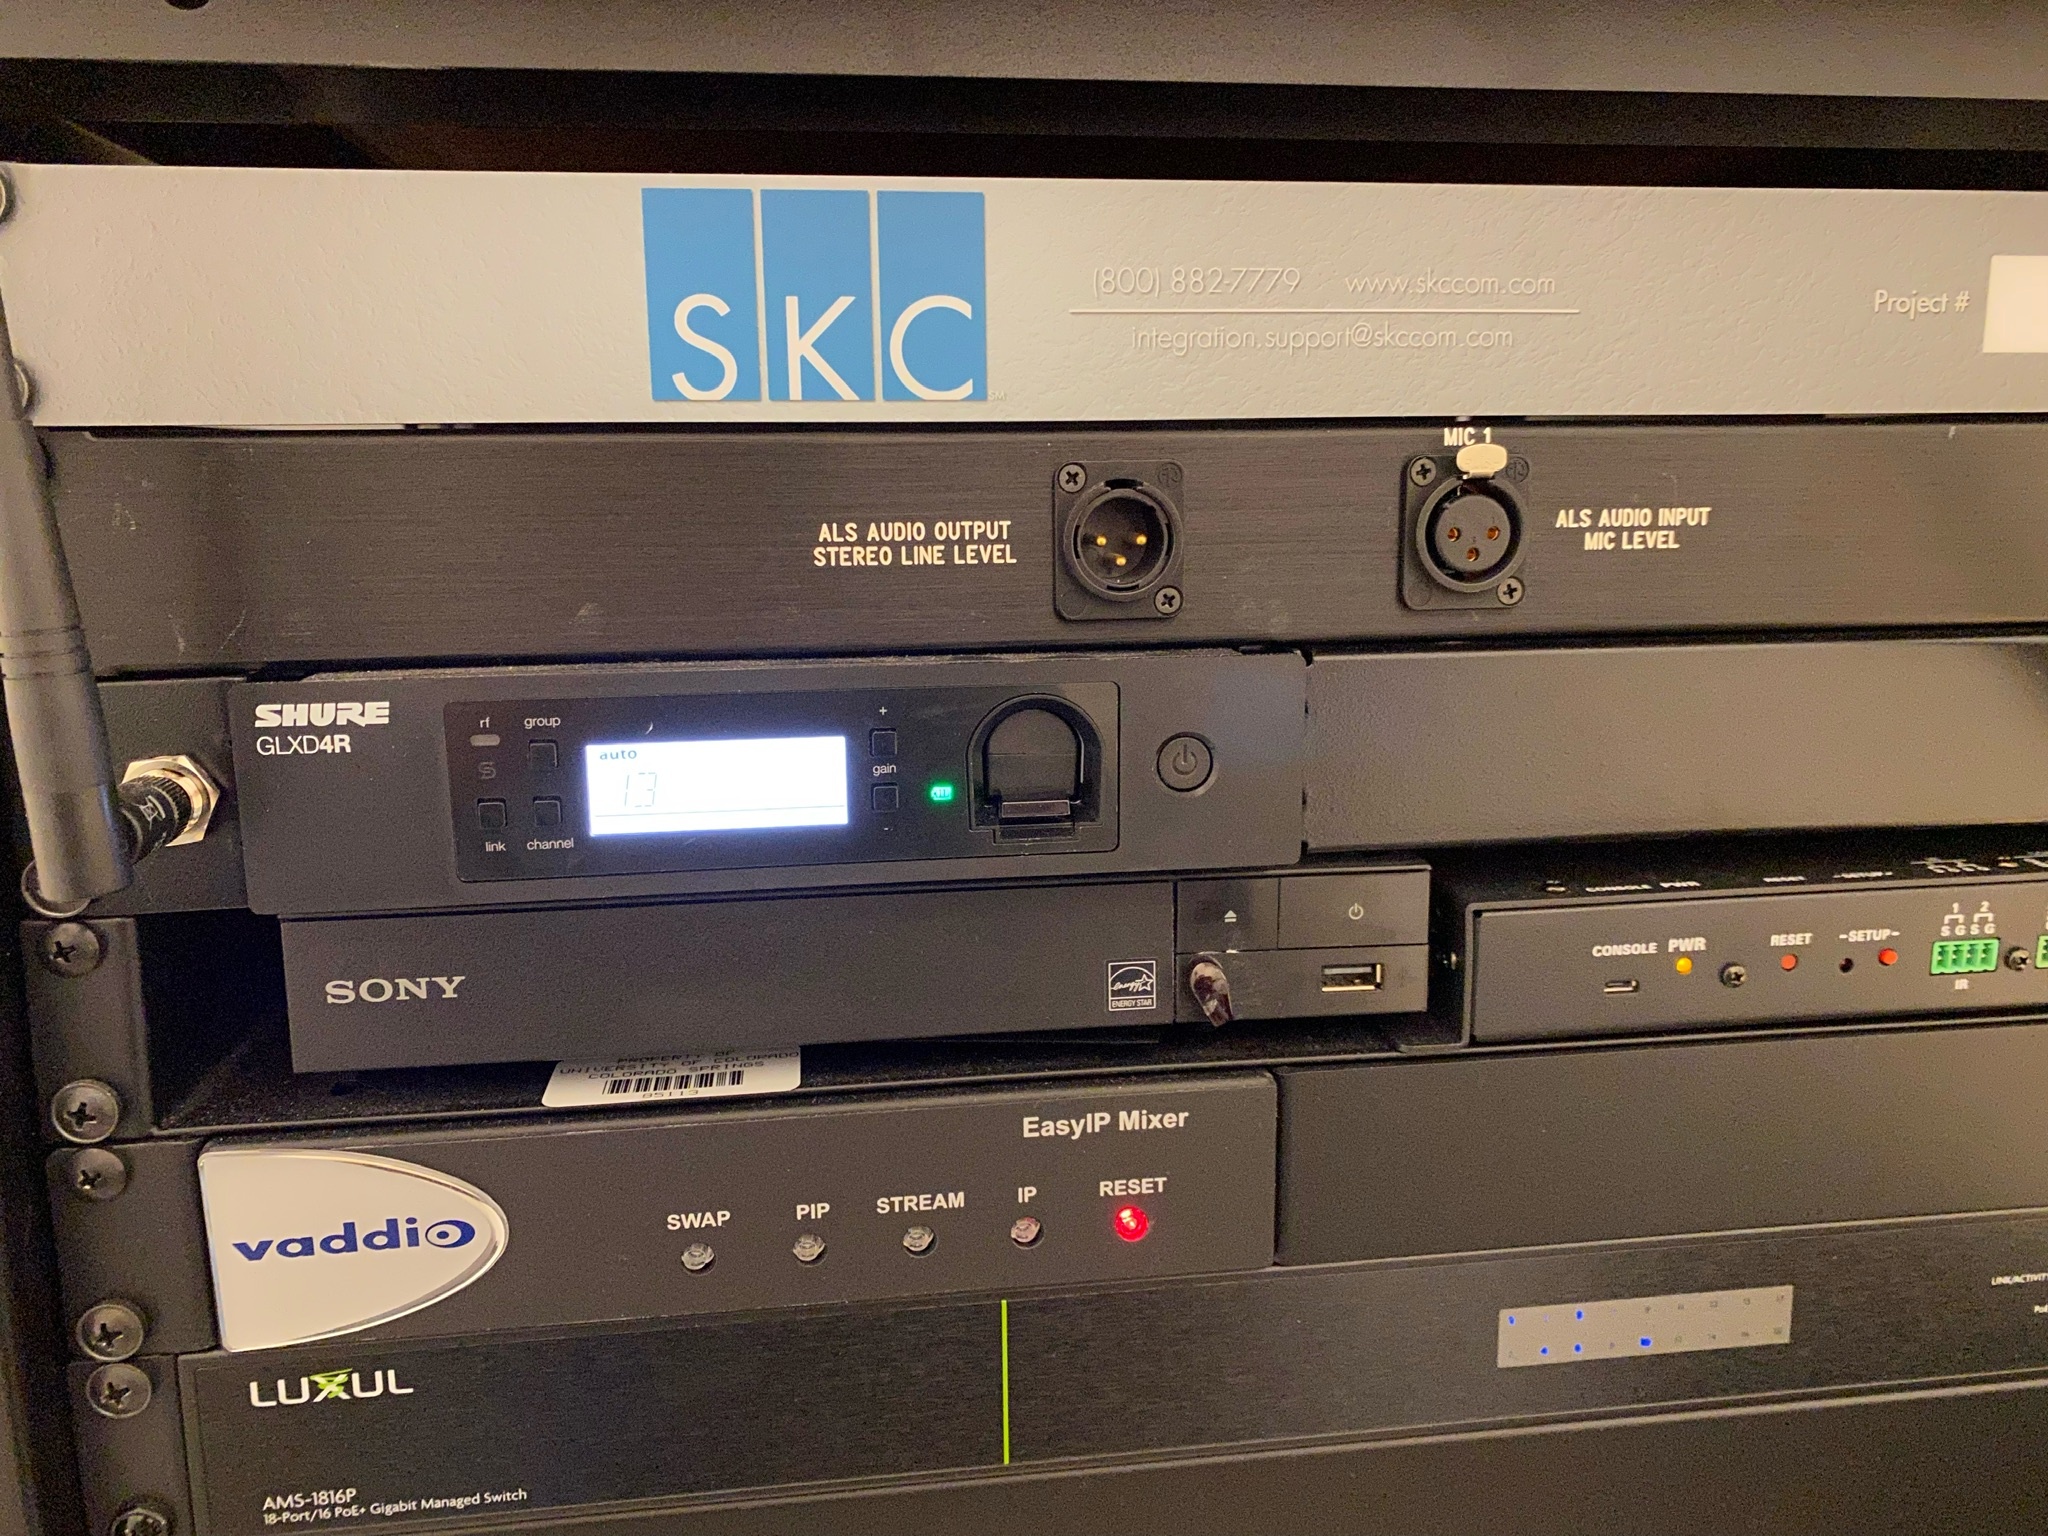
There is a microphone input and output located in the rack to the left of the lectern. They are located at the top of the rack and are primarily for use with assistive listening systems.
The microphone input panel allows for two devices to be connected to the system, one for input and one for output. Both devices must use the XLR connections provided. Any microphone or audio input device connected to the input port will add audio to the system. This audio will be heard on the in-room speakers and the XLR output. The XLR output port will allow any connected device to receive all audio from a selected source and the XLR input.
Using the Vaddio/Hyflex VTC System
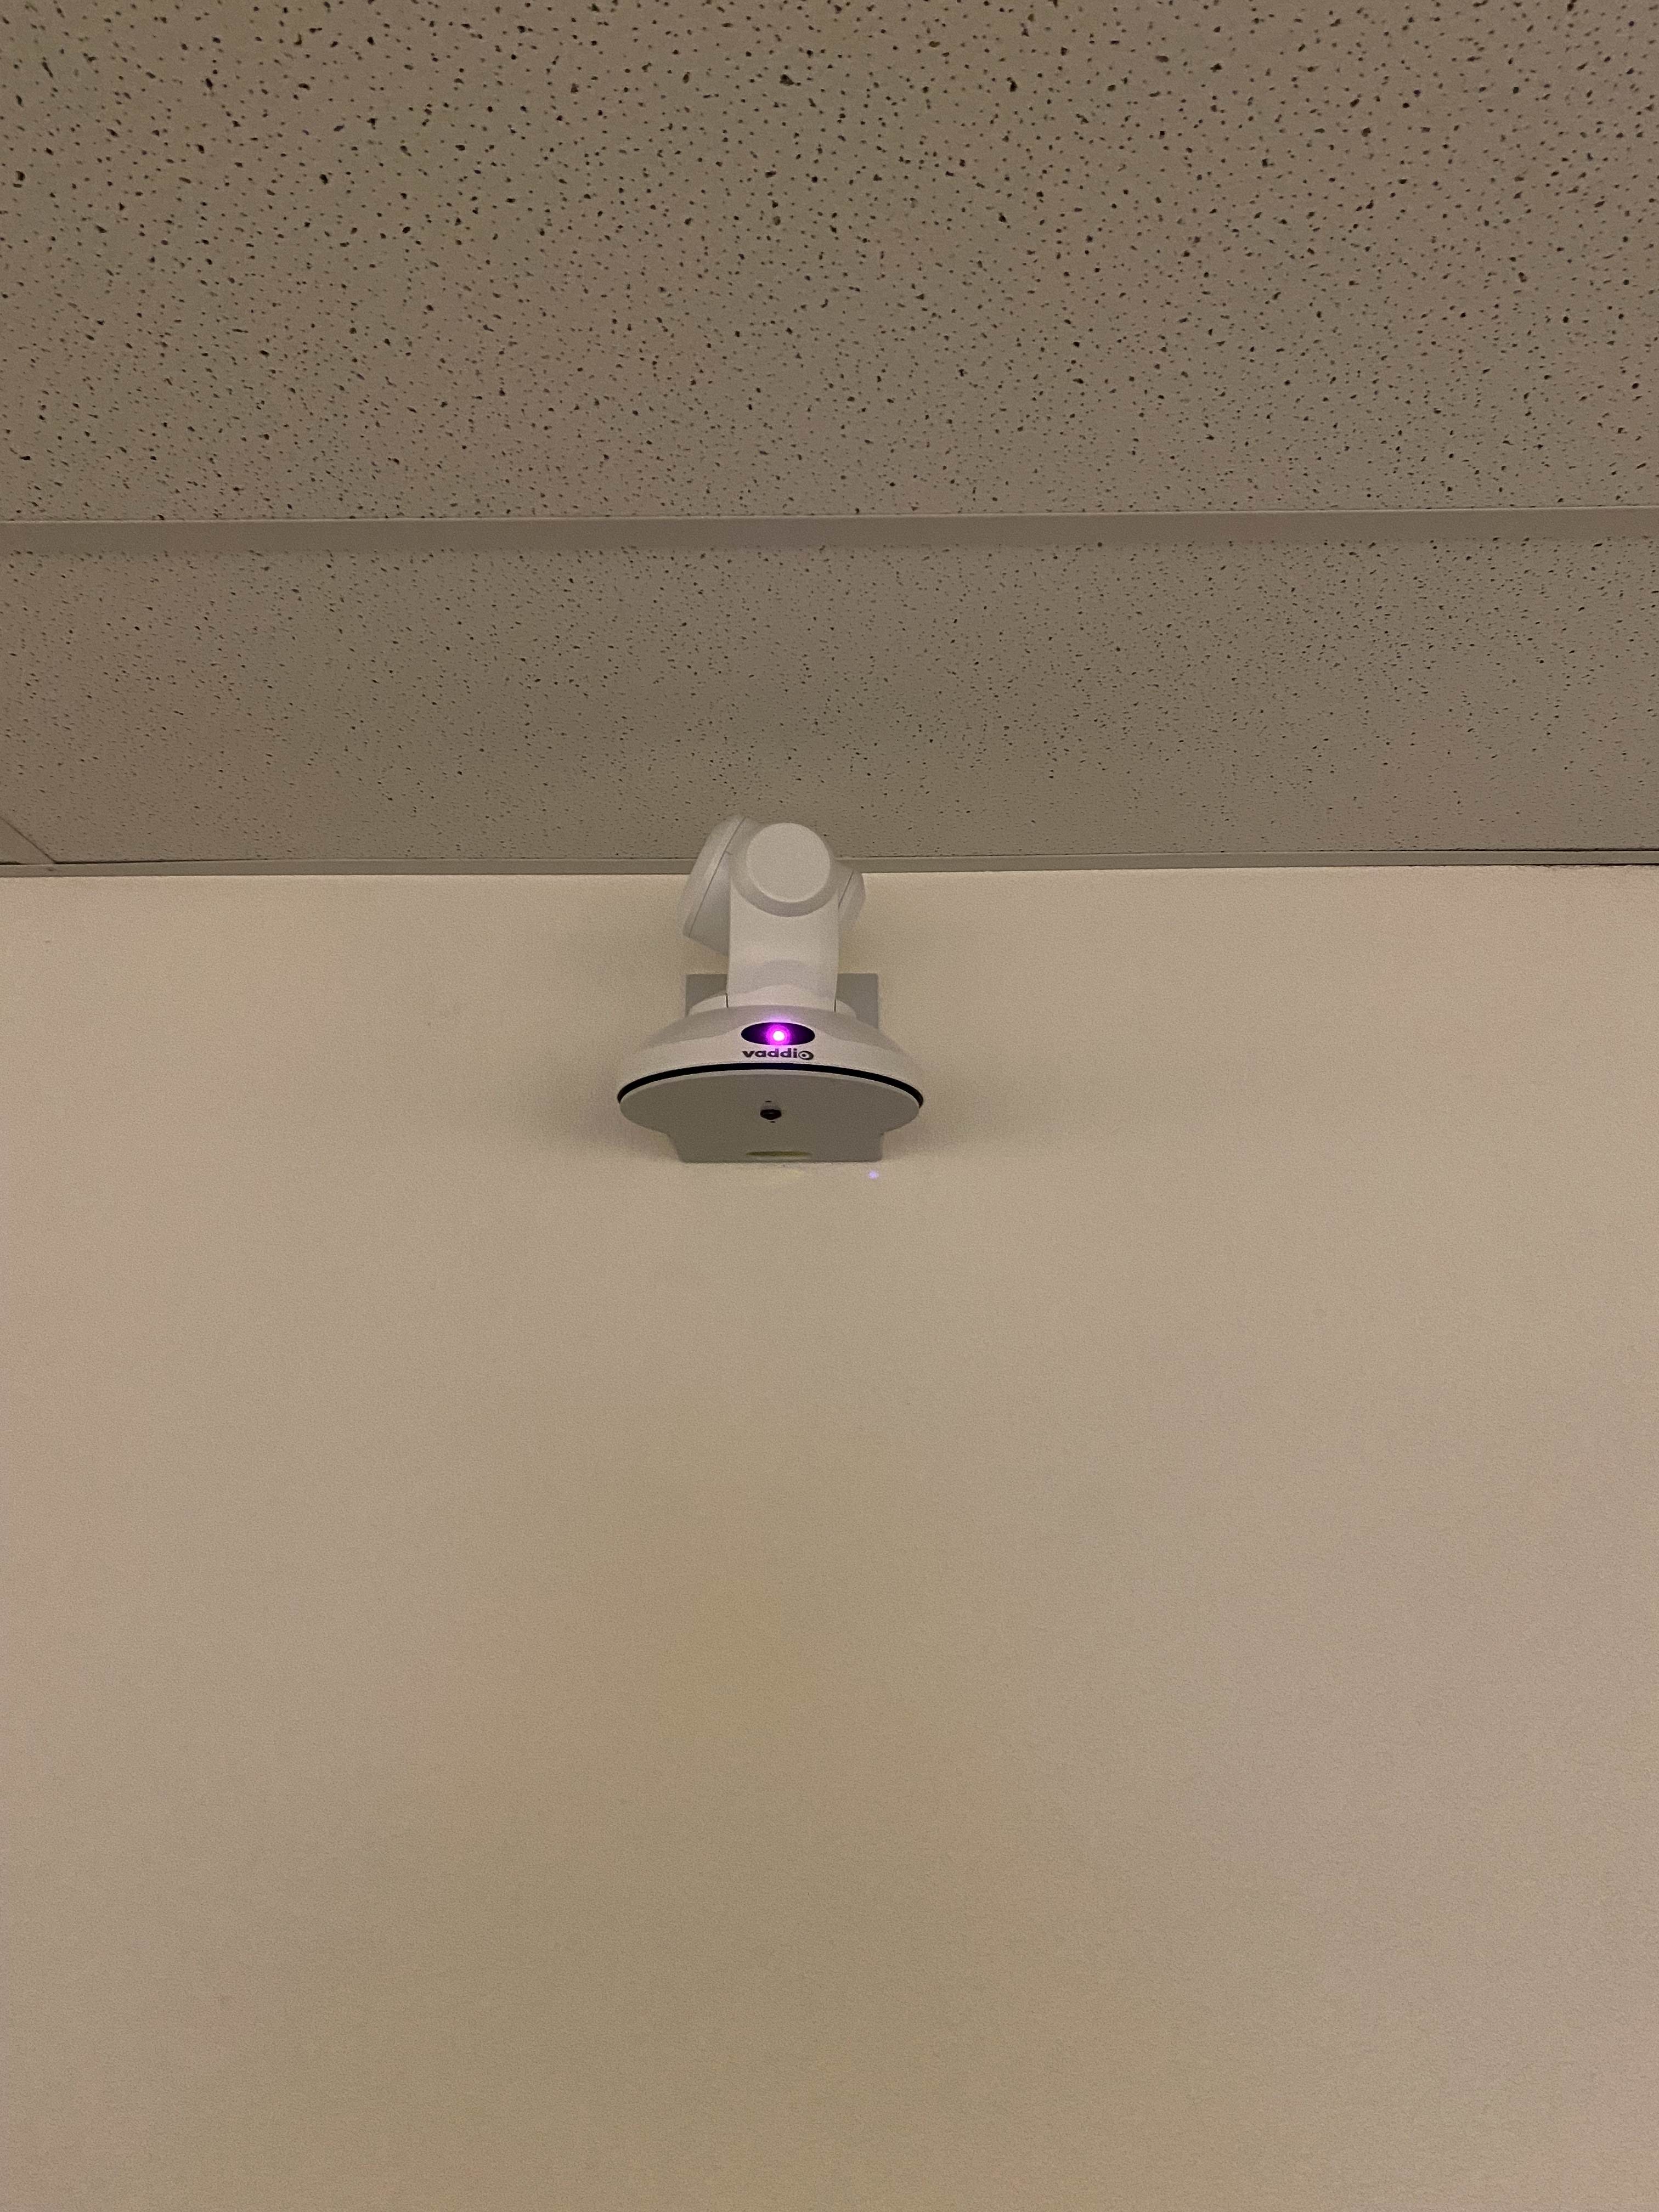
This room is equipped with Vaddio equipment which allows Video Teleconferencing for HyFlex options.
Using the Blu-Ray Player
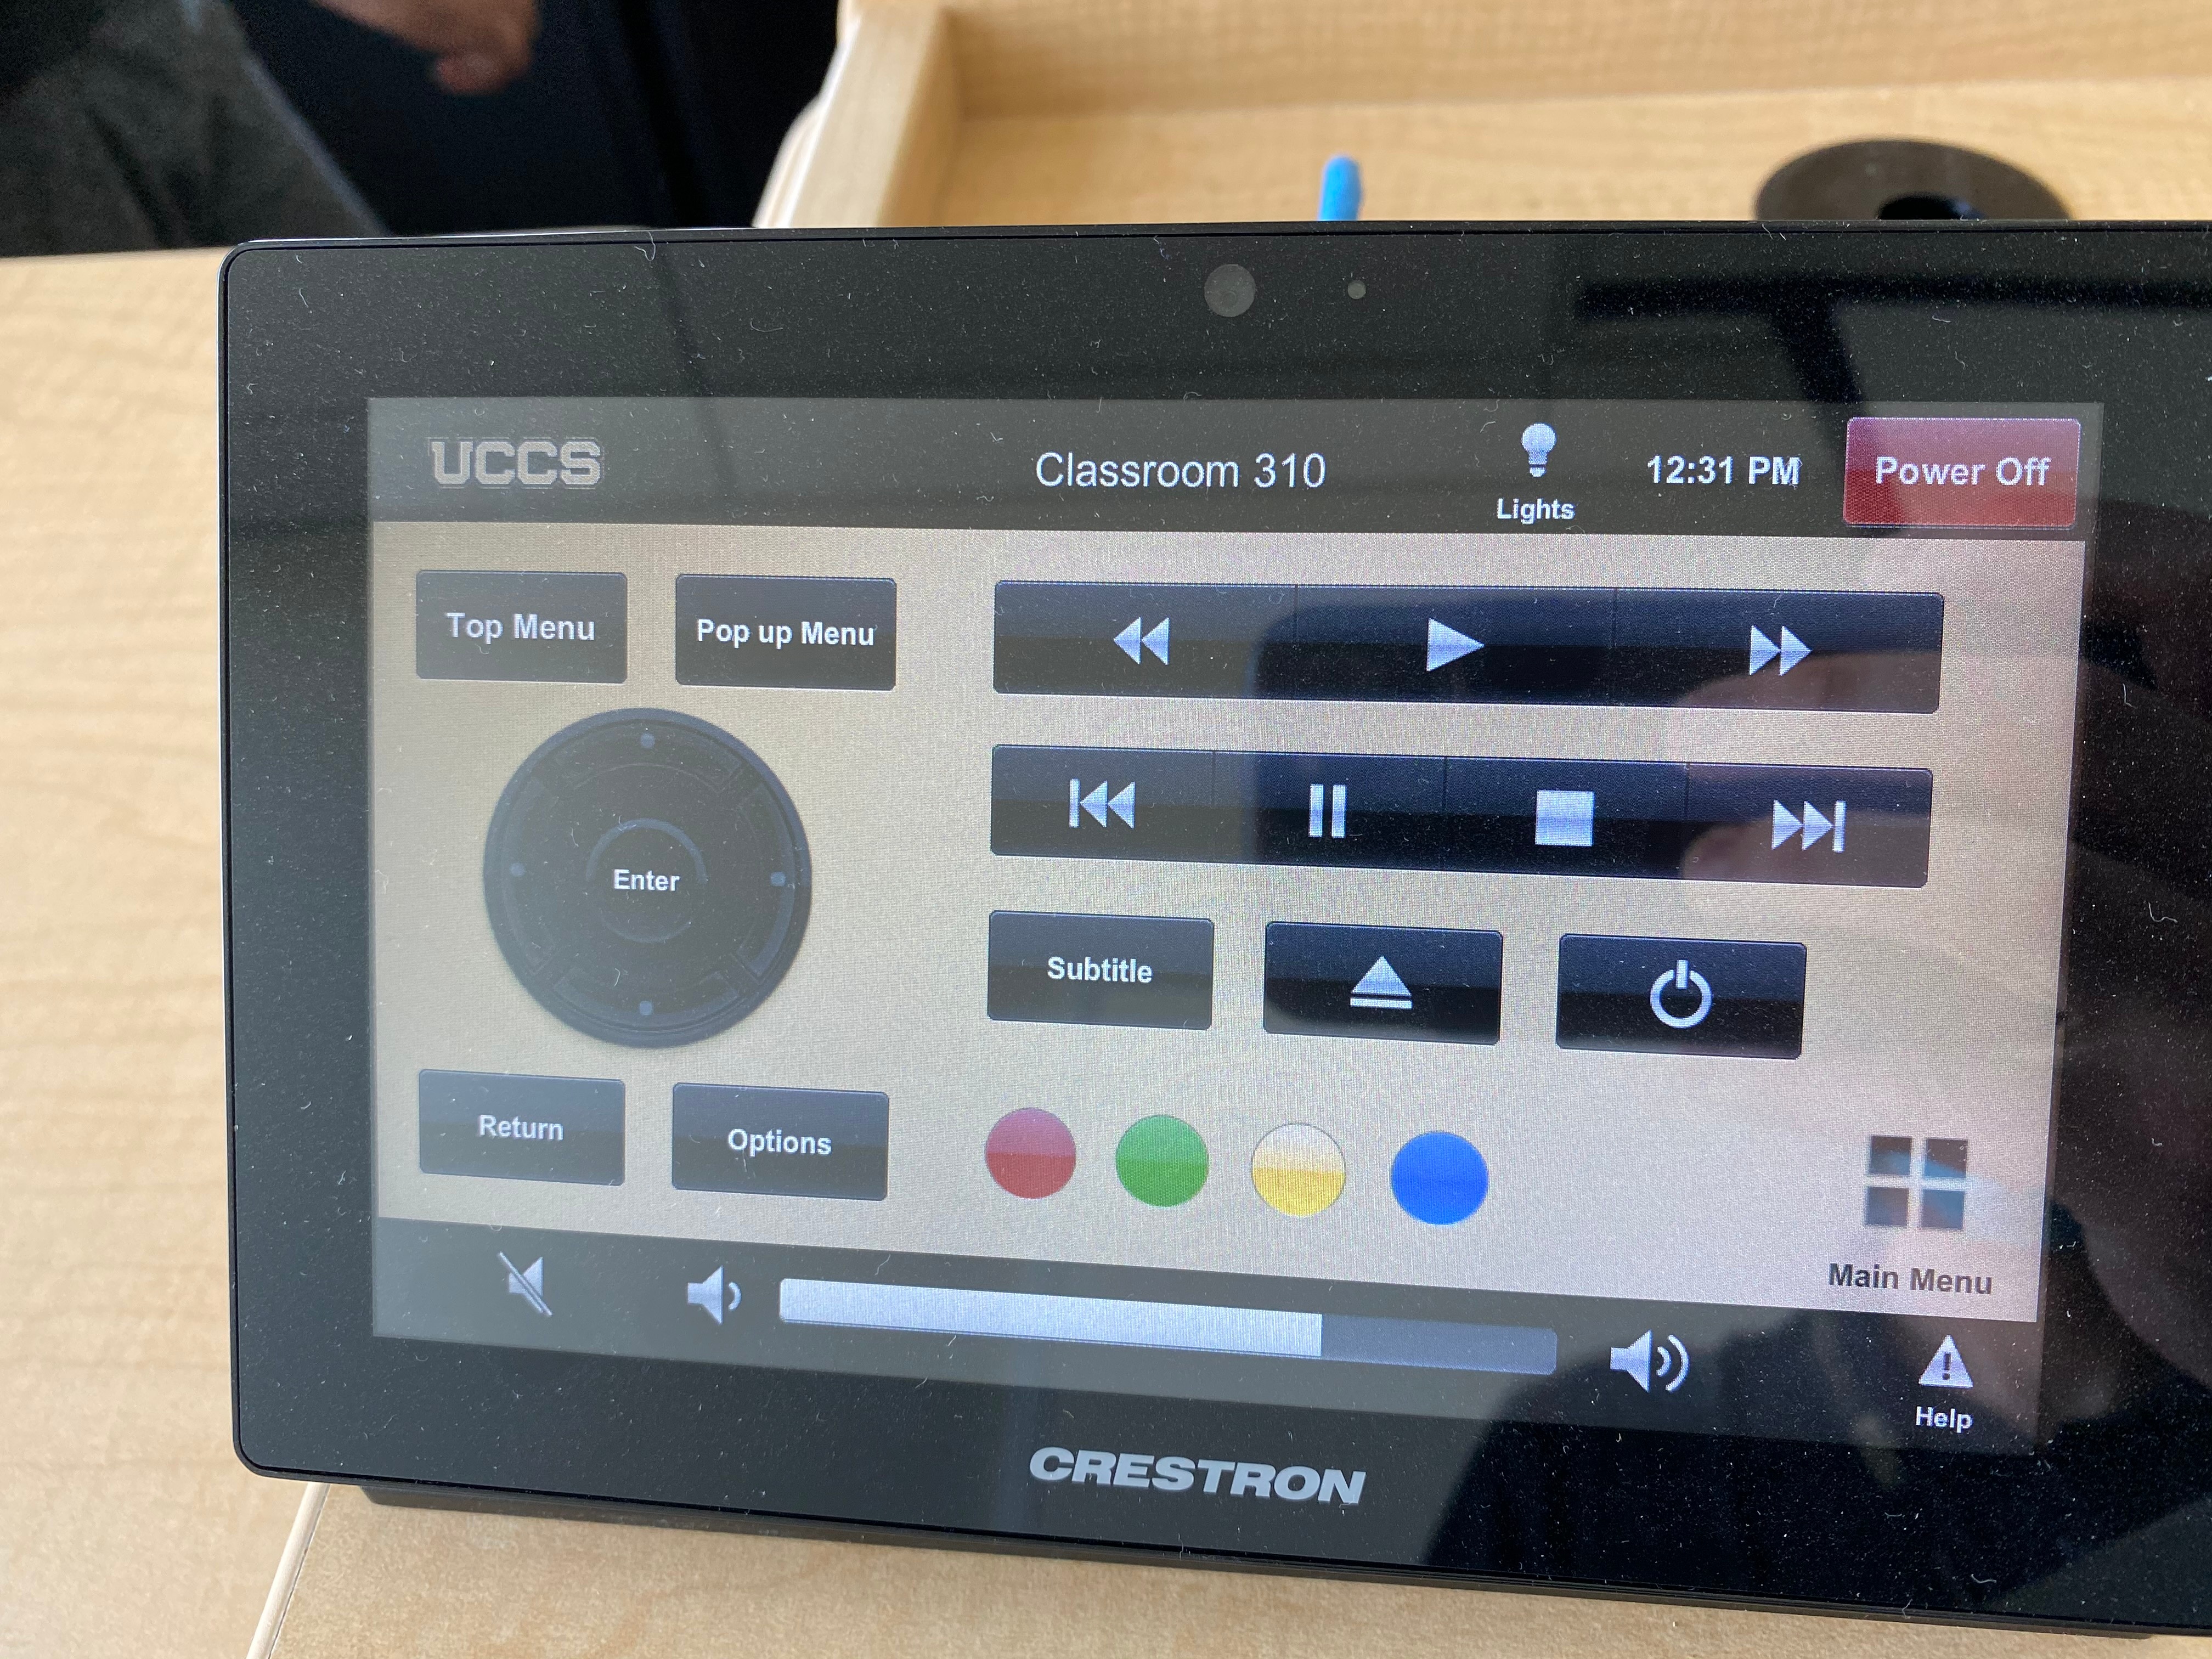
Selecting the Blu-ray source will open the Blu-ray control page. Use this page to turn on the player, open the disc drive, and navigate through the disc menus.
The Blu-ray player is located in the rack to the left of the lectern, just above the door.
Using Wireless Presentation

The AirMedia allows for wireless presentation of any device connected to the UCCS-Wireless network.
To connect to the AirMedia:
- Select the AirMedia source on the touch panel
- Open a web browser and enter the address listed on the touch panel or in the lower right corner of the screen
- Follow the instructions on the webpage to download the app to your device
- Enter the IP address and code to connect your device and start presenting
Screen Controls

The controls to raise and lower the projector screen are located on the wall behind the lectern. The screen does raise and lower automatically with the rest of the system. You may use this function to raise the screen and use the whiteboard while the projector is on or you can utilize the A/V Mute functionality mentioned above.
Troubleshooting
Audio Issues
Fixing Audio Issues: Standard Crestron Room
Video Issues
Fixing Video Issues: Standard Crestron Room
Vaddio/Hyflex VTC System
Photos
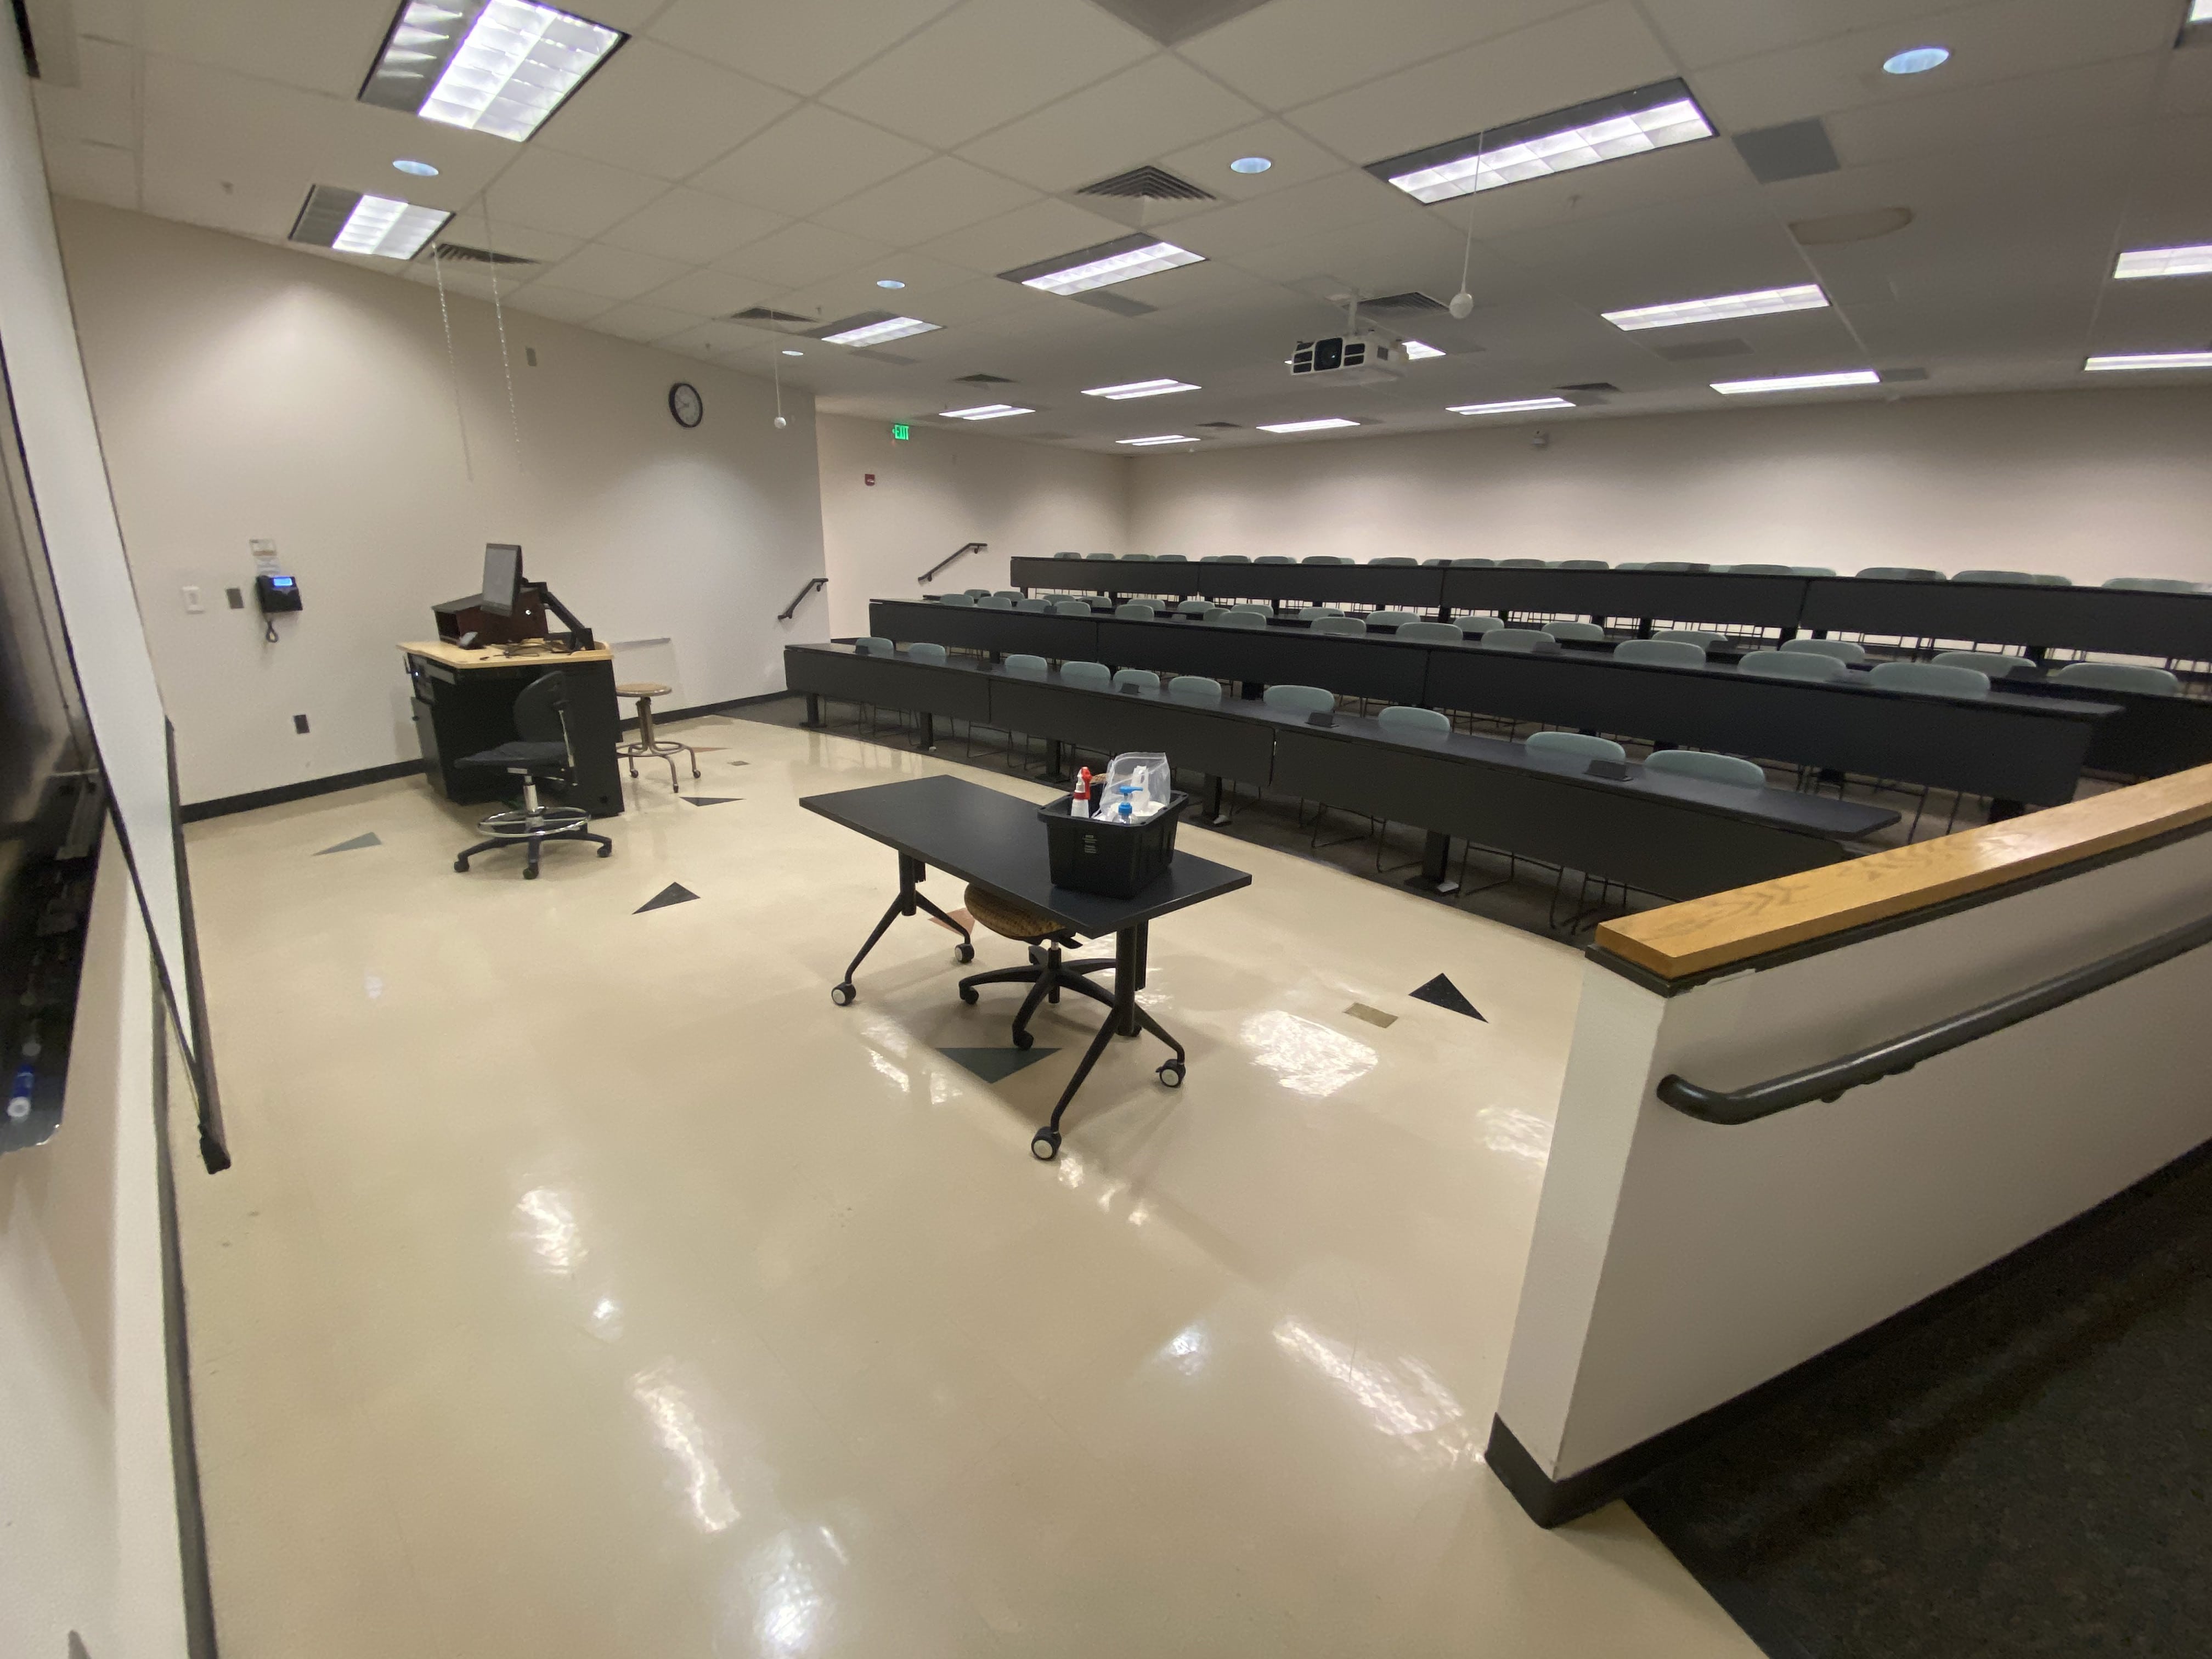
A large controlled classroom

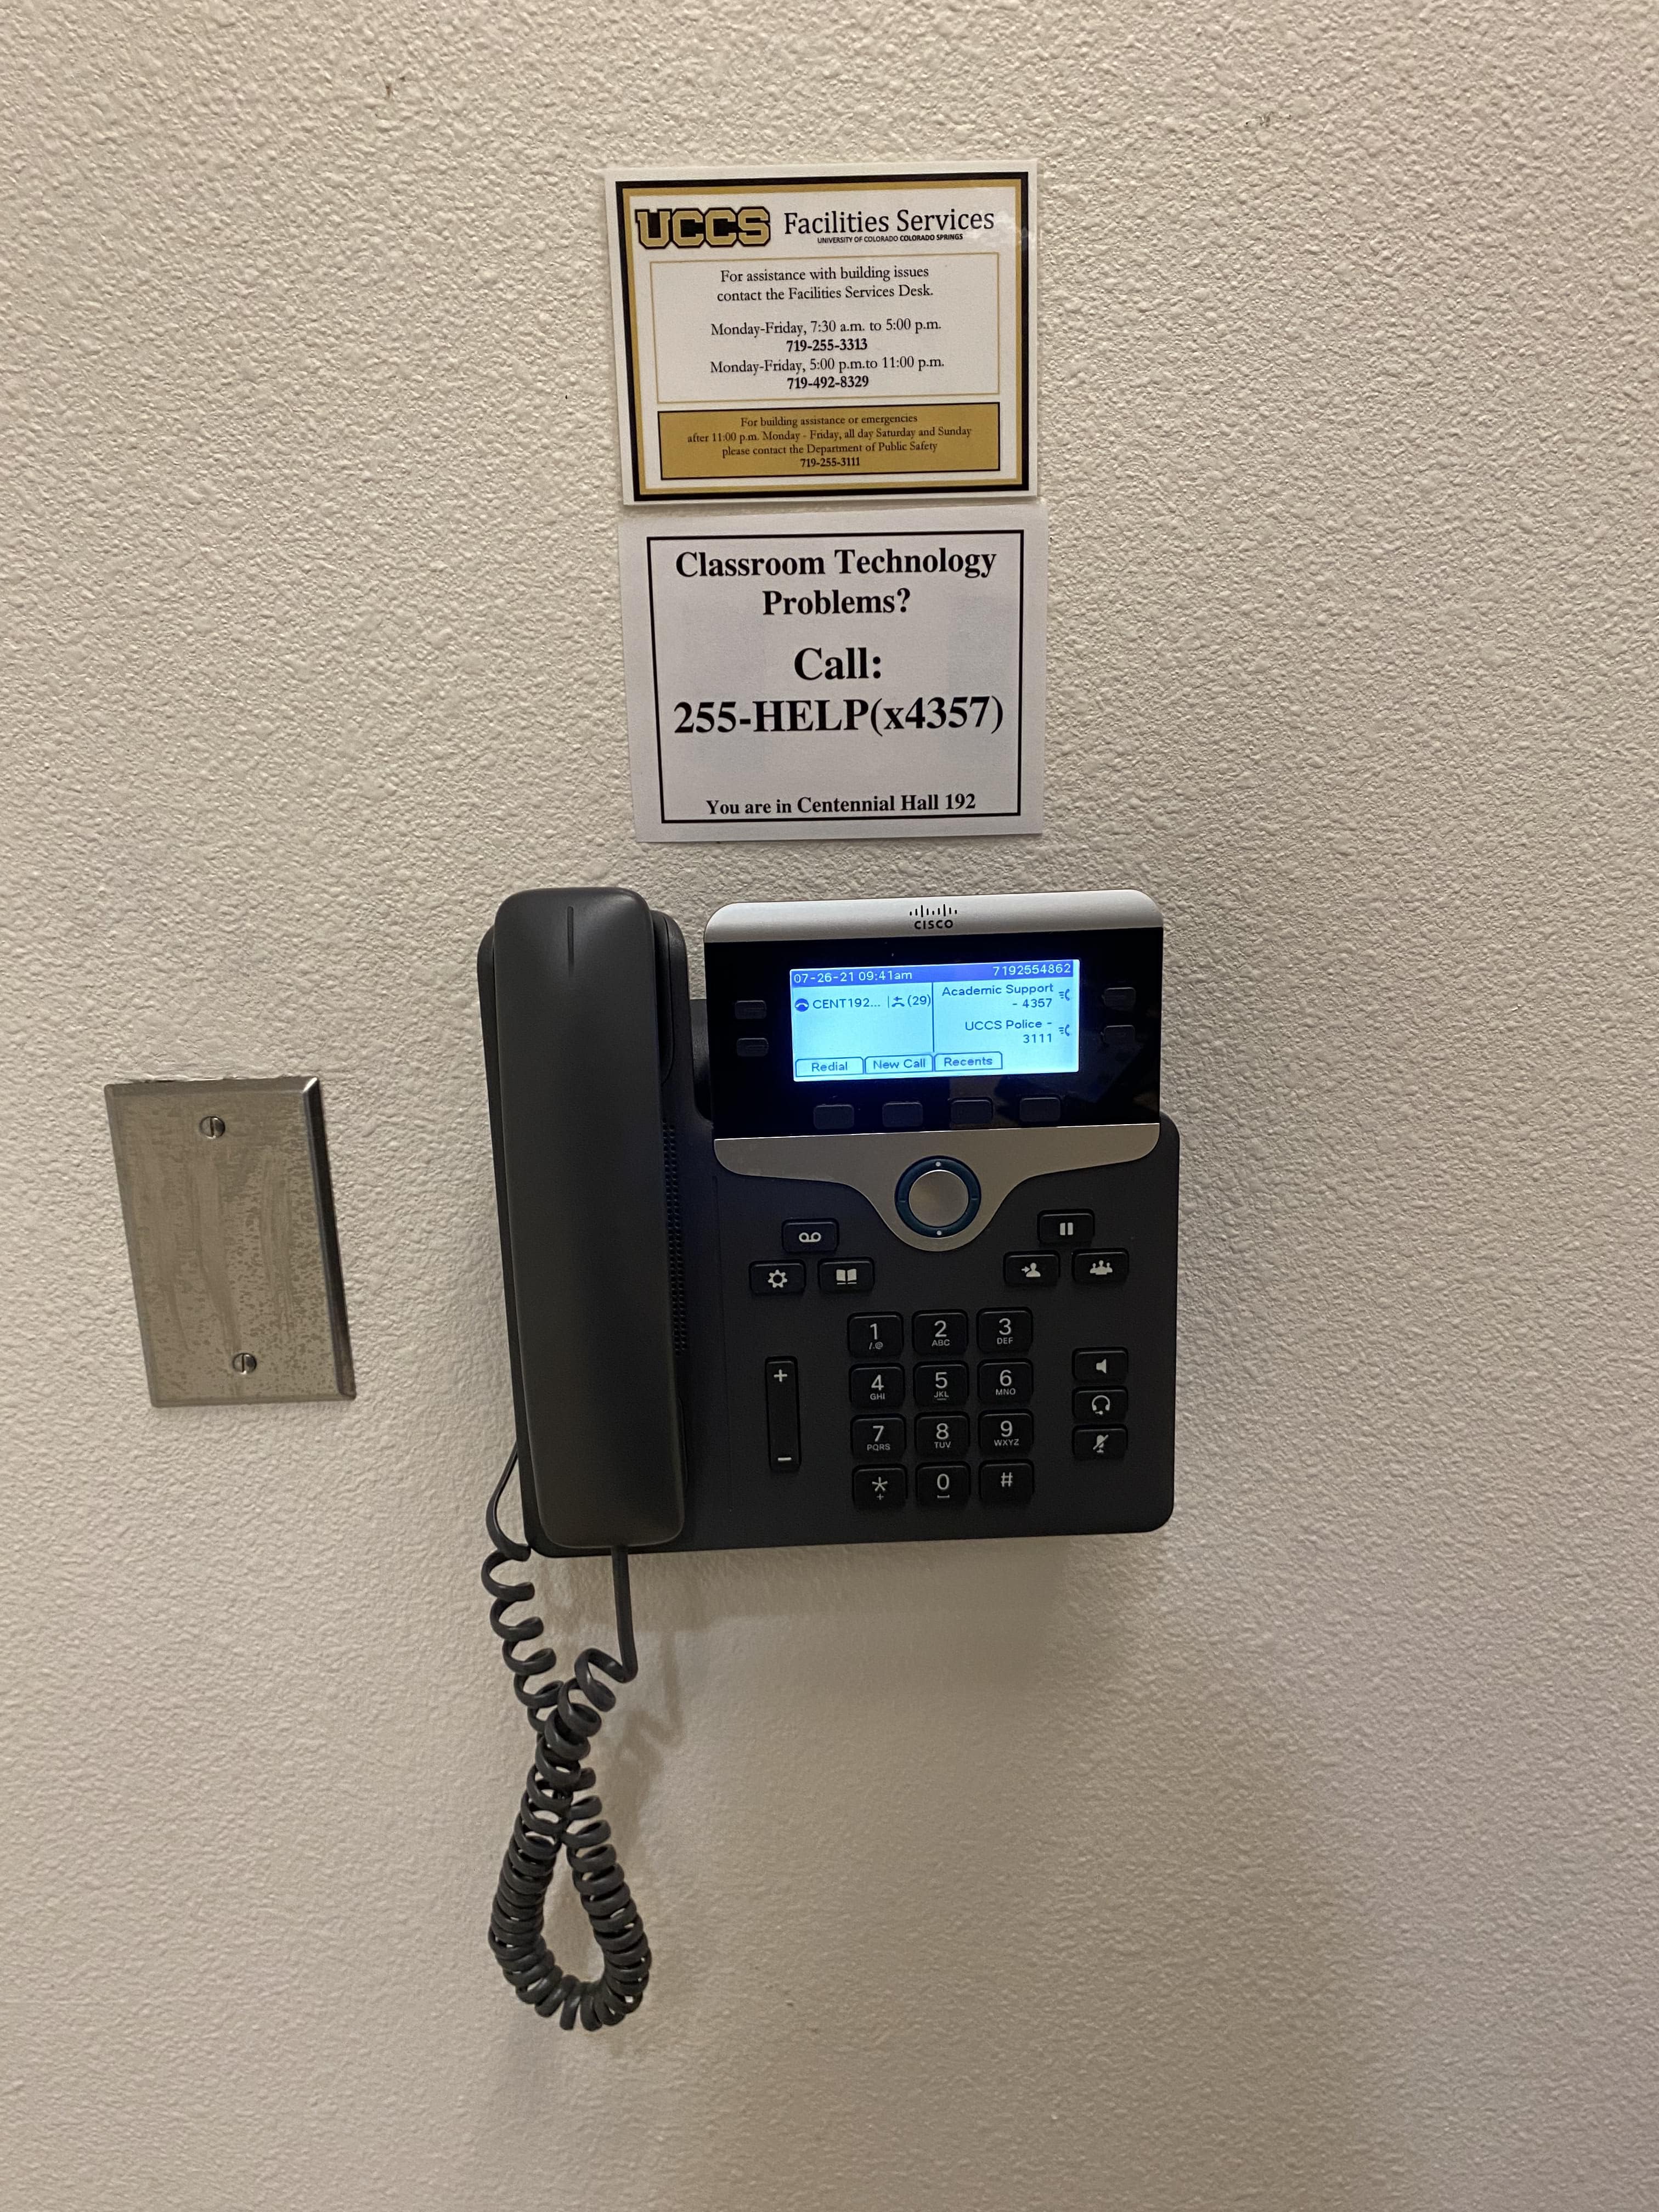
The phone, located on the wall to the left of the podium used for contacting university based persons or departments.

The projector for the room is mounted on the ceiling.
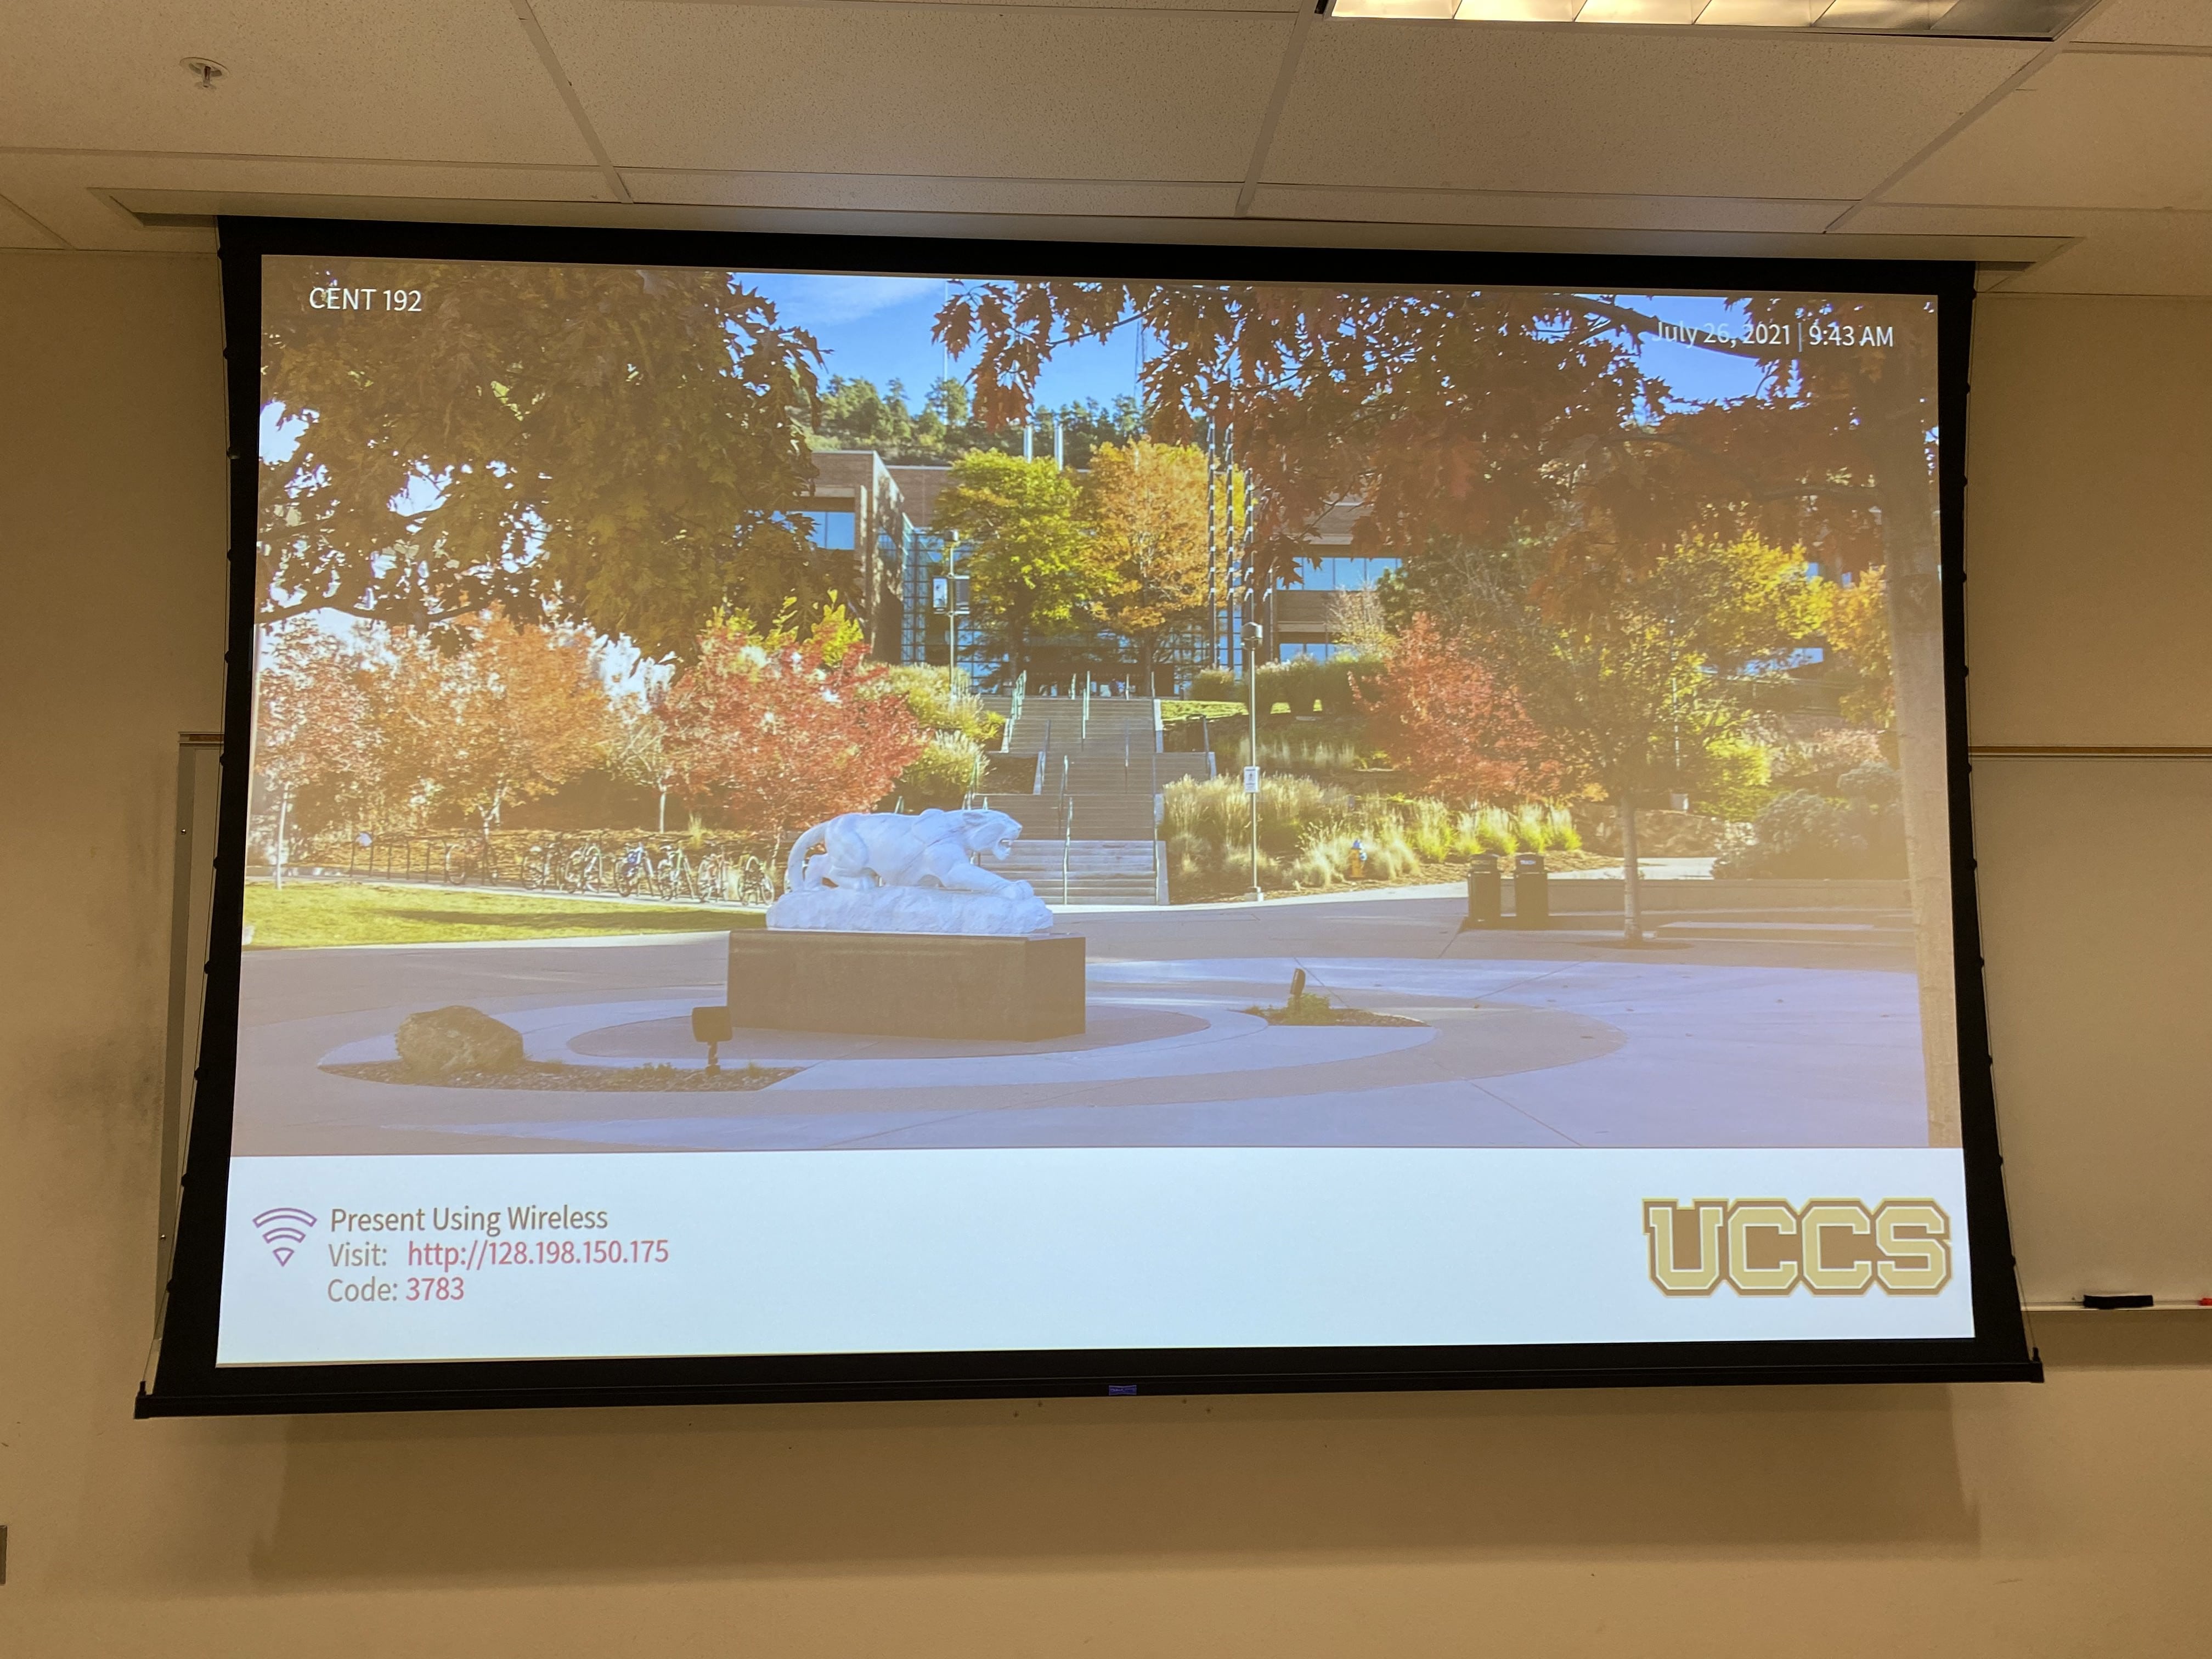
A large screen
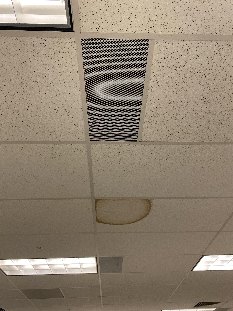
Microphones hanging from the ceiling and rectangular speakers built into the ceiling.