en299-p1 is a Konica Minolta Bizhub C360i.
To start, visit this site to download the drivers: https://onyxweb.mykonicaminolta.com/onestopproductsupport?appMode=public&productId=2175&categoryId=1&subCategoryId=undefined
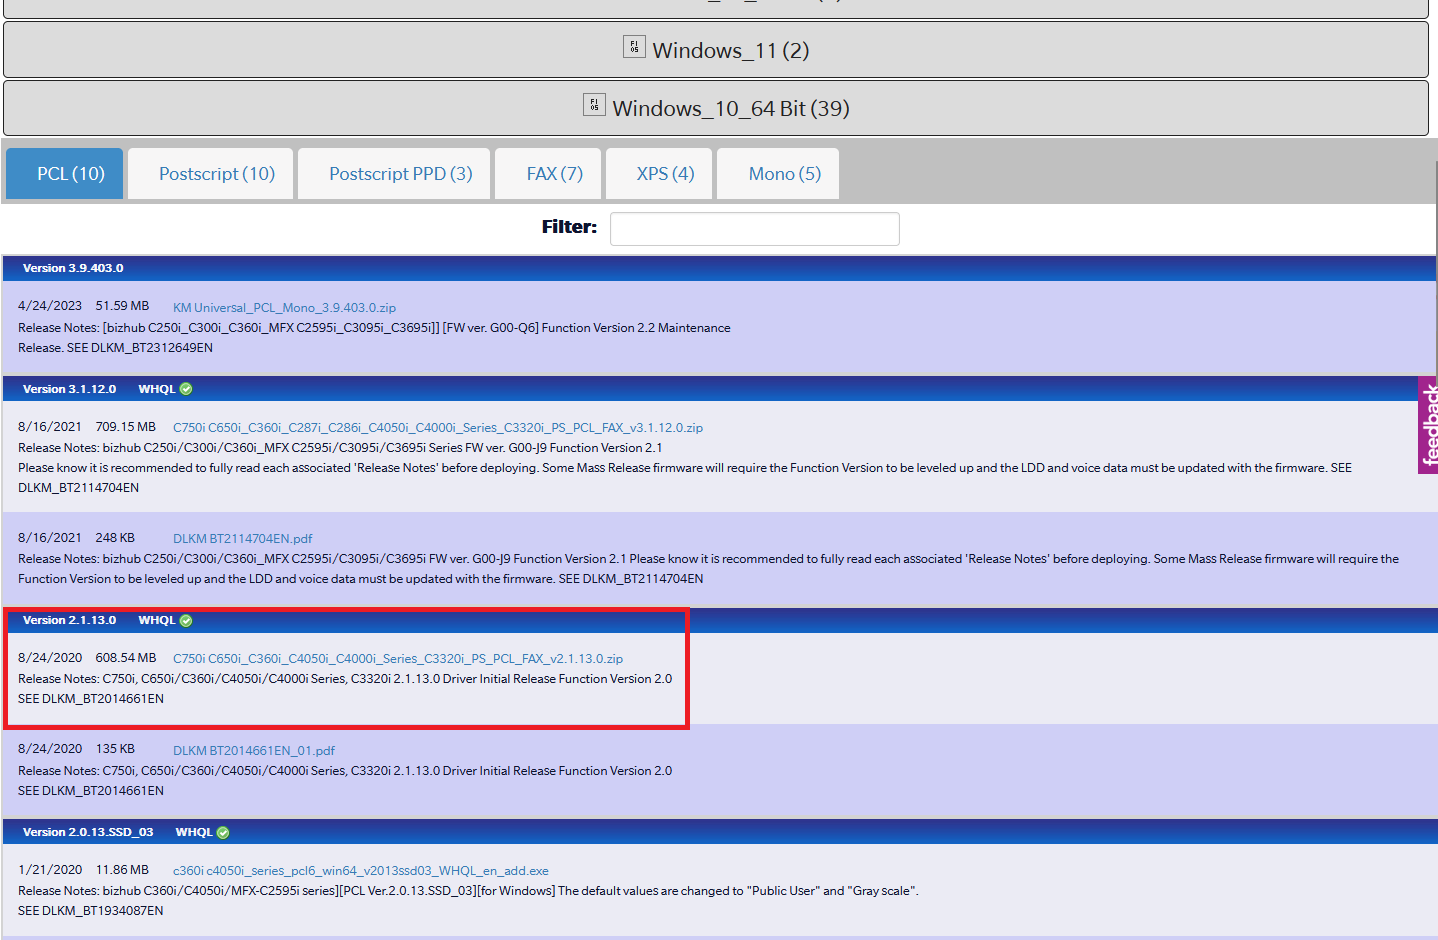
Under "Windows_10_64 Bit" look for the file from 8/24/2020 Version 2.1.13.0 and click on it to download it
The file will download zipped, so we will have to unzip it. For this, open file explorer and find the file that was just downloaded

Right click on it and click "Extract all" 
Click on "Browse"

Make sure desktop is selected and click "Select Folder" then click "Extract" to extract the zipped file to the desktop
Open the Settings and navigate to printers, then click Add a printer or scanner

Even if the printer shows up in the list of available printers, scroll down to the bottom of the list and select The printer I want isn't listed |

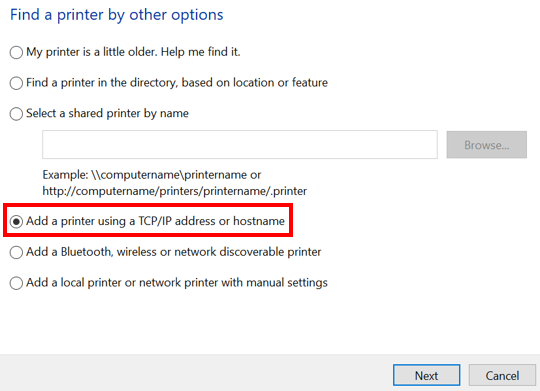
On the pop-up box, select Add a printer using TCP/IP address or hostname, then click Next
For the Device type: select TCP/IP Device, and for the Hostname or IP address: enter in the full name of the printer with the .uccs.edu at the end
Uncheck the box next to Query the printer and automatically select the driver to use, then click Next

When prompted with a page asking for a driver to use for the printer, select Have Disk. We are going to use the driver we downloaded from the manufacturer to add the printer

Click Browse on the next page, then navigate to the desktop which is where we extracted the files
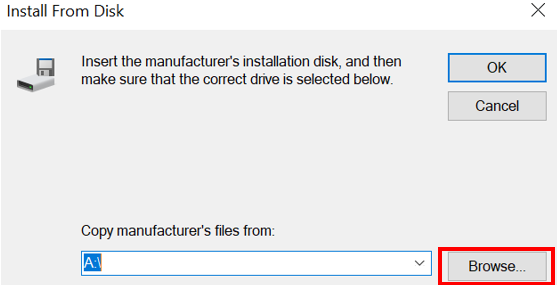
Follow this path for this printer: Desktop/Driver/Drivers/PCL/EN/Win_x64/ Select the "KOAXJJ_.inf" file
The bottom box should populate with the path to the correct driver, so click OK

Select the make and model of the printer. This printer is a Konica Minolta Bizhub C360i

The name will fill with the type of the printer you selected. To make this easier for the user, always add the name of the printer before the auto-filled type so they know what printer they are selecting when they print, and so they can easily find the name of the printer later if we need to troubleshoot
Once the name has been filled in, click Next. You will be presented with a page below notifying you the printer is being installed.
You can name this printer: EN299-P1.uccs.edu

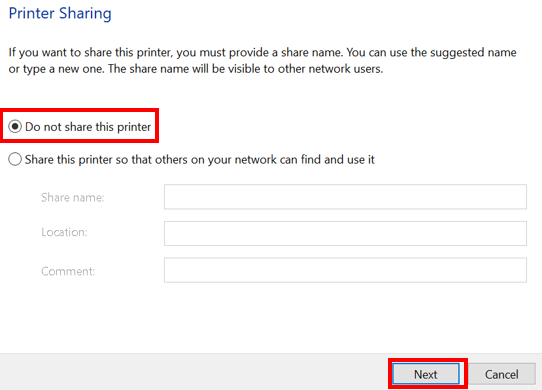
Once the printer is done installing, select Do not share this printer, then click Next
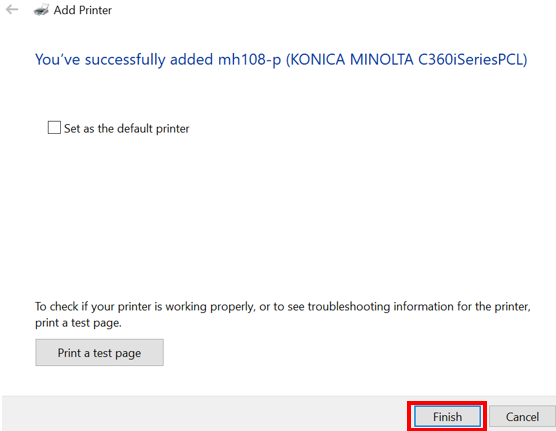
You'll then be presented with a page saying you successfully added the printer. Click Finish, then go back to the printer page to make sure it was successfully added
At this point the printer will be fully installed on the computer and is ready for use. This printer does not require any accounting codes