This guide will assist you in adding the HSMP456-P printer to your Windows device. If you have a Mac computer, or if you have tried all the steps below and you are still having issues, please contact the OIT Service Desk with the options listed on our website: Get Help | Office of Information Technology (uccs.edu)
We will be more than happy to help you get connected!
Step 1: Ensure You Can Connect to the Printer
Before you start, make sure that you are able to connect to the printer. To test this, open a web browser and navigate to http://hsmp456-p.uccs.edu/
When you go there, if you see the following page, you are successfully connected!

Step 2: Download the Correct Driver
Download the appropriate driver from the link here: https://cscsupportftp.mykonicaminolta.com/DownloadFile/Download.ashx?fileversionid=34212&productid=2091
Once downloaded, extract the zip to a folder.
Right click the zip file, and choose "Extract All..."
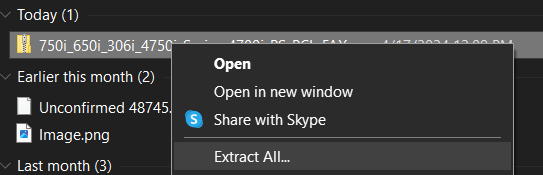
Then, you can choose the destination, or just select "Extract" to default to the Downloads folder.

Step 3: Install the Printer
- Go to "Printers & Scanners" in the Windows Settings.

- Choose "Add a printer or scanner".
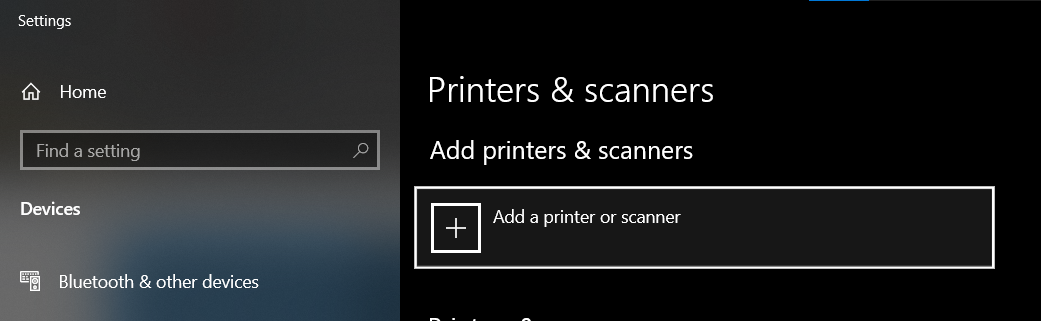
- Wait for a few seconds until "The printer that I want isn't listed" is shown at the bottom of the list. Click the "The printer that I want isn't listed" button.

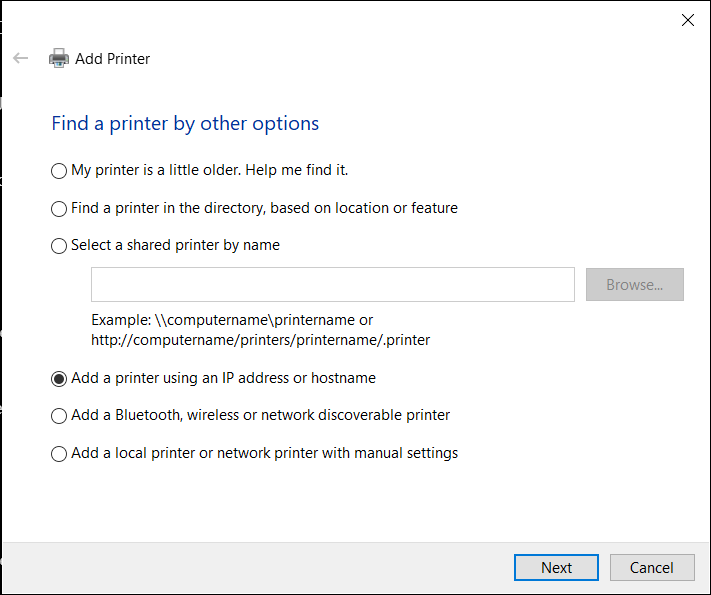
- Choose "Add a printer using an IP address or hostname". Choose "Next"
- For Device type, choose TCP/IP Device.

- For Hostname or IP address, enter hsmp456-p.uccs.edu
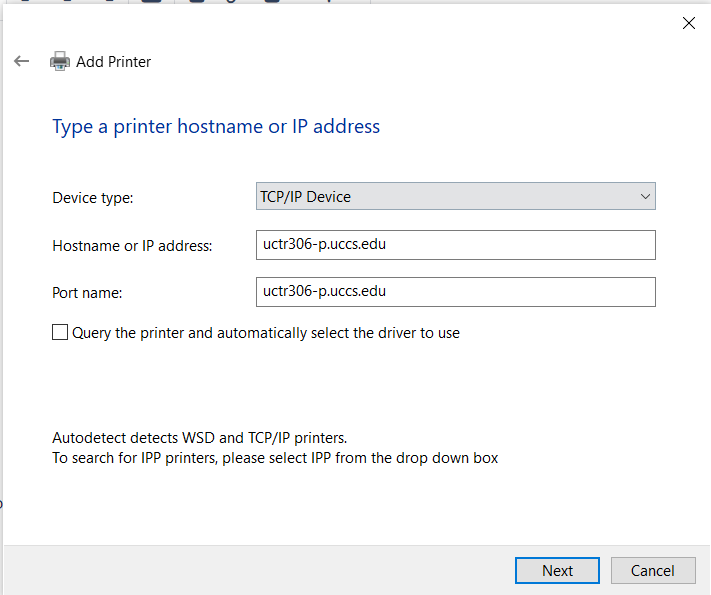
- Uncheck "Query the printer and automatically select the driver to use". Click Next.

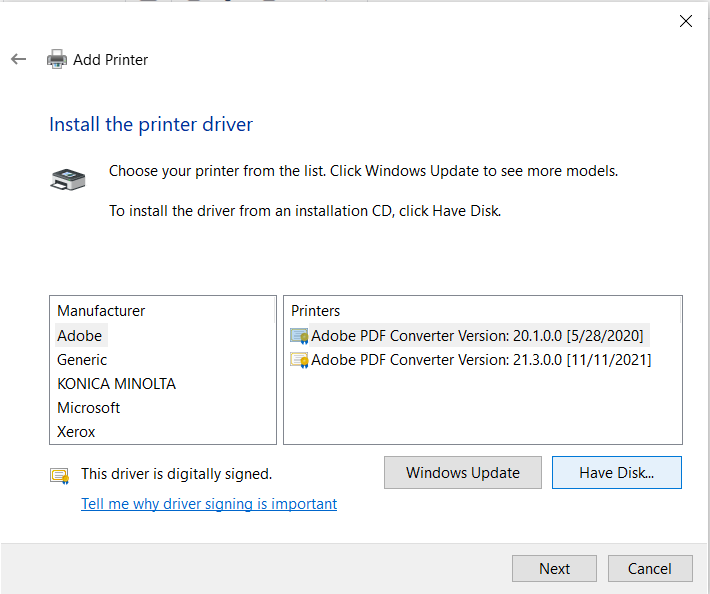
- Choose "Have Disk".
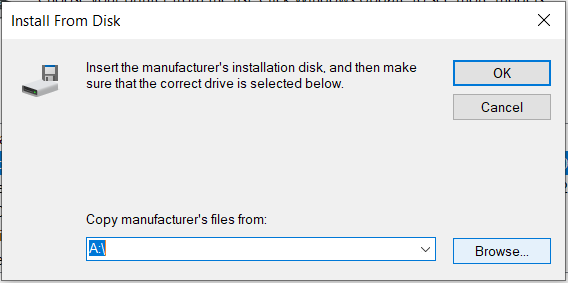
- Then, choose "Browse" and locate the folder to which you extracted the Zip file to.
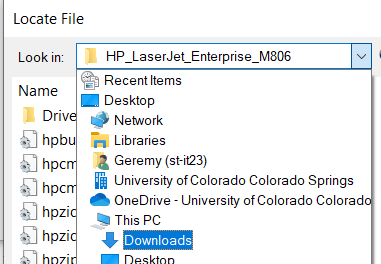
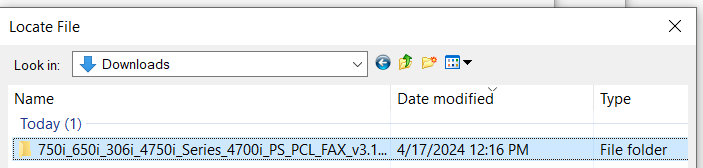
- Then, open the folders until you find the driver. The path will be "750i_650i_306i_4750i_Series_4700i_PS_PCL_FAX_v3.1.12.0 > Drivers > PCL > EN > Win_x64 > KOAXDJ__.inf". Select the file, and choose "Open"
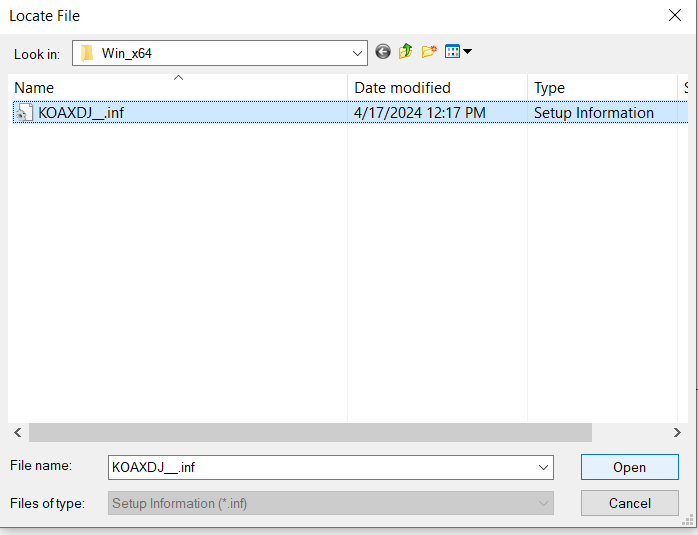
- Choose "OK"
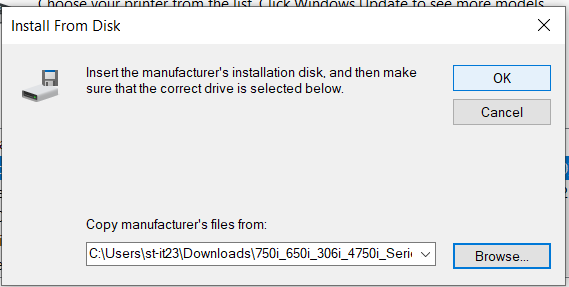
- Select "KONICA MINOLTA 650iSeriesPCL" and choose "Next".

- Rename the printer to hsmp456-p.uccs.edu (Konica Minolta BizHub 458e) and select "Next".

- Ensure the "Do not share this printer" option is selected and select "Next".
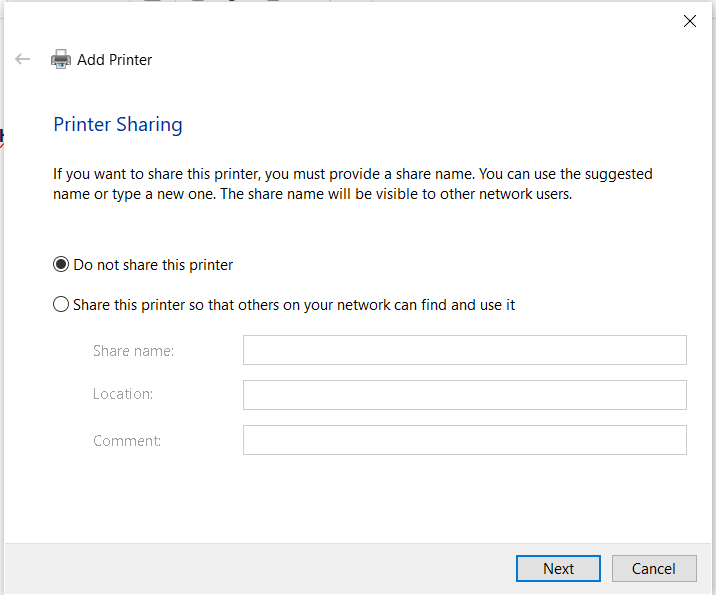
- If you would like, check the "Set as the default printer" box.
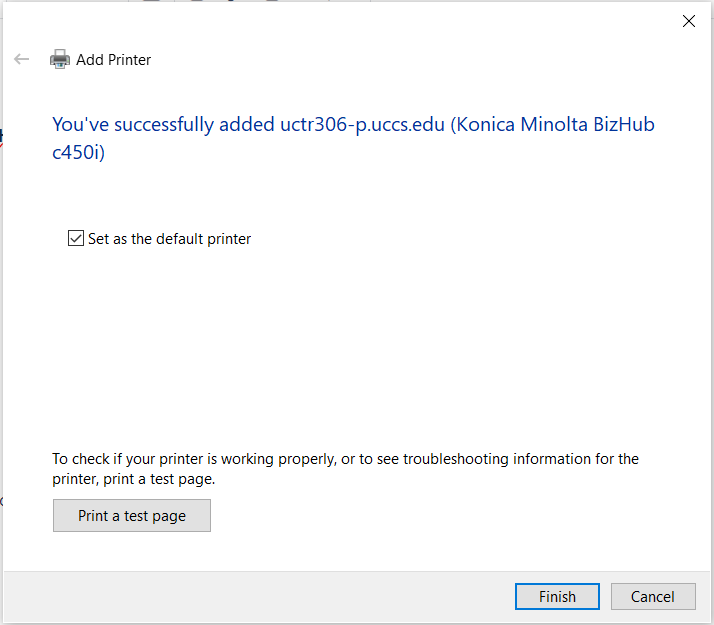
- Click "Finish"
Step 4: Add Accounting Code
- Go to back to Printers & Scanners and select the hsmp456-p.uccs.edu (Konica Minolta BizHub 458e) printer.
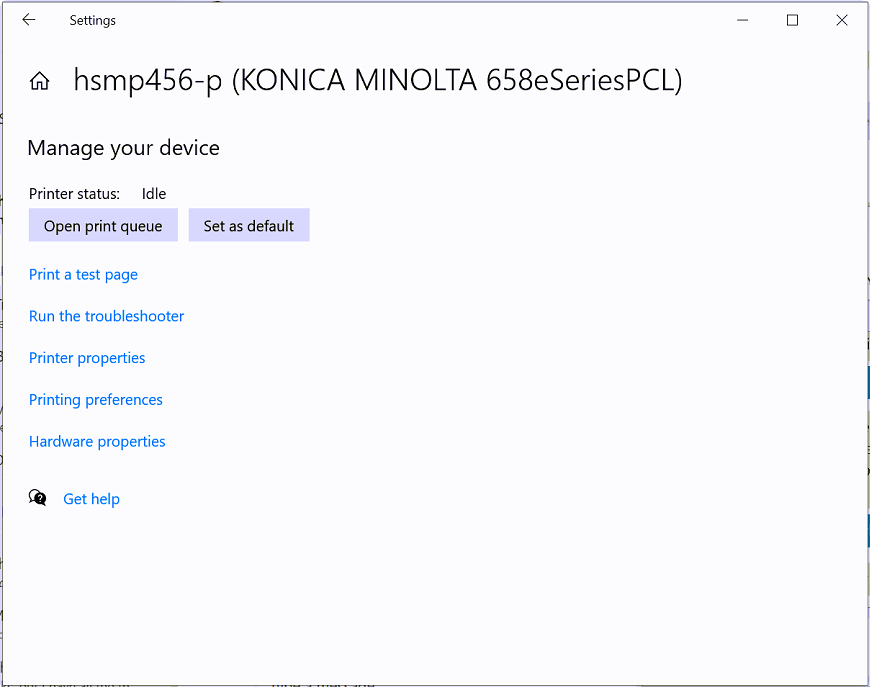
- Choose "Printing preferences"

- That will open the following window.
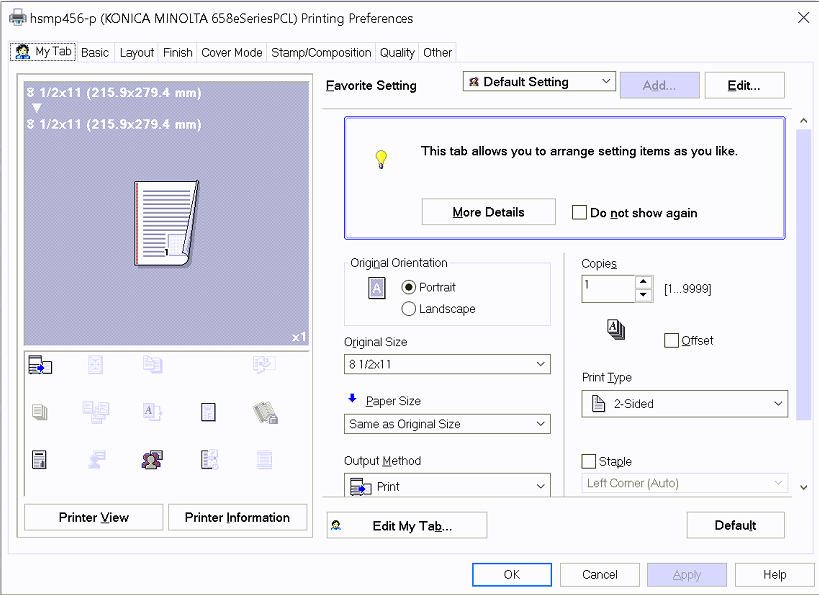
- Choose the "Basic" tab at the top.

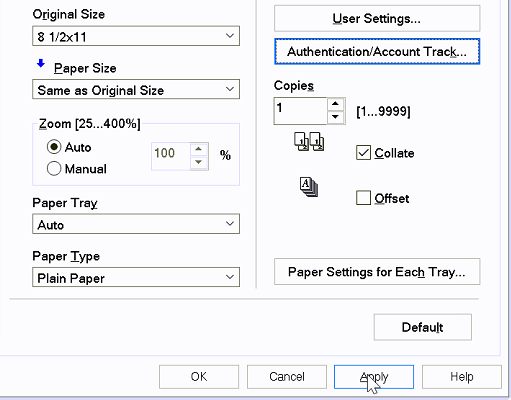
- Choose "Authentication/Account Track..."

- That will open the following window.

- Enter your 4-digit accounting code here (if you do not have a code set up, you will need to get one configured through your department).

- After you enter your code, choose "Verify". If you entered a valid code, you will receive this message.

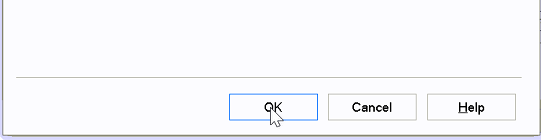
- Click "OK"
- Click "Apply" and then "OK".
Step 5: Test Print Functionality
Go back to the hsmp456-p.uccs.edu (Konica Minolta BizHub 458e) page in "Printers & Scanners".
Choose "Print a test page" and make sure that the job completes successfully.

Still Having Issues?
If you have tried all the steps above and you are still having issues, please contact the OIT Service Desk with the options listed on our website: Get Help | Office of Information Technology (uccs.edu)
We will be more than happy to help you get connected!