If you need to add a single asset to Snipe, follow these steps. For adding of large amounts of devices all at once, see "Bulk Import of Assets".
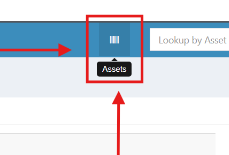
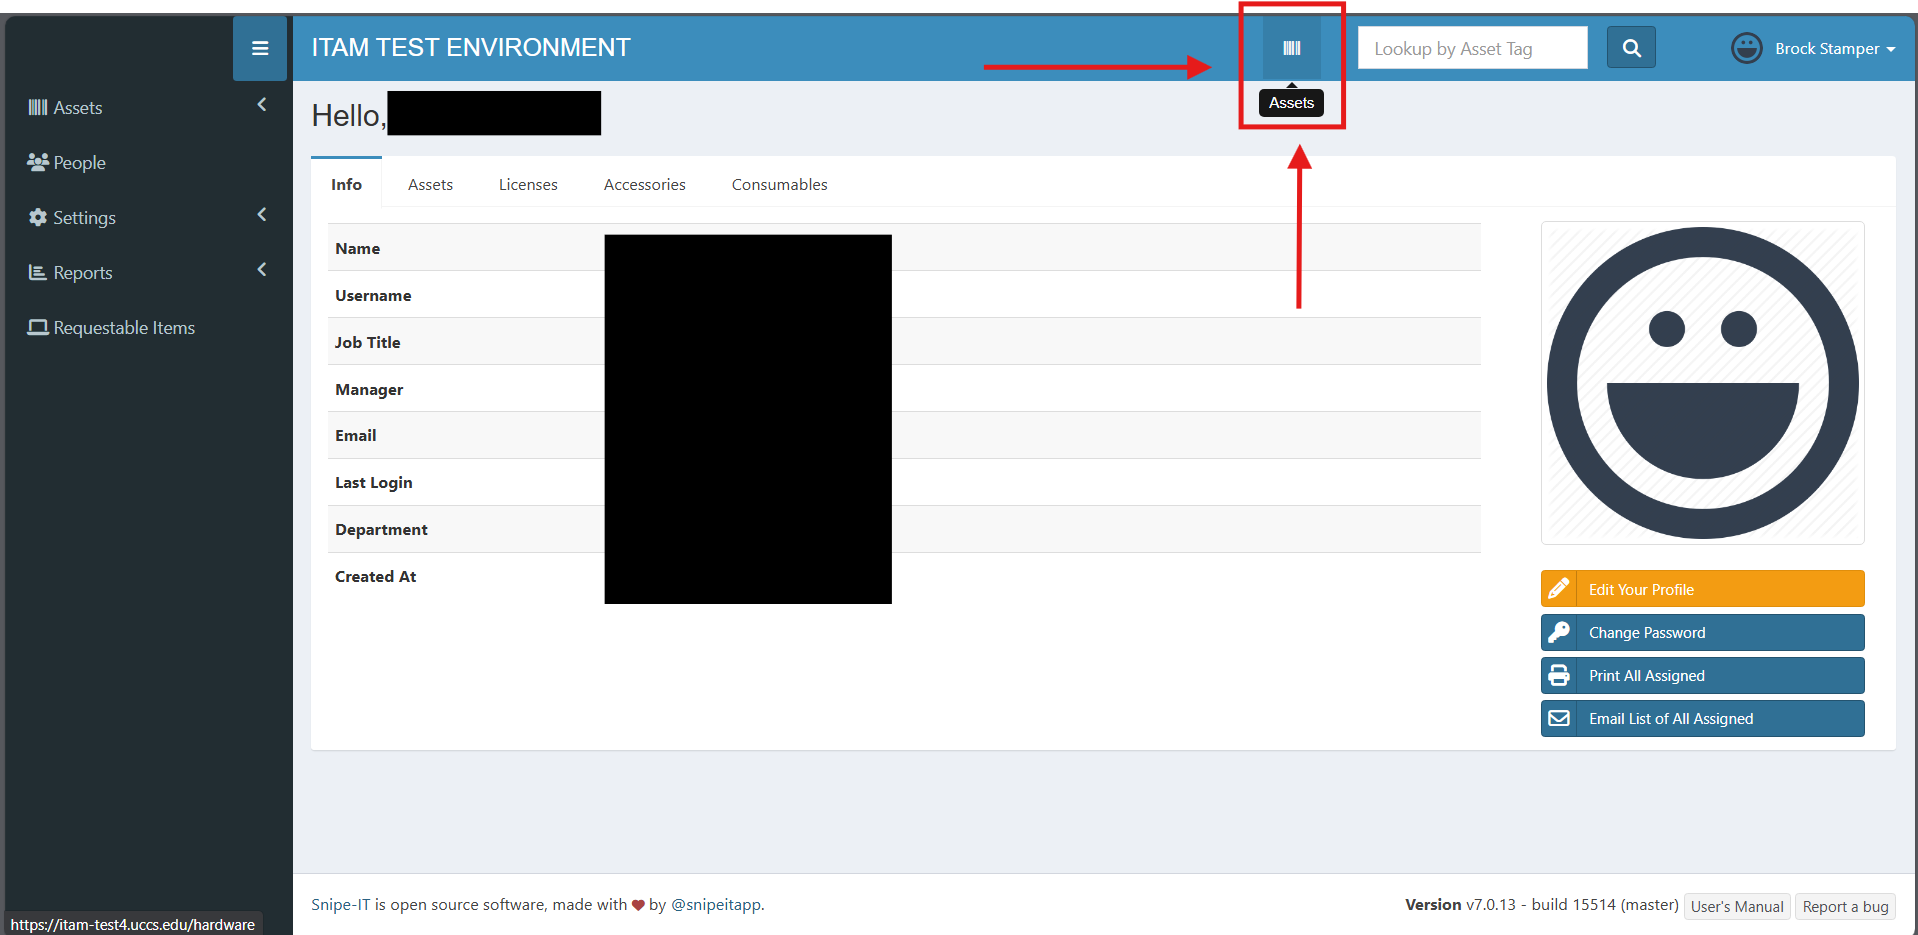
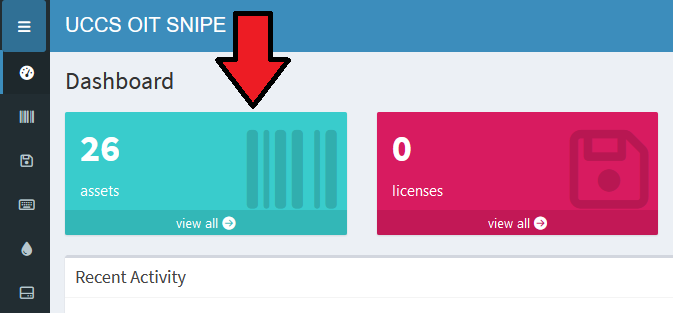
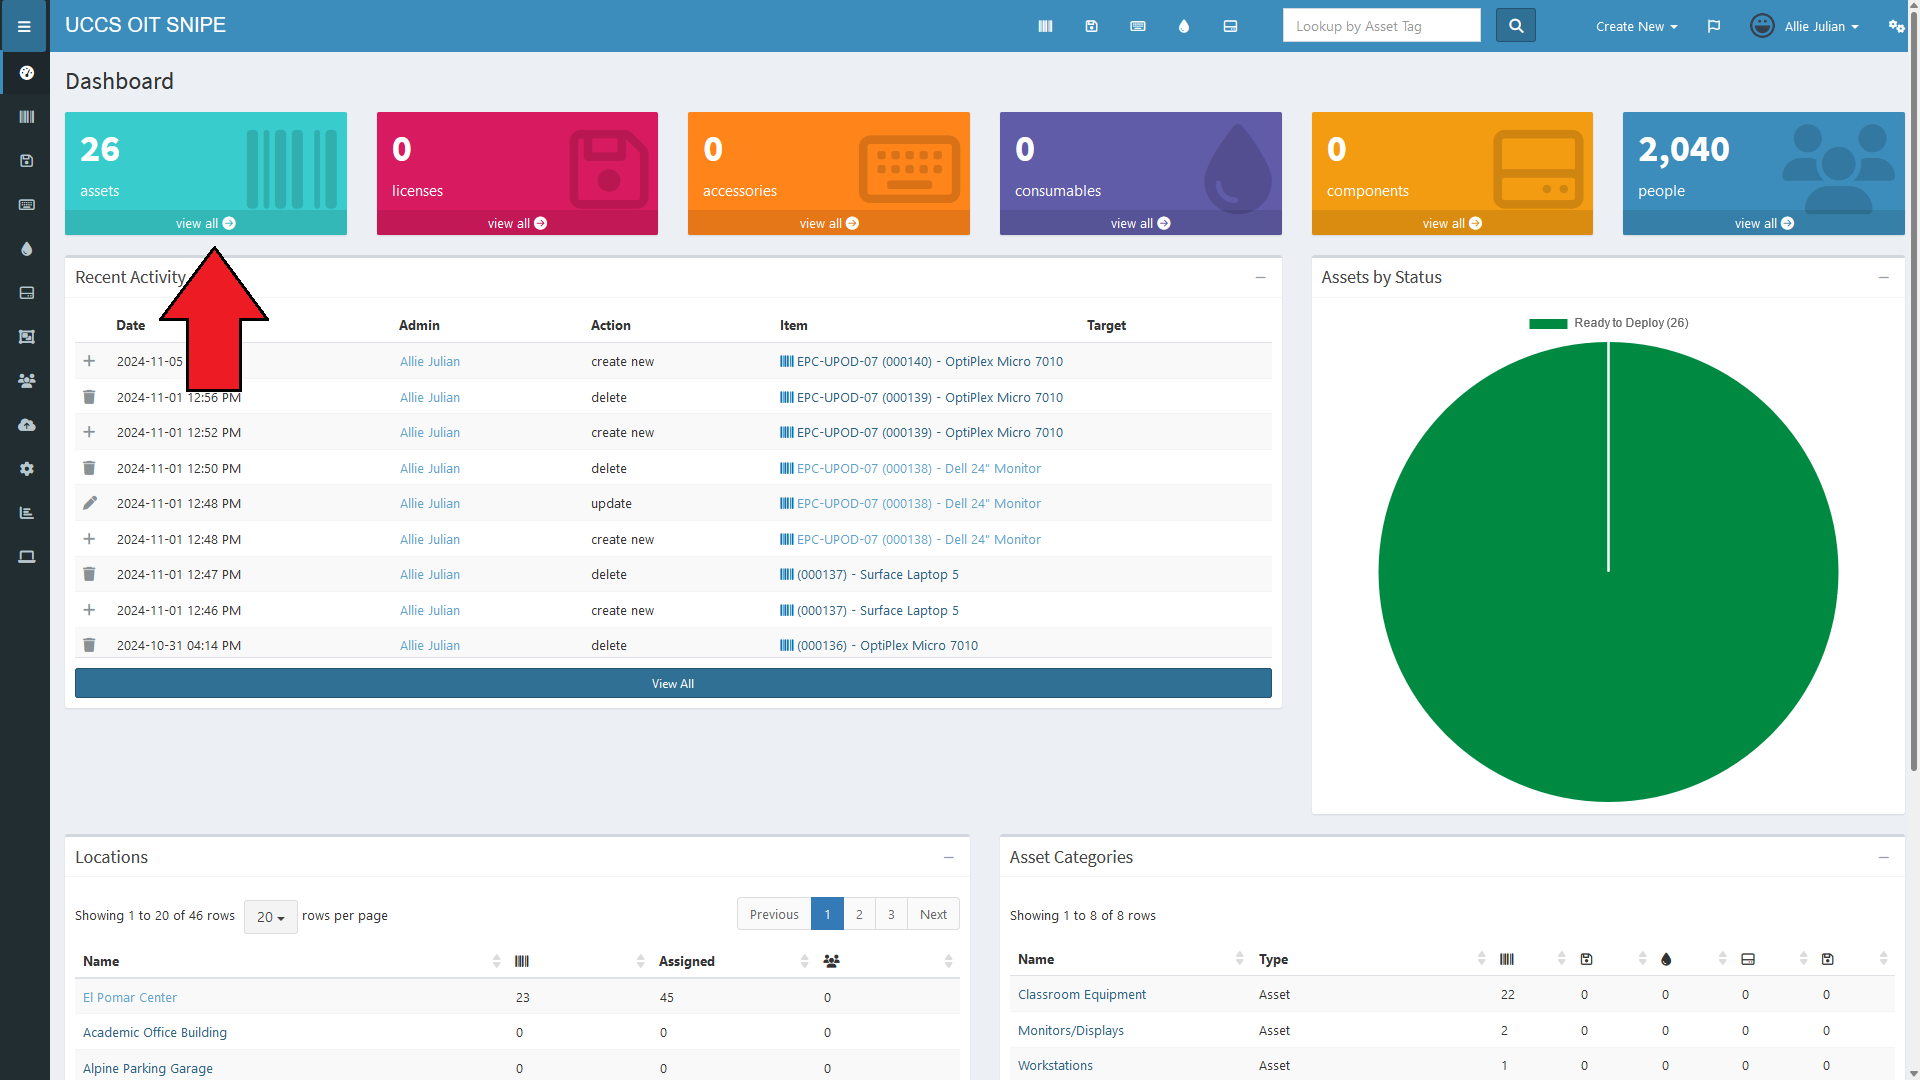
Starting from the Dashboard, click on the "Assets" box in the top left:
|
|
This will bring you to the "All Assets" page. Here, click on the "Create New" button in the top right: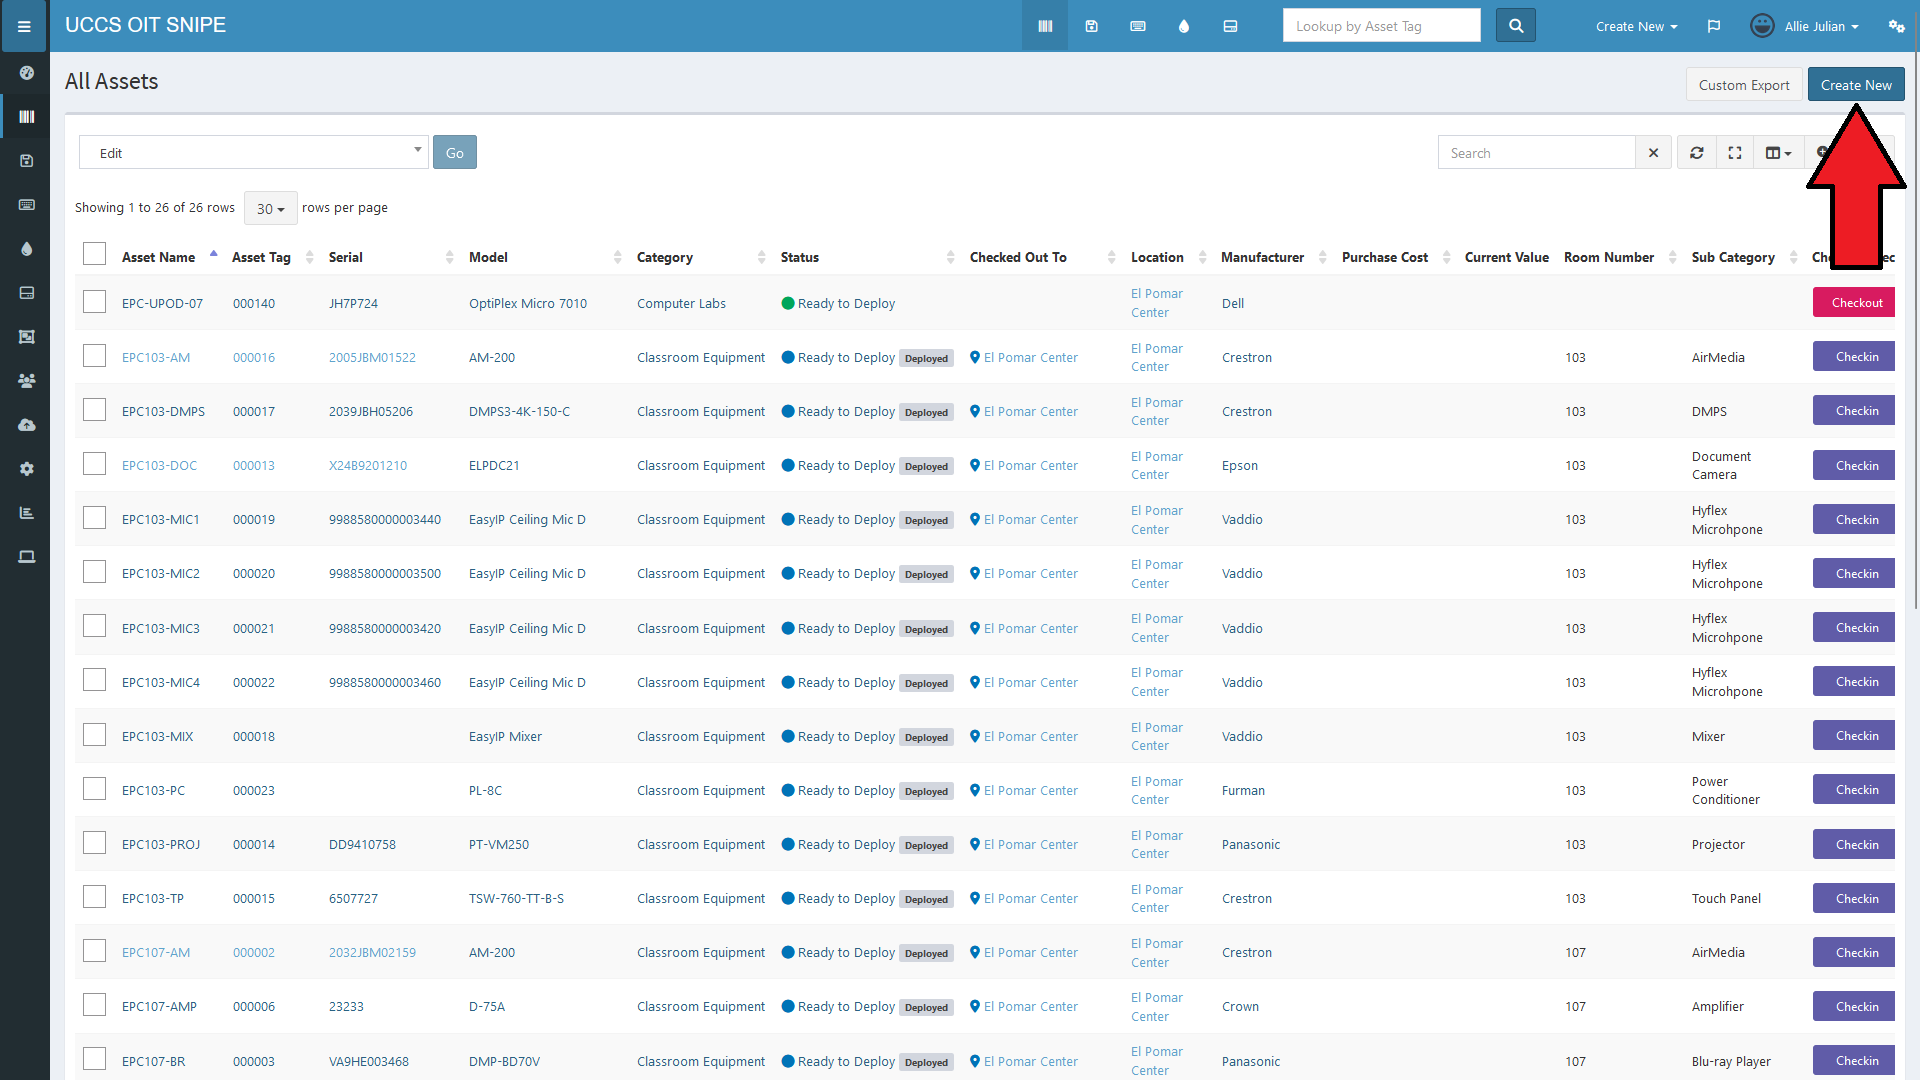
This will bring you to the "Create Asset" page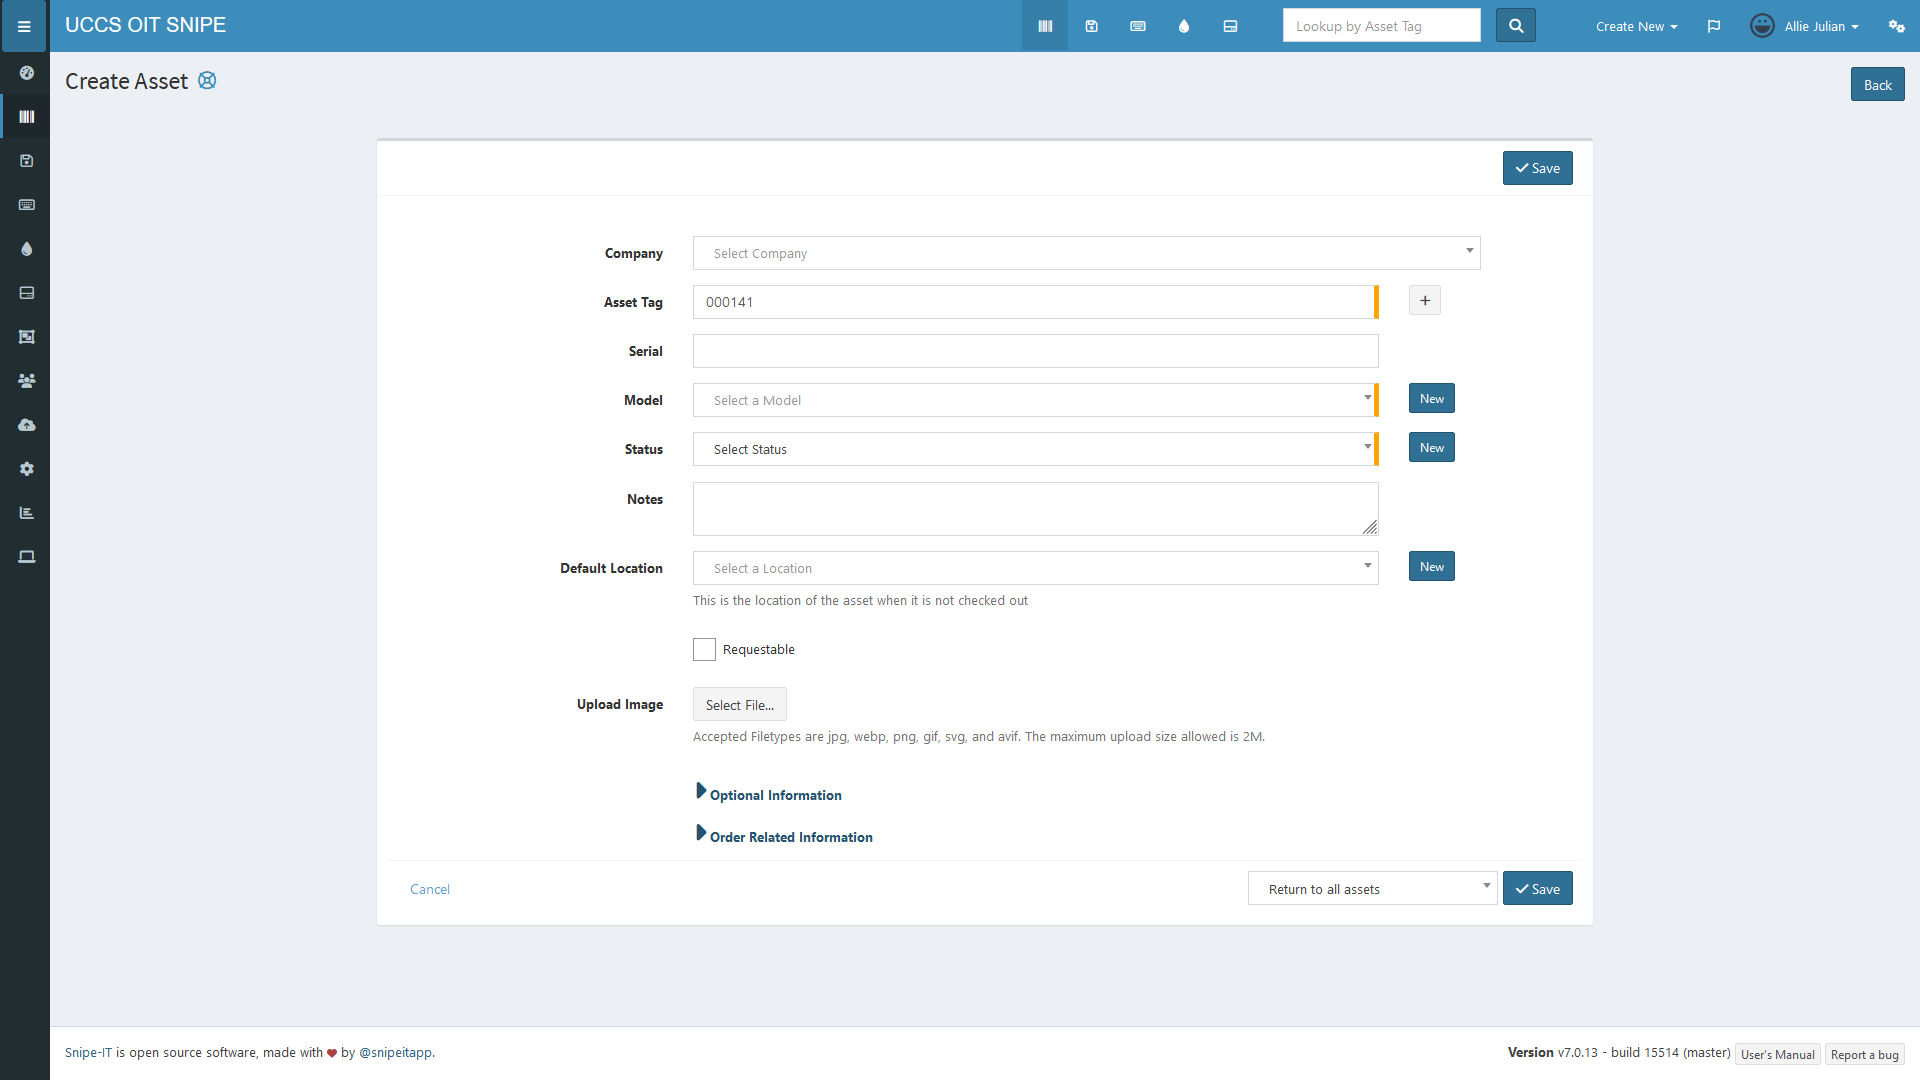
All of these fields except "Notes" and "Upload Image" are required.
There's also additional fields under the "Optional Information" and "Order Related Information" collapsible menus: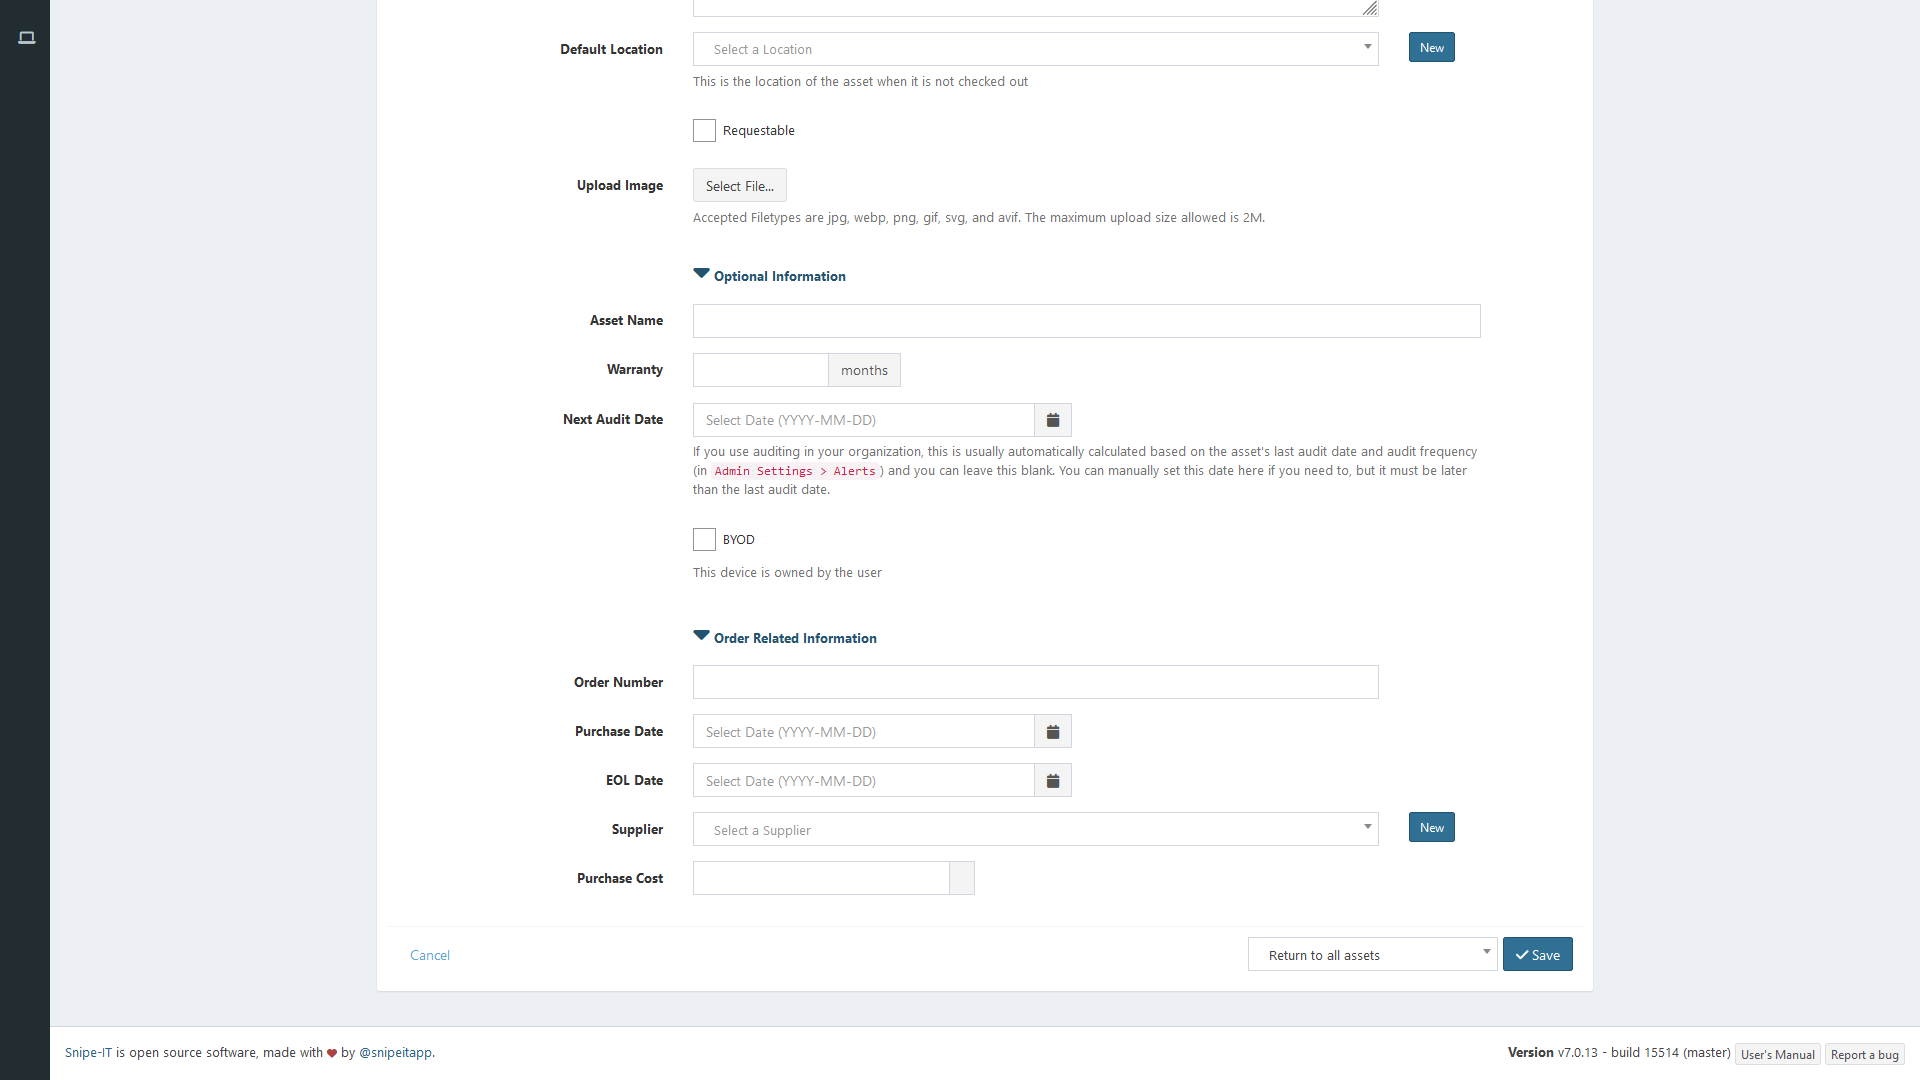
The only required field in these sections is "Asset Name", but please fill in as many other fields as you can. OIT can provide an approximation for "Purchase Date" for desktops and laptops if you need it.
Snipe will automatically fill in the "Asset Tag" field with the next available number in the database. Please do not change this number; modifying it will update the starting Asset Tag number for every subsequent asset added to Snipe.
For the rest of the fields, enter the appropriate information or select the appropriate option. With the exception of the "Model" field, please do not select the "New" option by any of the drop-down menus.
For the "Model" field, first check the drop-down list to see if the model of the device you're adding already exists in Snipe. If not, click on the "New" button to open the "Create Asset Model" pop-up: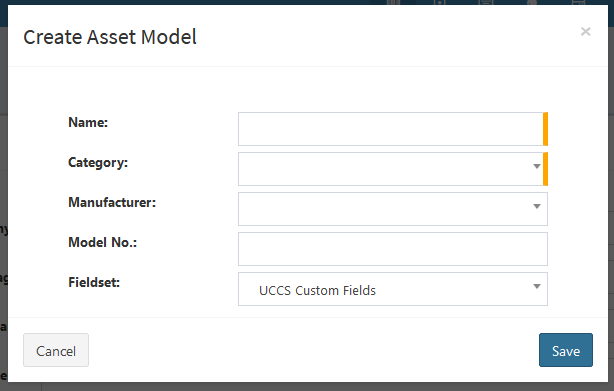
Fill out these fields for the new model you're creating. All of these fields are required other than "Model No.". See "Bulk Import of Assets" for explanations of these fields.
If the manufacturer of your device isn't listed, Snipe will attempt to set the manufacturer automatically based on the model name you enter when it creates the asset. If this auto-filled info is incorrect or the name it pulls needs to be formatted differently (for example, "Dell" vs. "Dell Inc."), please contact OIT so we can manually add a manufacturer to the list.
| The "Fieldset" for any new model you add should always be set to "UCCS Custom Fields" to ensure that the "MAC Address", "Recycle Facilities Ticket Number", "Room Number", and "Sub Category" fields are available on assets with that model. Since "Room Number" is required for all assets, "Sub Category" is required for all classroom and networking equipment, and "Recycle Facilities Ticket Number" is required for any archived asset (see "How to Archive an Asset"), these fields will have to be manually updated after you're finished adding your new asset. See "Changing an Asset" for how to edit an asset after creation. |
Once you've filled out all of the required fields and as many of the optional ones as you need, click the "Save" button on the top or bottom right of the form to finish adding the asset to Snipe.
After adding an asset, please be sure to check it out to the user that uses or is responsible for the device; if you aren't sure who an asset should be checked out to, please check it out to your department's IT liaison. |