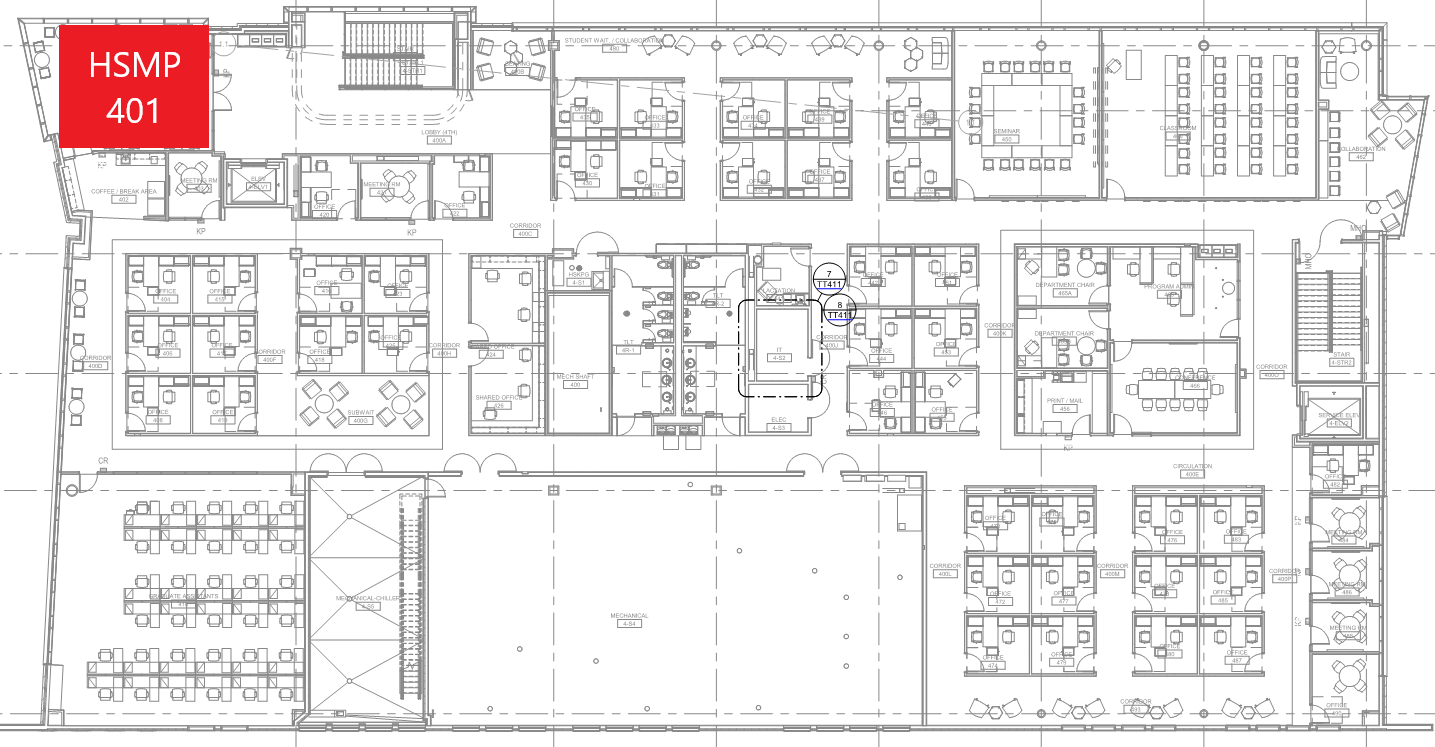
HSMP 401 is located in the northwest corner of the 4th floor.
The AV system will power on when pressing the start page on the touch panel. This will turn on the projector, lower the screen, and switch the touch panel to the main menu page.
To turn the AV system off, press the red Power Off button in the upper right corner. You will have 10 seconds to cancel the power off, then the system will shut down.
To change inputs, select the input you would like to send to the projector. You may choose between PC or AirMedia.

Volume can be controlled using the volume buttons at the bottom of any page on the touch panel. The raise and lower buttons are on either side of the volume bar and the mute button is located in the lower left corner.
The projector will automatically power on and off with the system. The source selected on the touch panel will be routed to the projector.
The screen will automatically raise and lower with the system power. The screen can also be controlled on the touch panel.
A/V Mute and Freeze functionality is controlled on the touch panel.
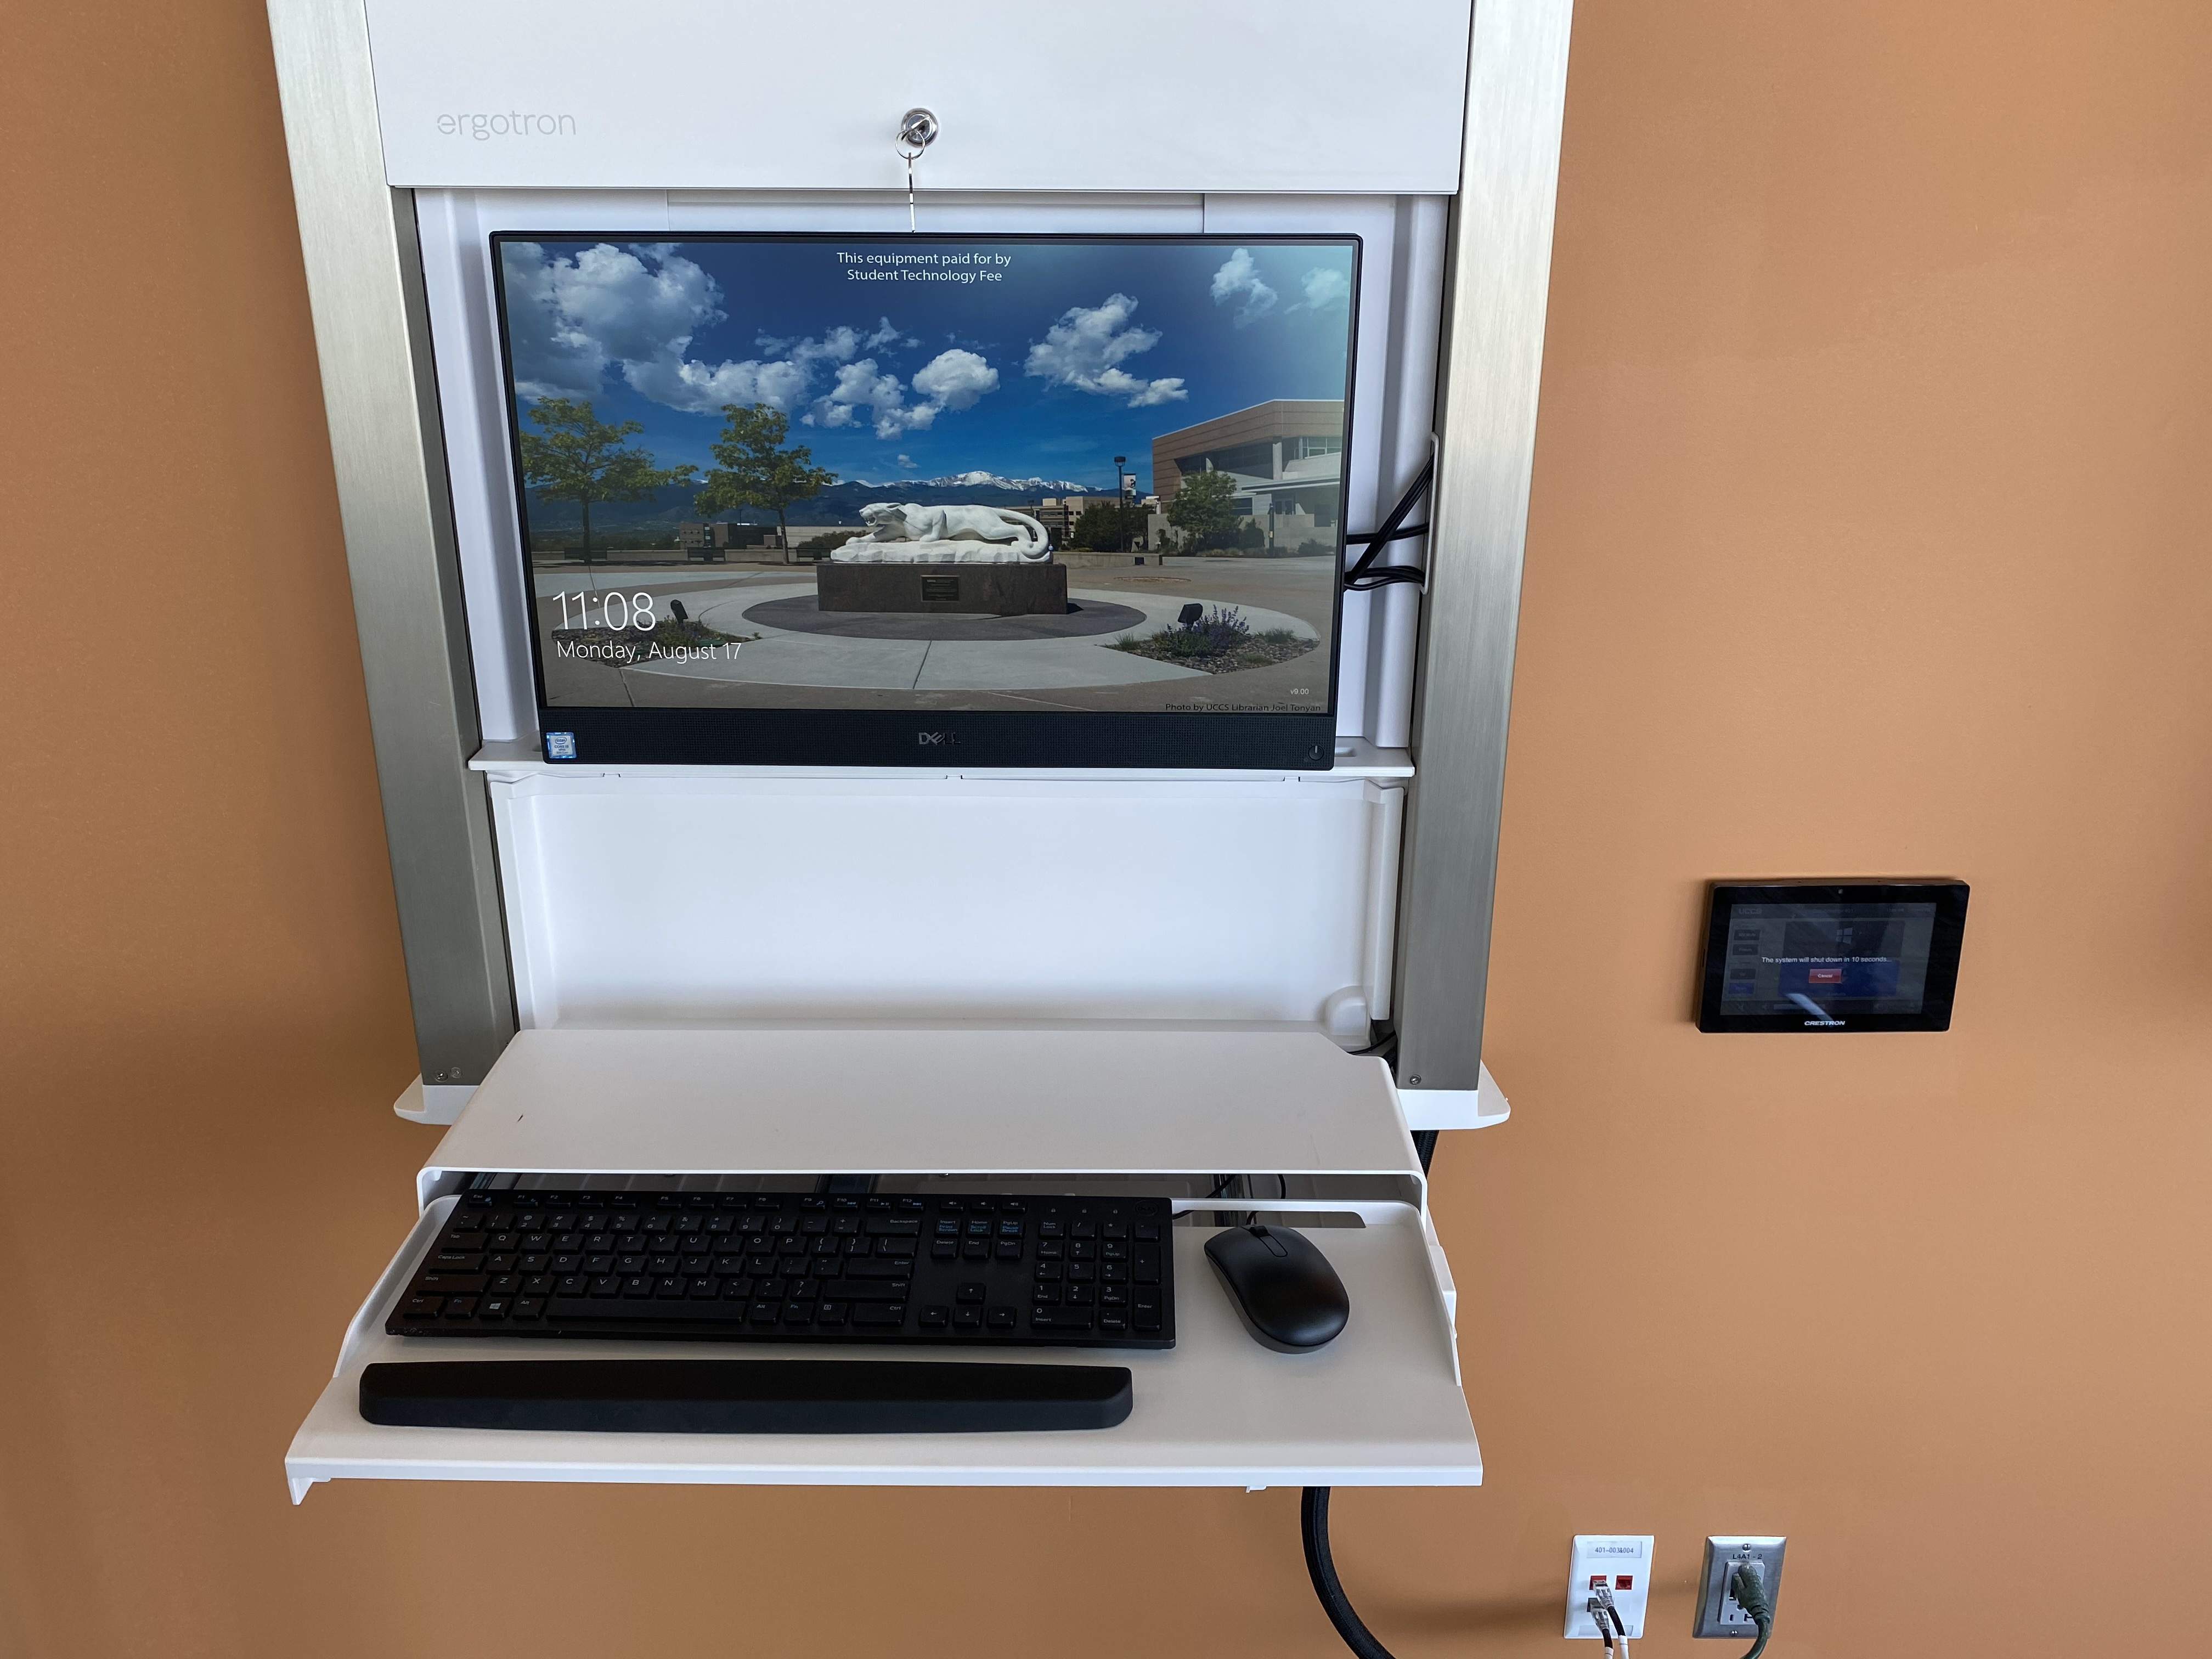
The computer mounted on the wall is the primary source for this AV system. This computer runs the same image as all other podium computers in general fund classrooms and labs. You can sign in with your UCCS credentials.
The keyboard and mouse are located in a fold-out tray under the computer. To open the tray, enter the combination 1-1-1-1-1.
The wall mount is height adjustable. To raise or lower the mount, gently raise or lower it with your hand.
The AirMedia allows for wireless presentation of any device connected to the UCCS-Wireless network.
To connect to the AirMedia:

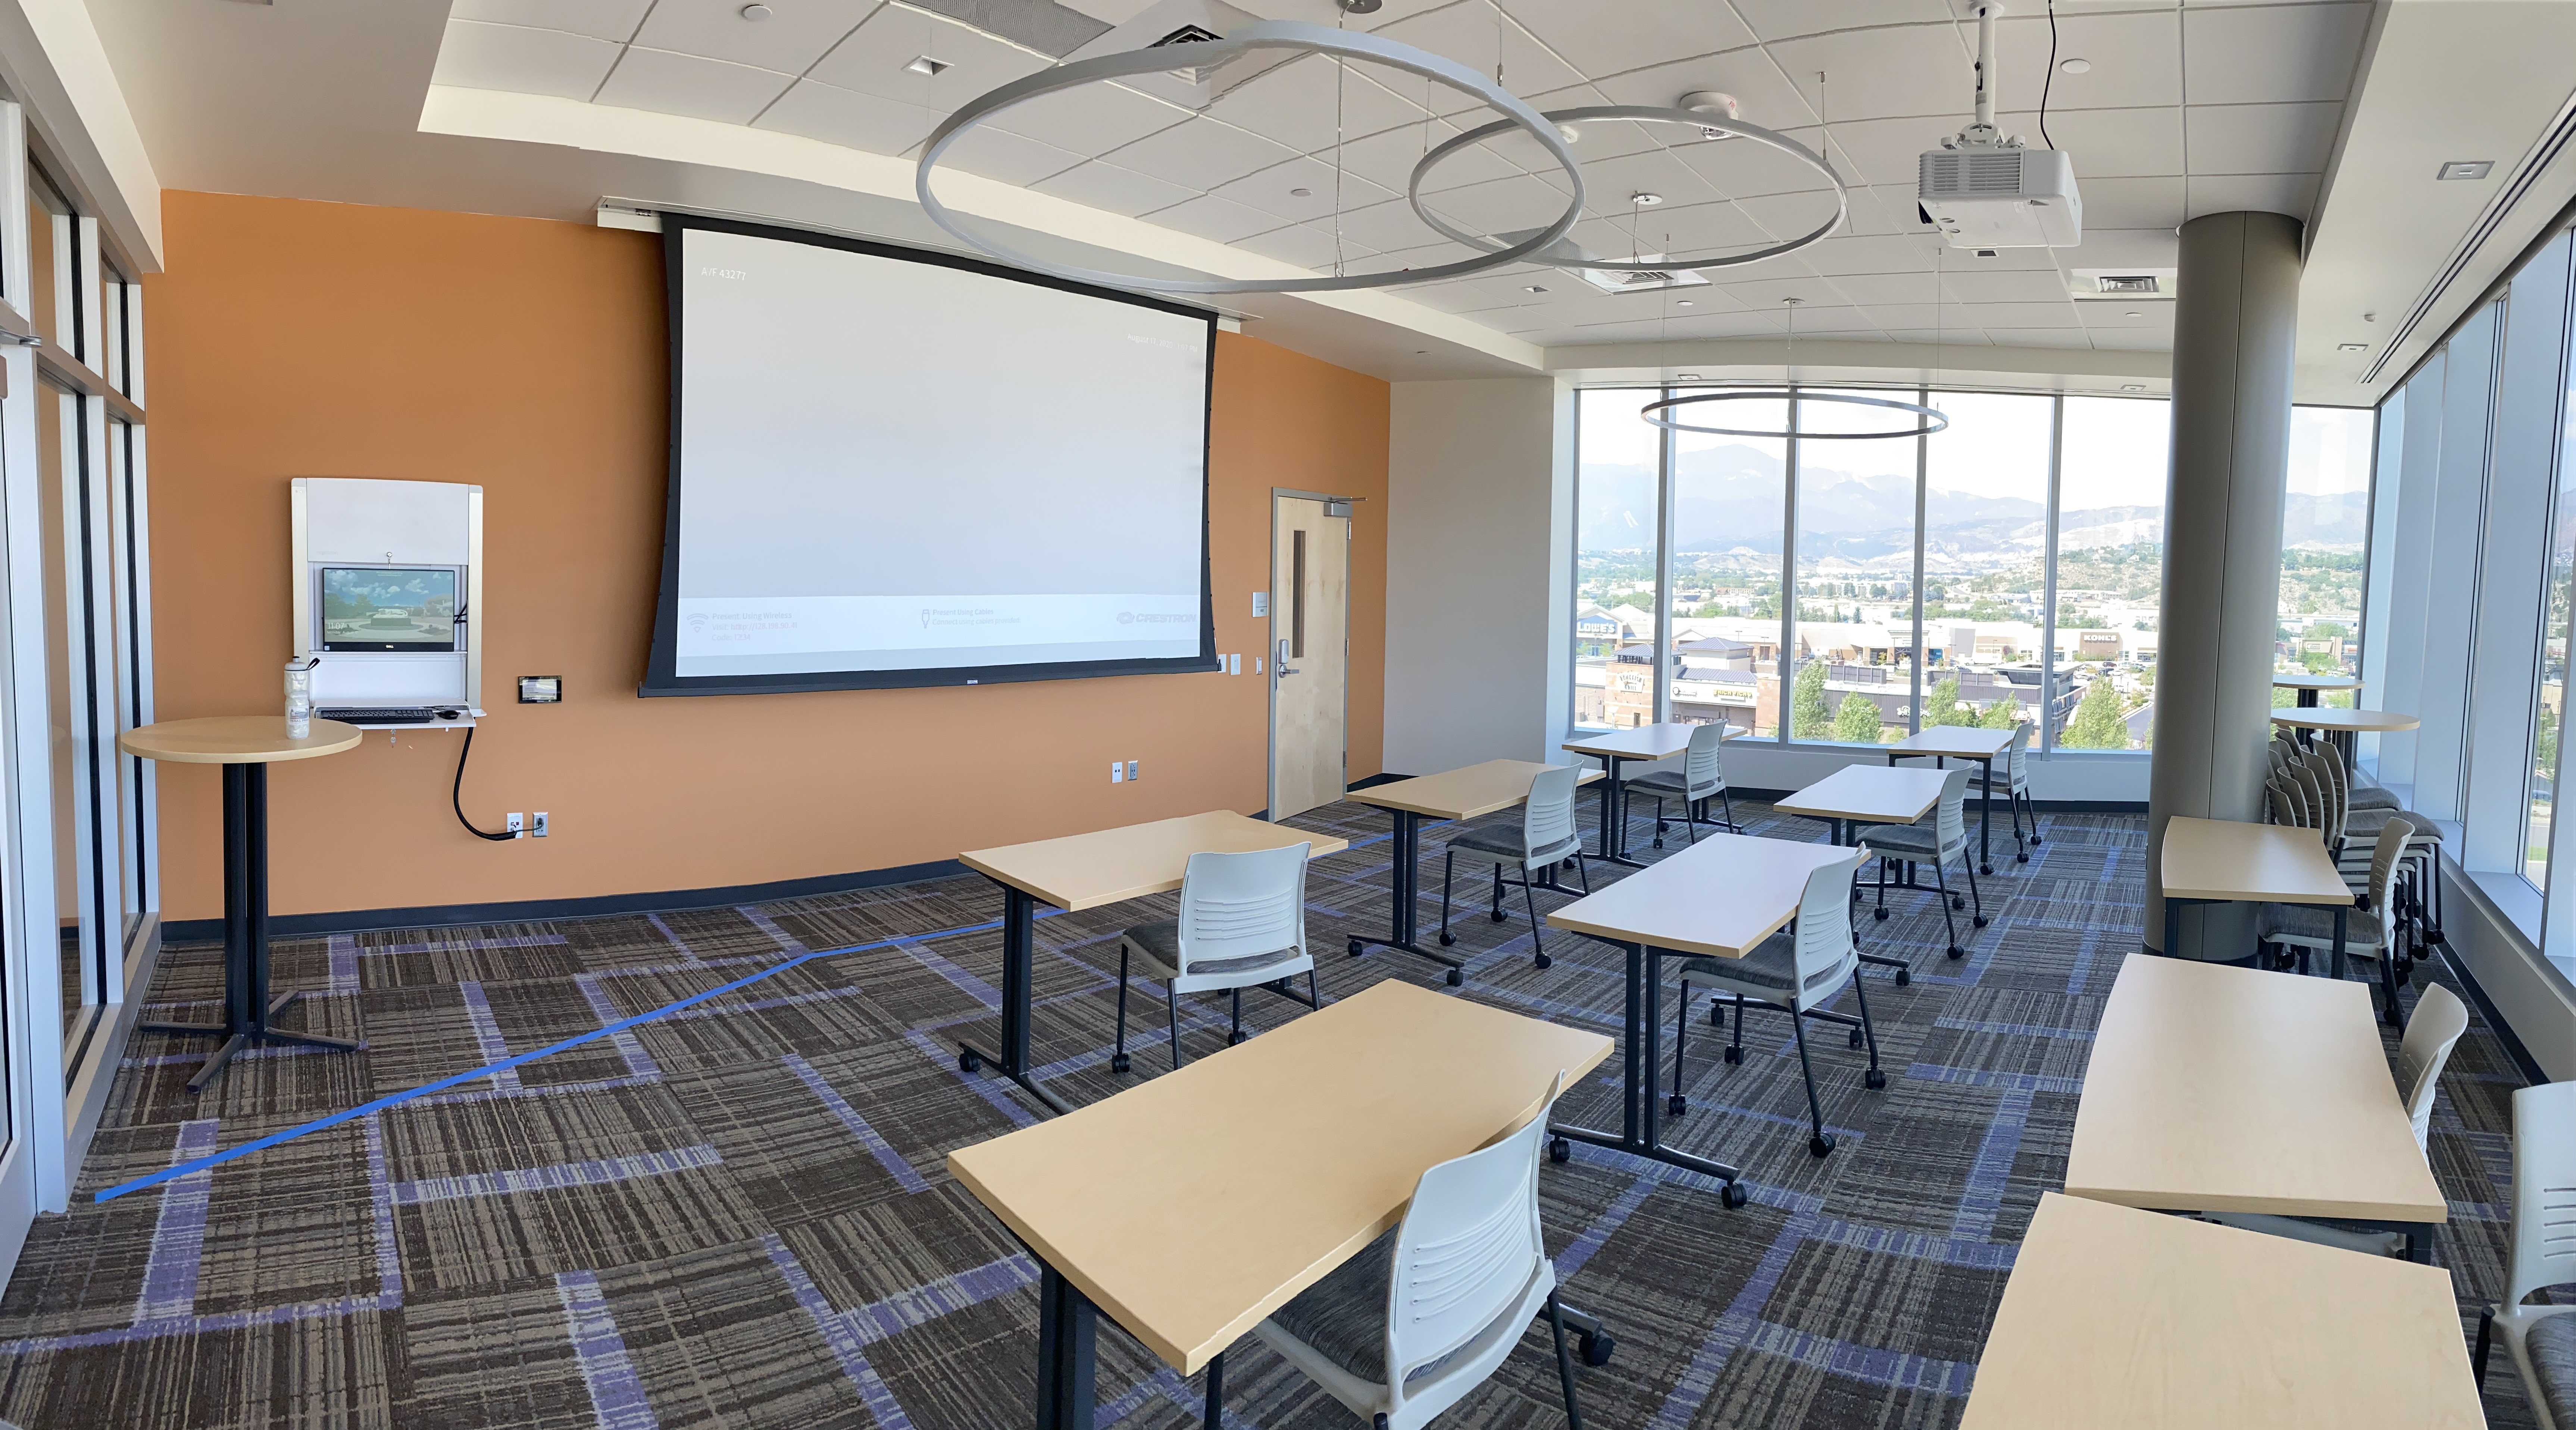
Panoramic of the room. The door to the right of the screen opens to the break room, where the AV rack is located.