Step 1: Open the App Store

Step 2: Download OneDrive
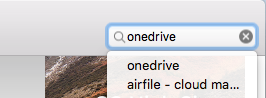
Search for OneDrive in the top right search bar and click on the first one.
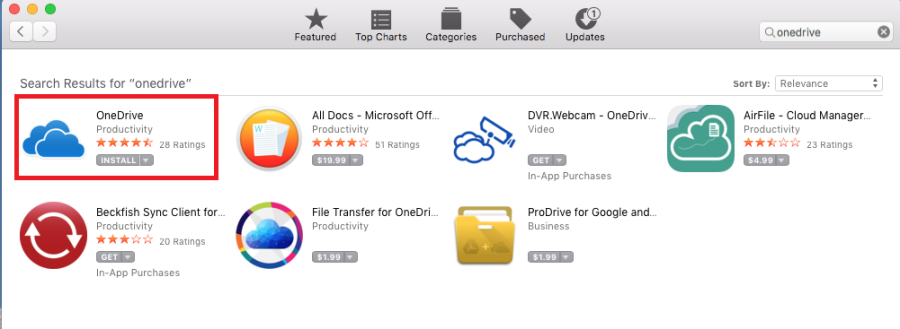
The first option should have the OneDrive logo. Install it. You may need to sign into your Apple Account to download apps from the App Store. Open the App once it installs.
Step 3: Open OneDrive
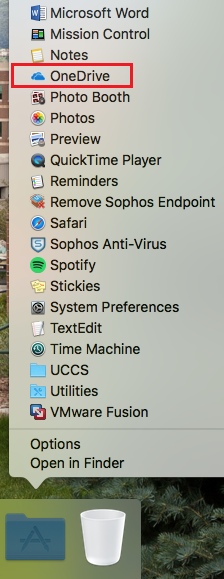
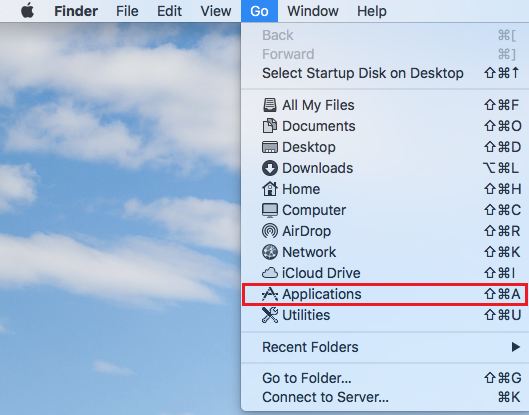
Open the OneDrive application in your Applications folder. This can be done by selecting the Application folder in your dock (if it is docked) or going up to Go and selecting Applications.
Step 4: Enter Your UCCS Email Address
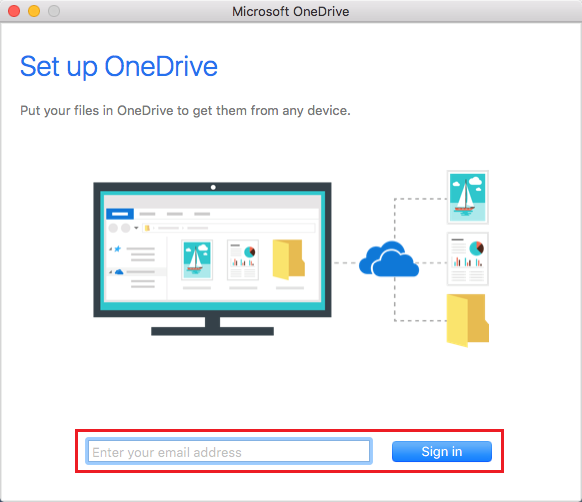
Type in your UCCS email address and click Sign In.
Step 5: Select Work or School
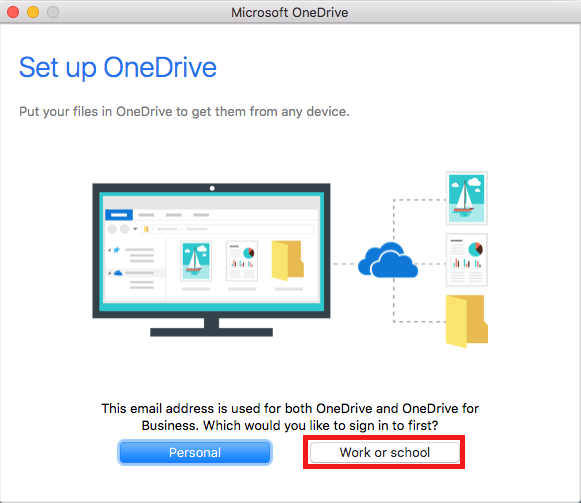
Select the option “Work or school” to have your OneDrive setup correctly on your computer with your UCCS account.
Step 6: Sign into OneDrive
Sign into OneDrive with your UCCS email address and password.

Step 7: Select Folder Location
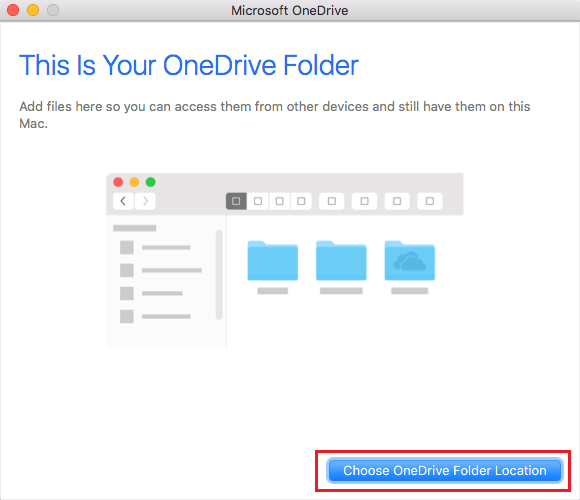
Here you can choose where your OneDrive files sync. Generally, it is best to sync under your user folder, which is the default option after selecting the “Choose OneDrive Folder Location” box.
Step 8: Verify Sync Location
This window shows where your files are set to sync. You can then press Next once you have verified the install location.

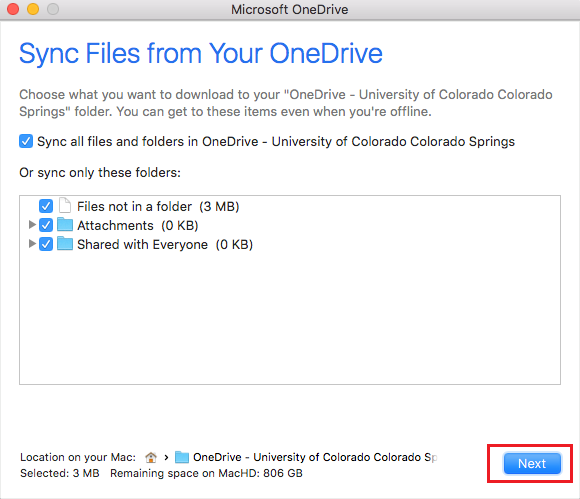
Step 9: Choose Folders and Files to Sync
Choose which folders and files to have sync to your computer. By default, all folders and files are selected to sync.
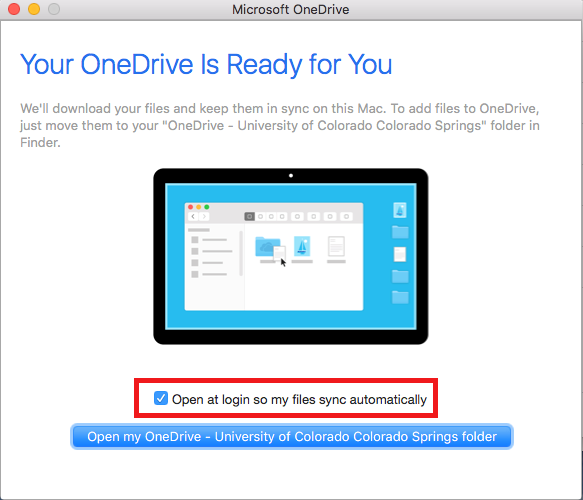
Step 10: Set OneDrive to Open Automatically
One is now done getting setup. Make sure to check the box “Open at login so my files sync automatically” to ensure that OneDrive will open when your computer turns on to keep your files up to date.
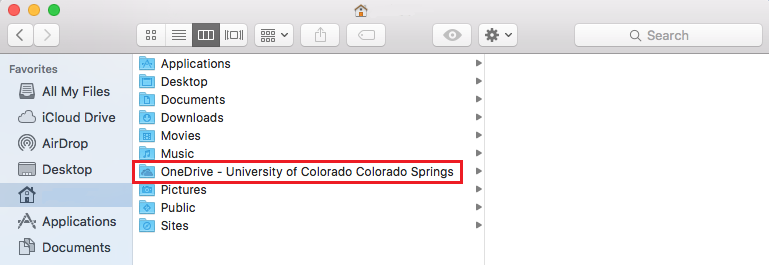
Step 11: Get to OneDrive Files in Finder
You’ll want to open up a finder window, select your username with the house icon next to it, and then select “OneDrive – University of Colorado Colorado Springs”.