Table of Contents:
| Table of Contents |
|---|
What is a RAP?
A RAP is a Remote Access Point. It is for use off campus, such as at your home or at a remote location. The RAP will broadcast the UCCS-Wireless wireless network, the same secure network you connect to when you are on campus. The RAP securely tunnels all of your traffic back to campus, sort of like a VPN. So if you are connected to UCCS-Wireless via the RAP, you do not have to also connect to UCCS's VPN servers; you will already have access to on-campus resources.
The RAPs often have extra wired ports on the bottom if you want to attach a wired device such as a desktop computer, or even a laptop or laptop dock. These wired ports are also securely tunneled back to campus, so using one of the ports is like you are using an on-campus port.
| Note | ||
|---|---|---|
| ||
When connected to a RAP (either via wireless or one of the wired ports) you do not need to also connect to the UCCS VPN servers. The RAP is already securely tunneling your traffic back to campus. |
General setup instructions for RAPs
Below are very general setup instructions. Your steps may vary slightly. For more detailed instructions, see the model-specific instructions below.
- Using the provided ethernet cable, connect your RAP to a free and available port on your home router or cable modem
- The ethernet cable should be plugged into the port on the RAP labelled E0. The cable may already be plugged in for you when you receive the RAP.
- Using the provided AC adapter, plug the power cable into a regular wall electrical outlet and then plug the small circular plug into the side of the AP.
- You should see LED lights on the front of the RAP blinking, indicating it is booting up.
- Wait about 5 minutes for the RAP to fully boot. Once booted, it should begin broadcasting the UCCS-Wireless wireless network.
- Test with your computer or phone and make sure you can connect to UCCS-Wireless
Below is a basic diagram showing a simplified view of setting up and connecting your RAP:

Model-specific setup instructions
Below you will find specific setup instructions based on the model of RAP.
AP-505H setup instructions
Note: The model 505H access points have two system status LEDs on the front of the AP. However you cannot see them illuminate until you provide power to the RAP.
Setup instructions: 505H RAP Setup Instructions.pdf
Photo of a 505H RAP:

AP-303H setup instructions
Note: The
The following setup instructions are for Remote Access Points (RAPs). Be sure to select the correct model number, and also view the supplemental information if applicable to your model.
| Table of Contents |
|---|
RAP Setup Instructions for model AP-303H
...
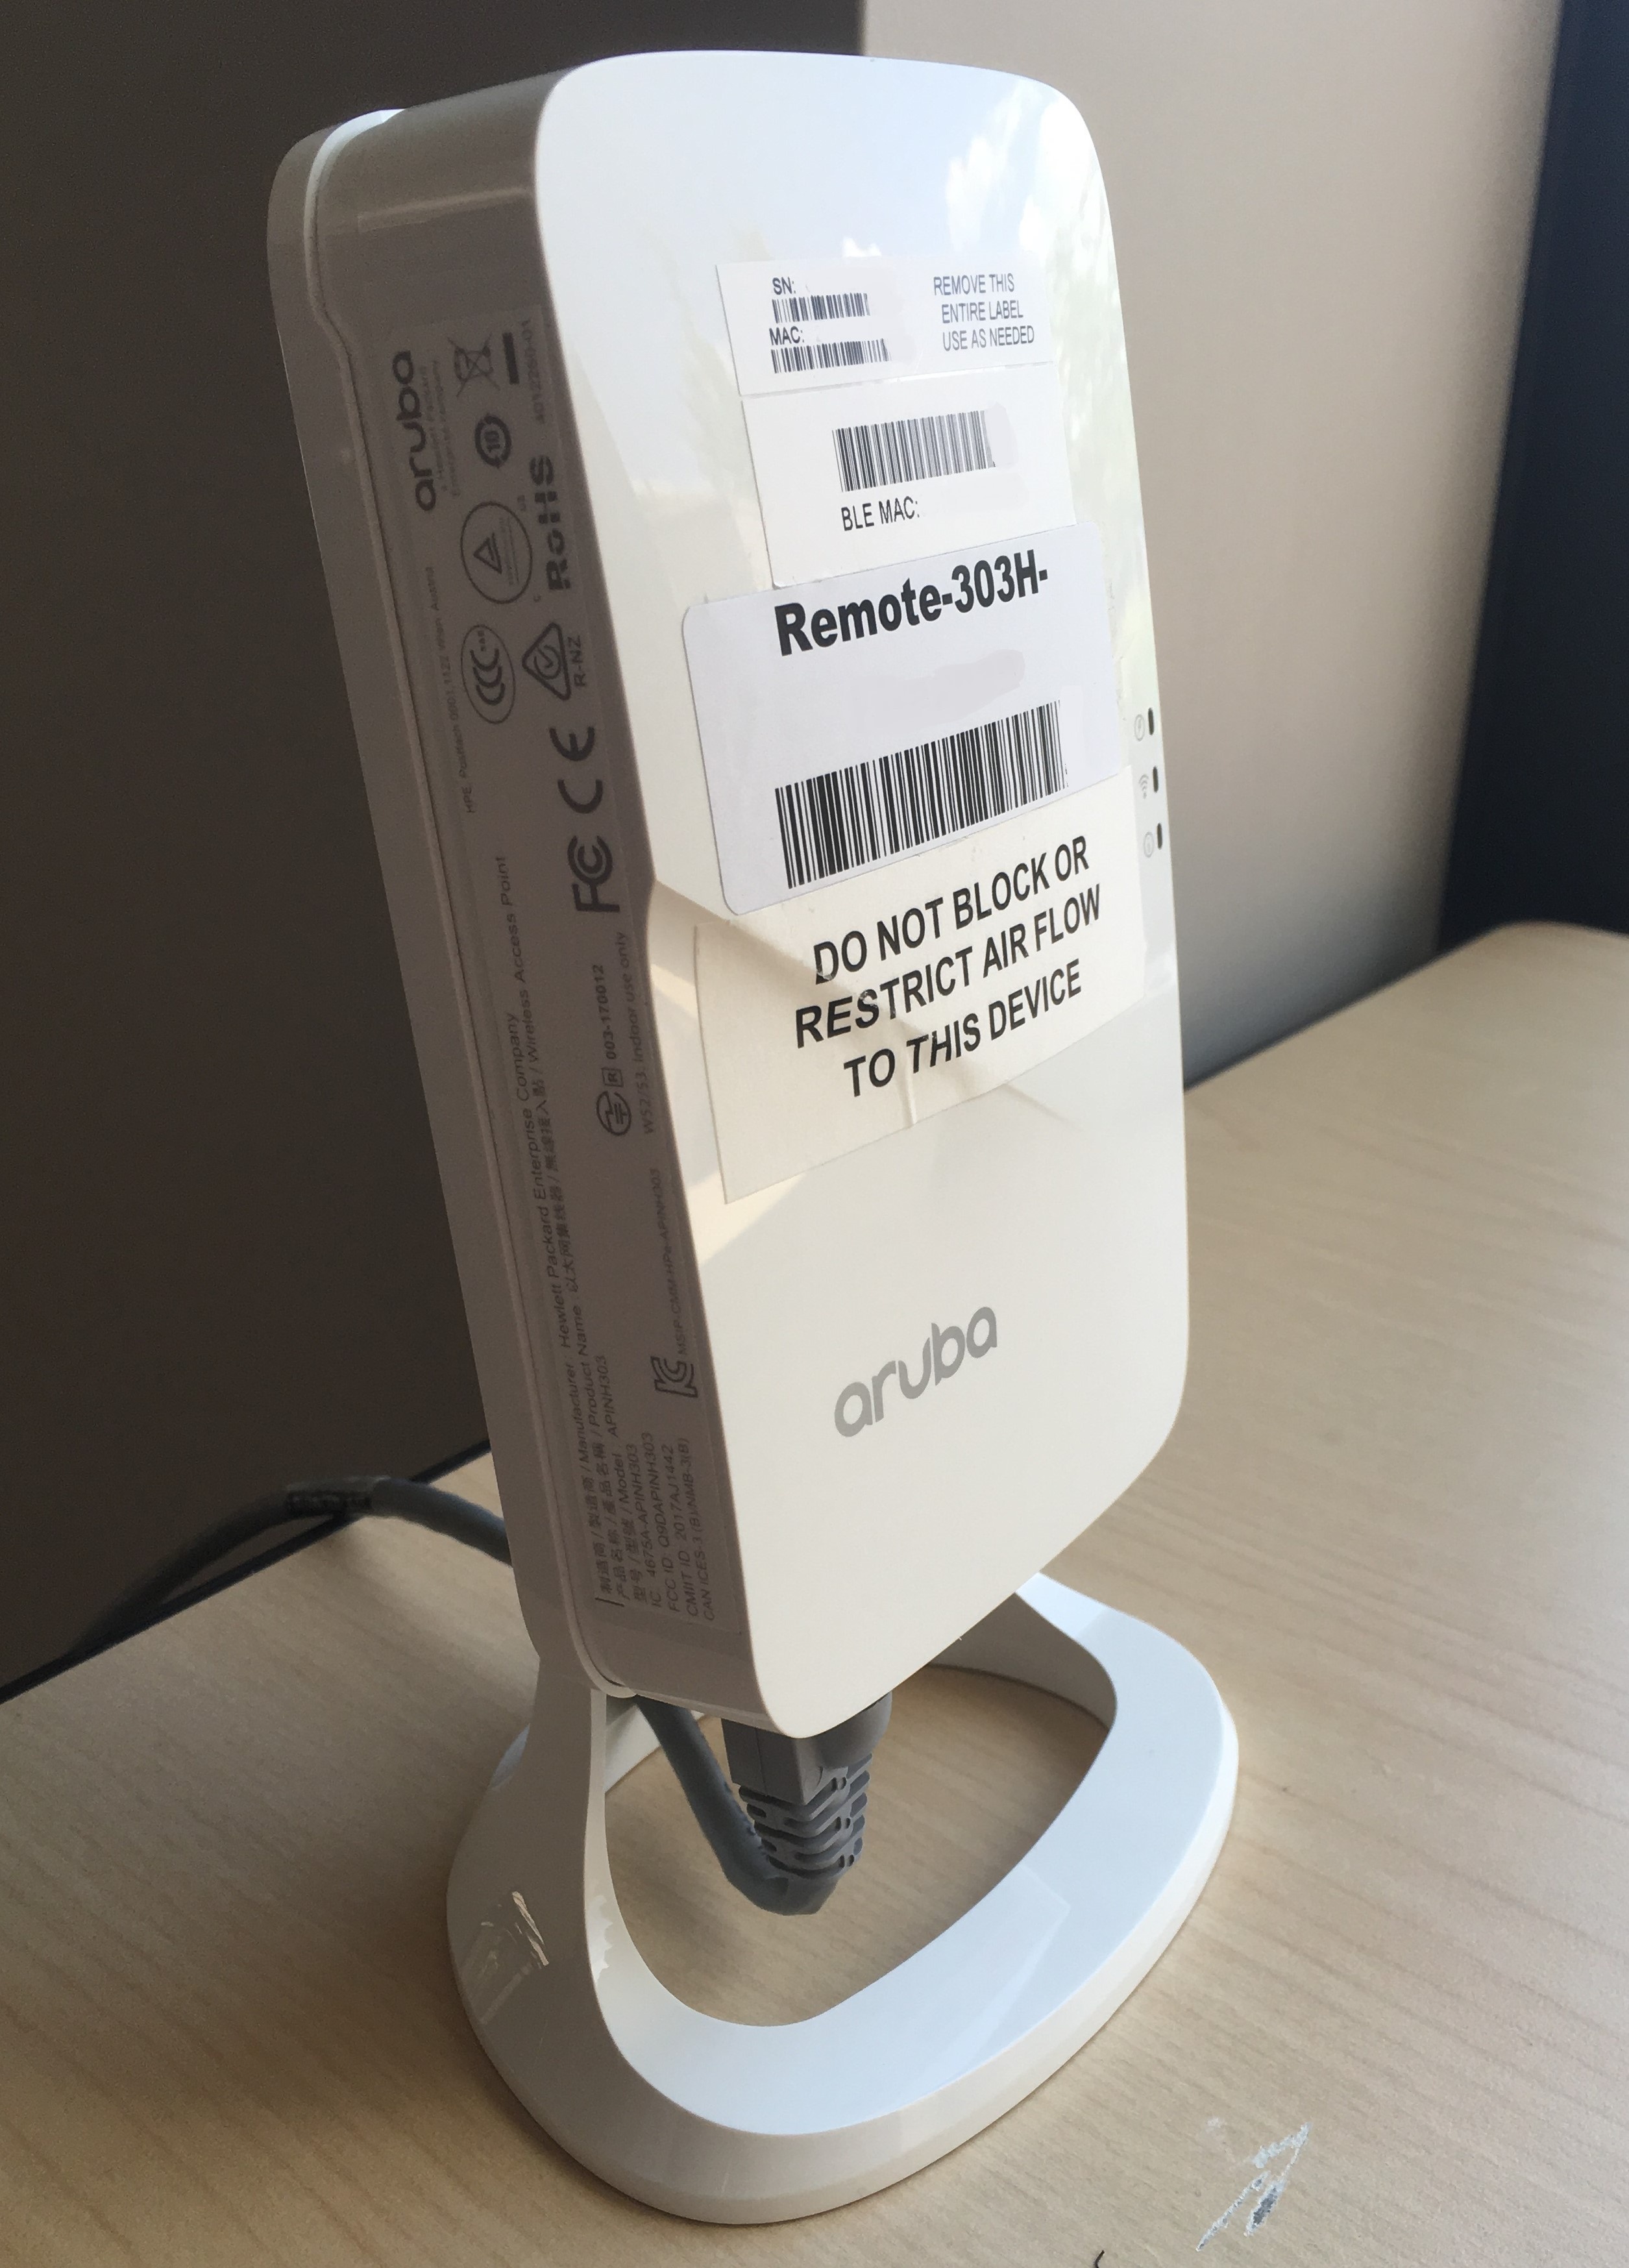
model 303H access points have three the system status LEDs on the right side of the AP as you look at the front of it.
...
Setup instructions: 303H RAP Setup Instructions.pdf
...
RAP Setup Instructions for model AP-205H
Photo of a 303H RAP:
AP-205H setup instructions
Note: The
...
model 205H access points have
...
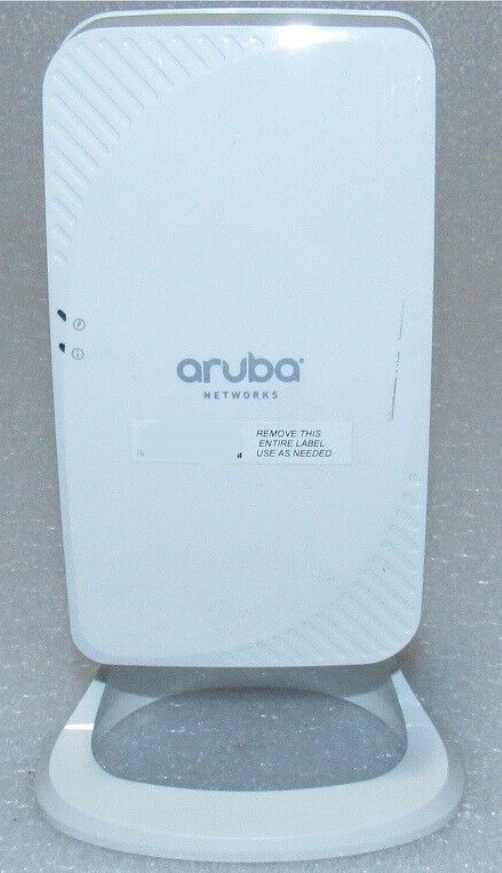
two system status LEDs on the left side of the AP as you look at the front of it.
| View file | ||||
|---|---|---|---|---|
|
RAP Supplemental Instructions for models AP-205H and AP-303H
Please review this supplemental instruction sheet if you have either a 205H or a 303H model RAP.
| View file | ||||
|---|---|---|---|---|
|
RAP Setup Instructions for model AP-315
Setup instructions: 205H RAP Setup Instructions.pdf
Photo of a 205H RAP:
AP-315 setup instructions
Note: The
...
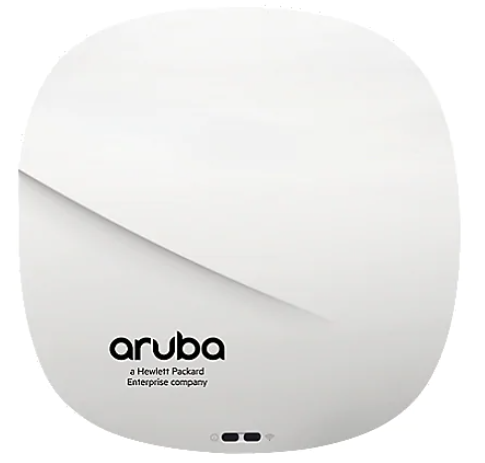
model AP-315 is round and has two status LEDs on the front of the RAP.
...
Setup instructions: 315 RAP Setup Instructions.pdf
...
Photo of an AP-315: