
Table of Contents
Scope
This is a projector based classroom controlled by a Crestron touch panel.
- 2 Epson PowerLite L610U 6000 Lumen Laser Projector with mount
 ceiling speaker(s)
- 2 137” Tensioned Screens
- Crestron touch panel
- BRAND/MODEL podium PC
- Laptop HDMI and VGA
- 1 Hand Held Wireless Mic
- WolfVision document camera
- DMPS3-4K-150-C
- 1 AirMedia for main system
- Vaddio/Hyflex VTC System with Camera and Microphone Array
Location: AEC 1st Floor
Controlling the A/V System
Using the Touch Panel
The touch panel controls most functions in the room. The touch panel is labeled below with the colors corresponding to a particular section explaining that function.
Turning the system on and off
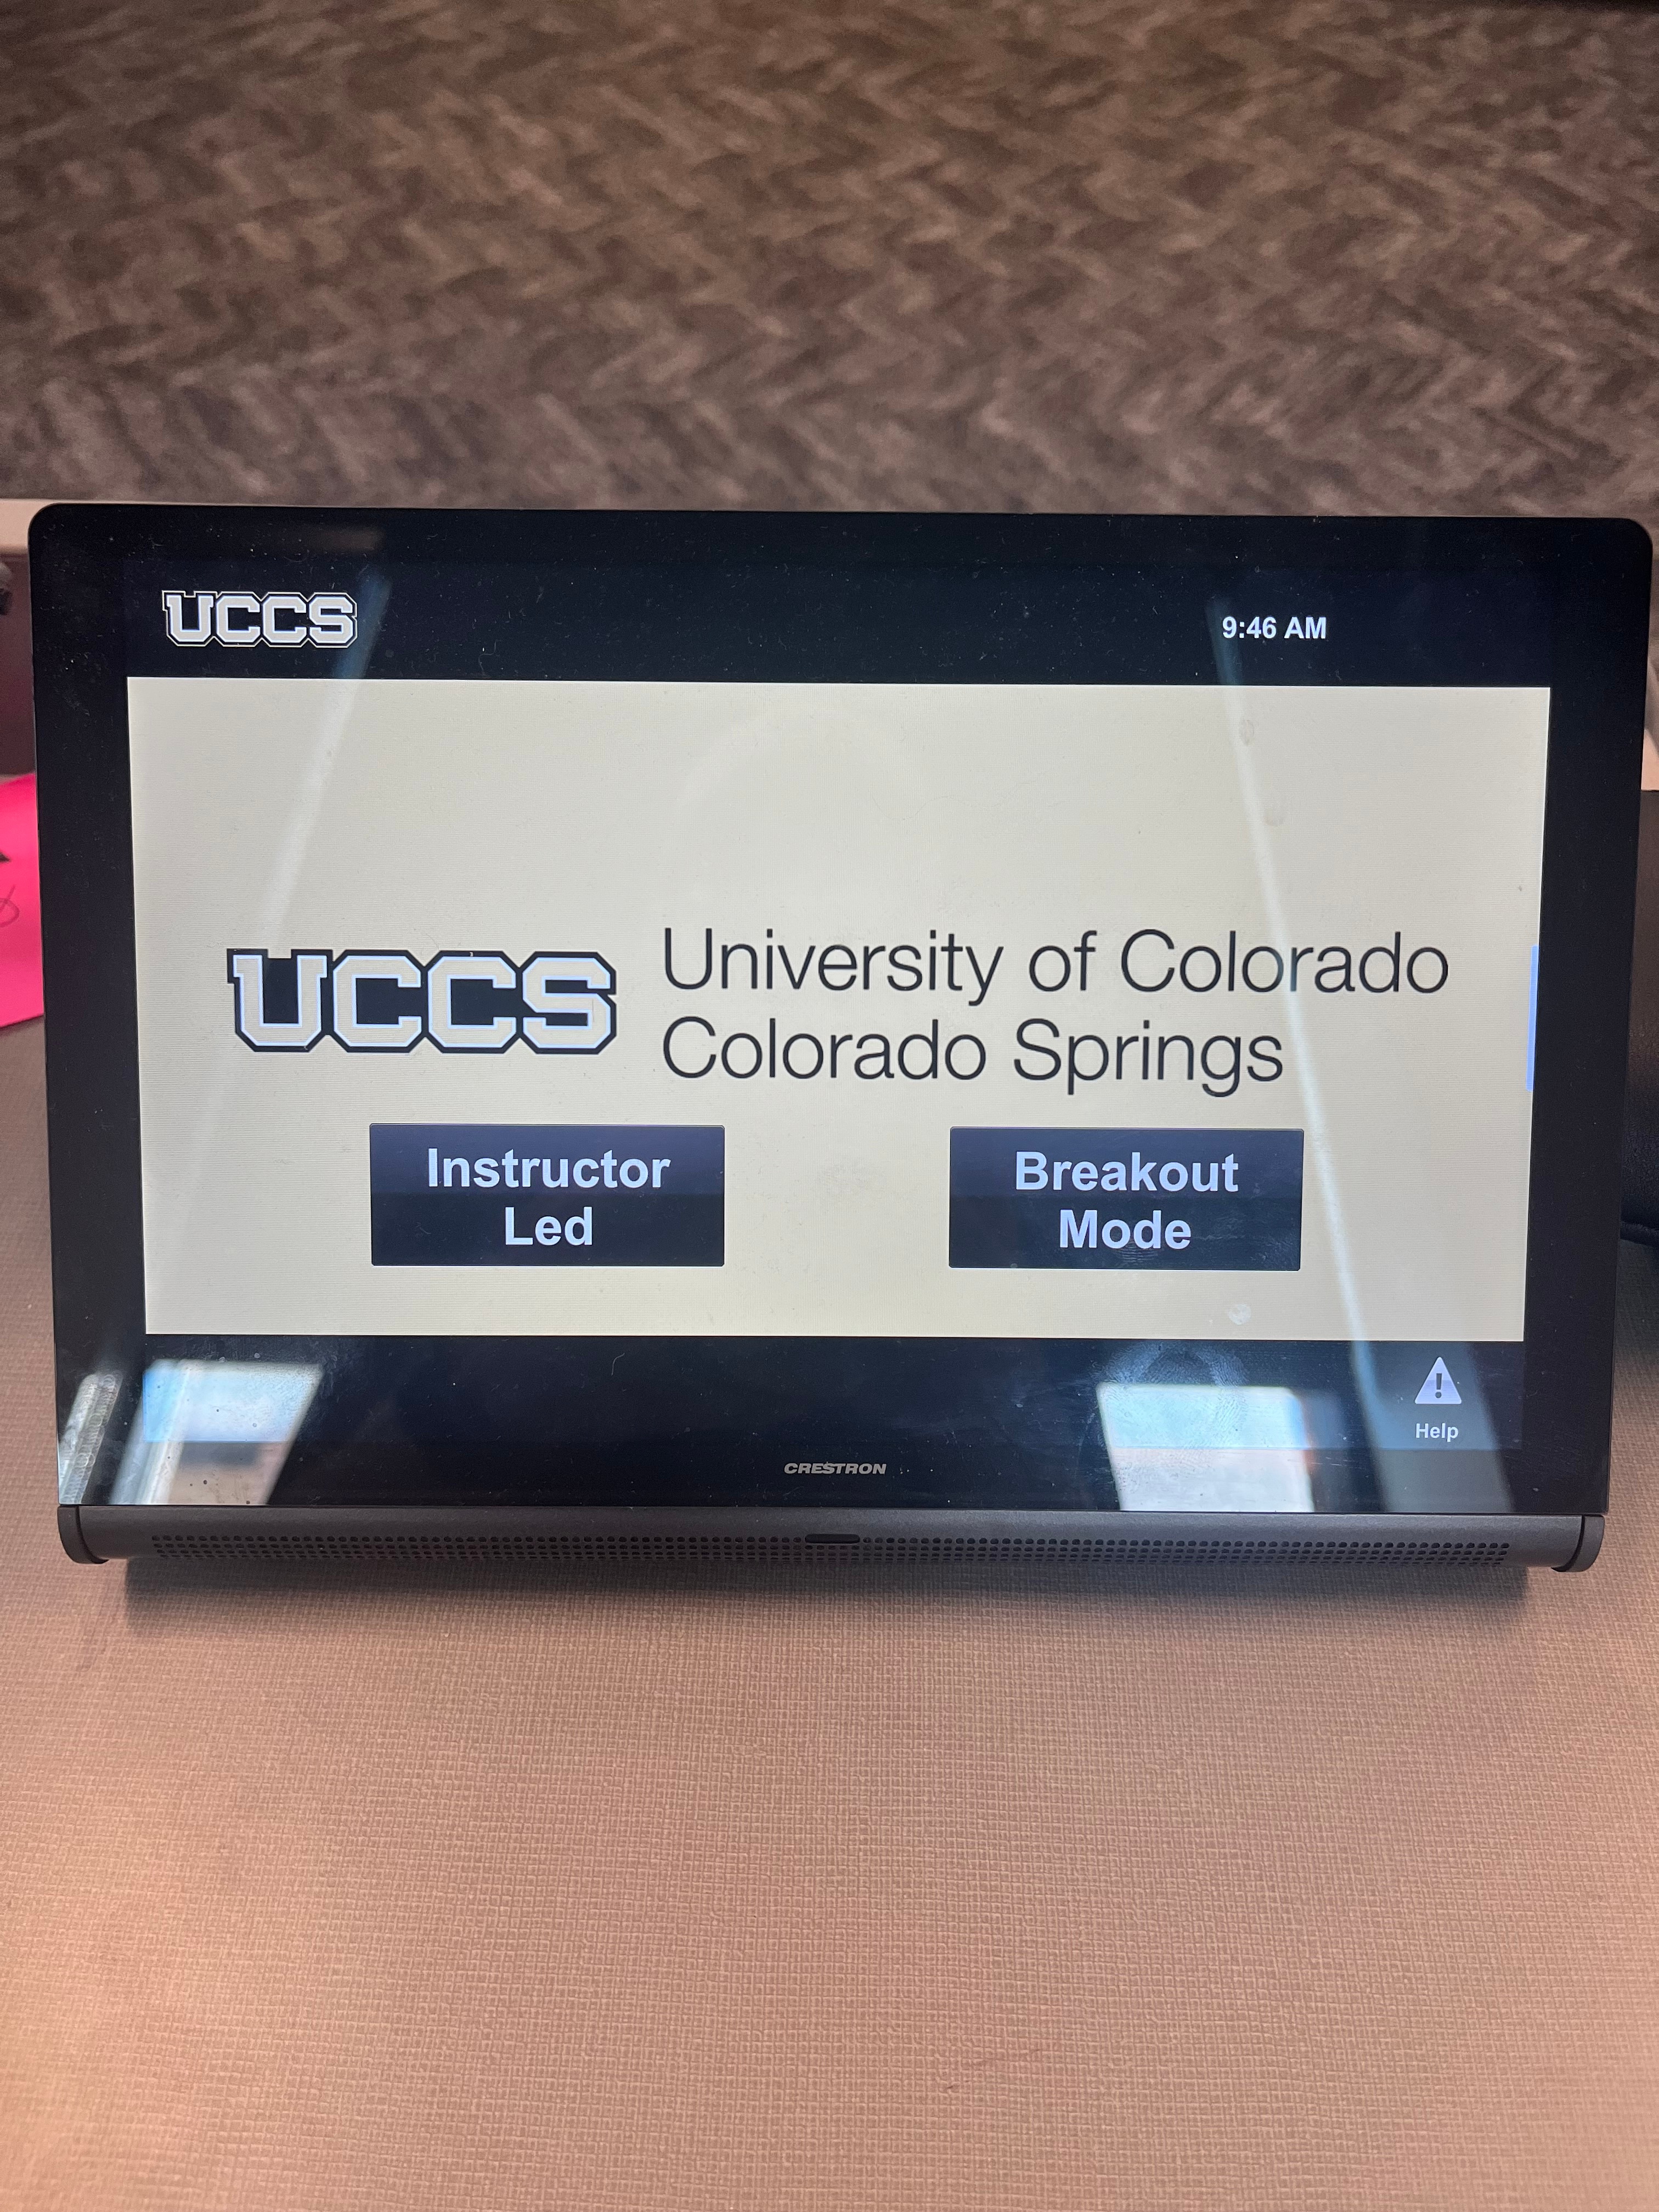
The AV system will power on when pressing the start page on the touch panel. The start page is different than most Crestron rooms. The start page has two different modes, Instructor Mode and Breakout Mode.
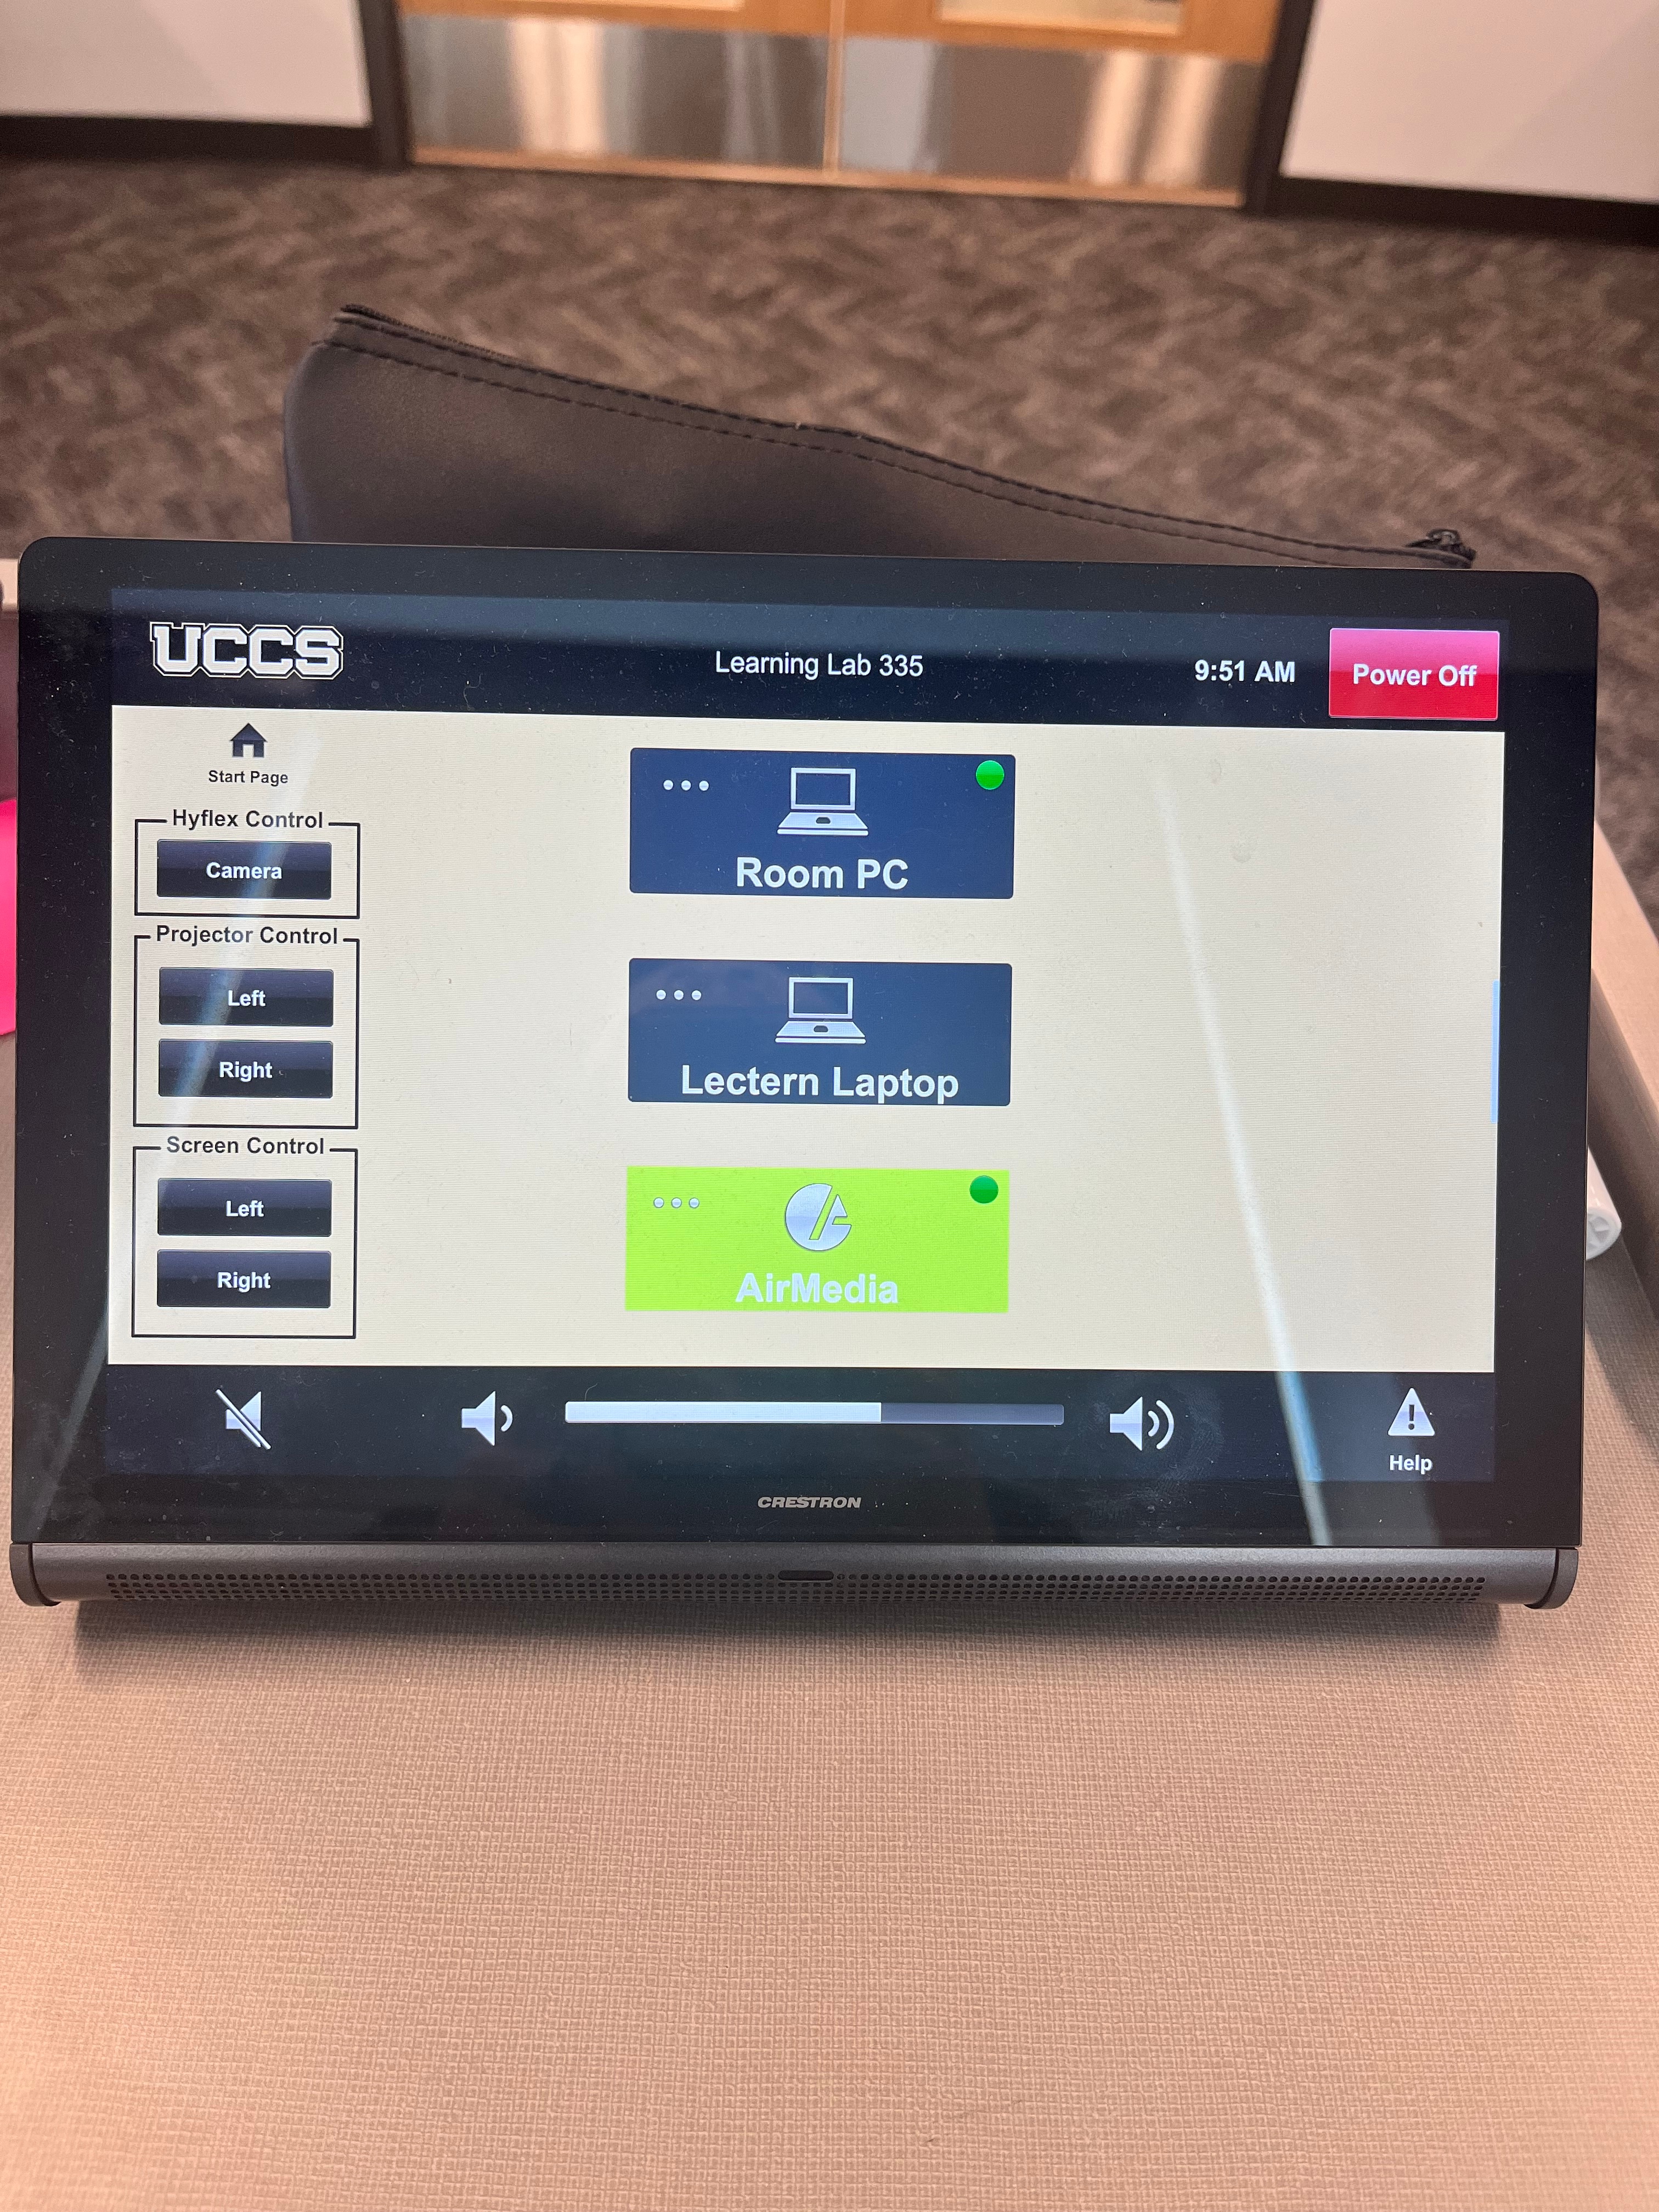
Instructor Mode: This will turn on the projectors, lower the screens, and switch the panel to the instructor page, which is pretty similar to our standard Crestron rooms. There are 3 sources available: Podium PC, Laptop, and Wireless Presentation (AirMedia)
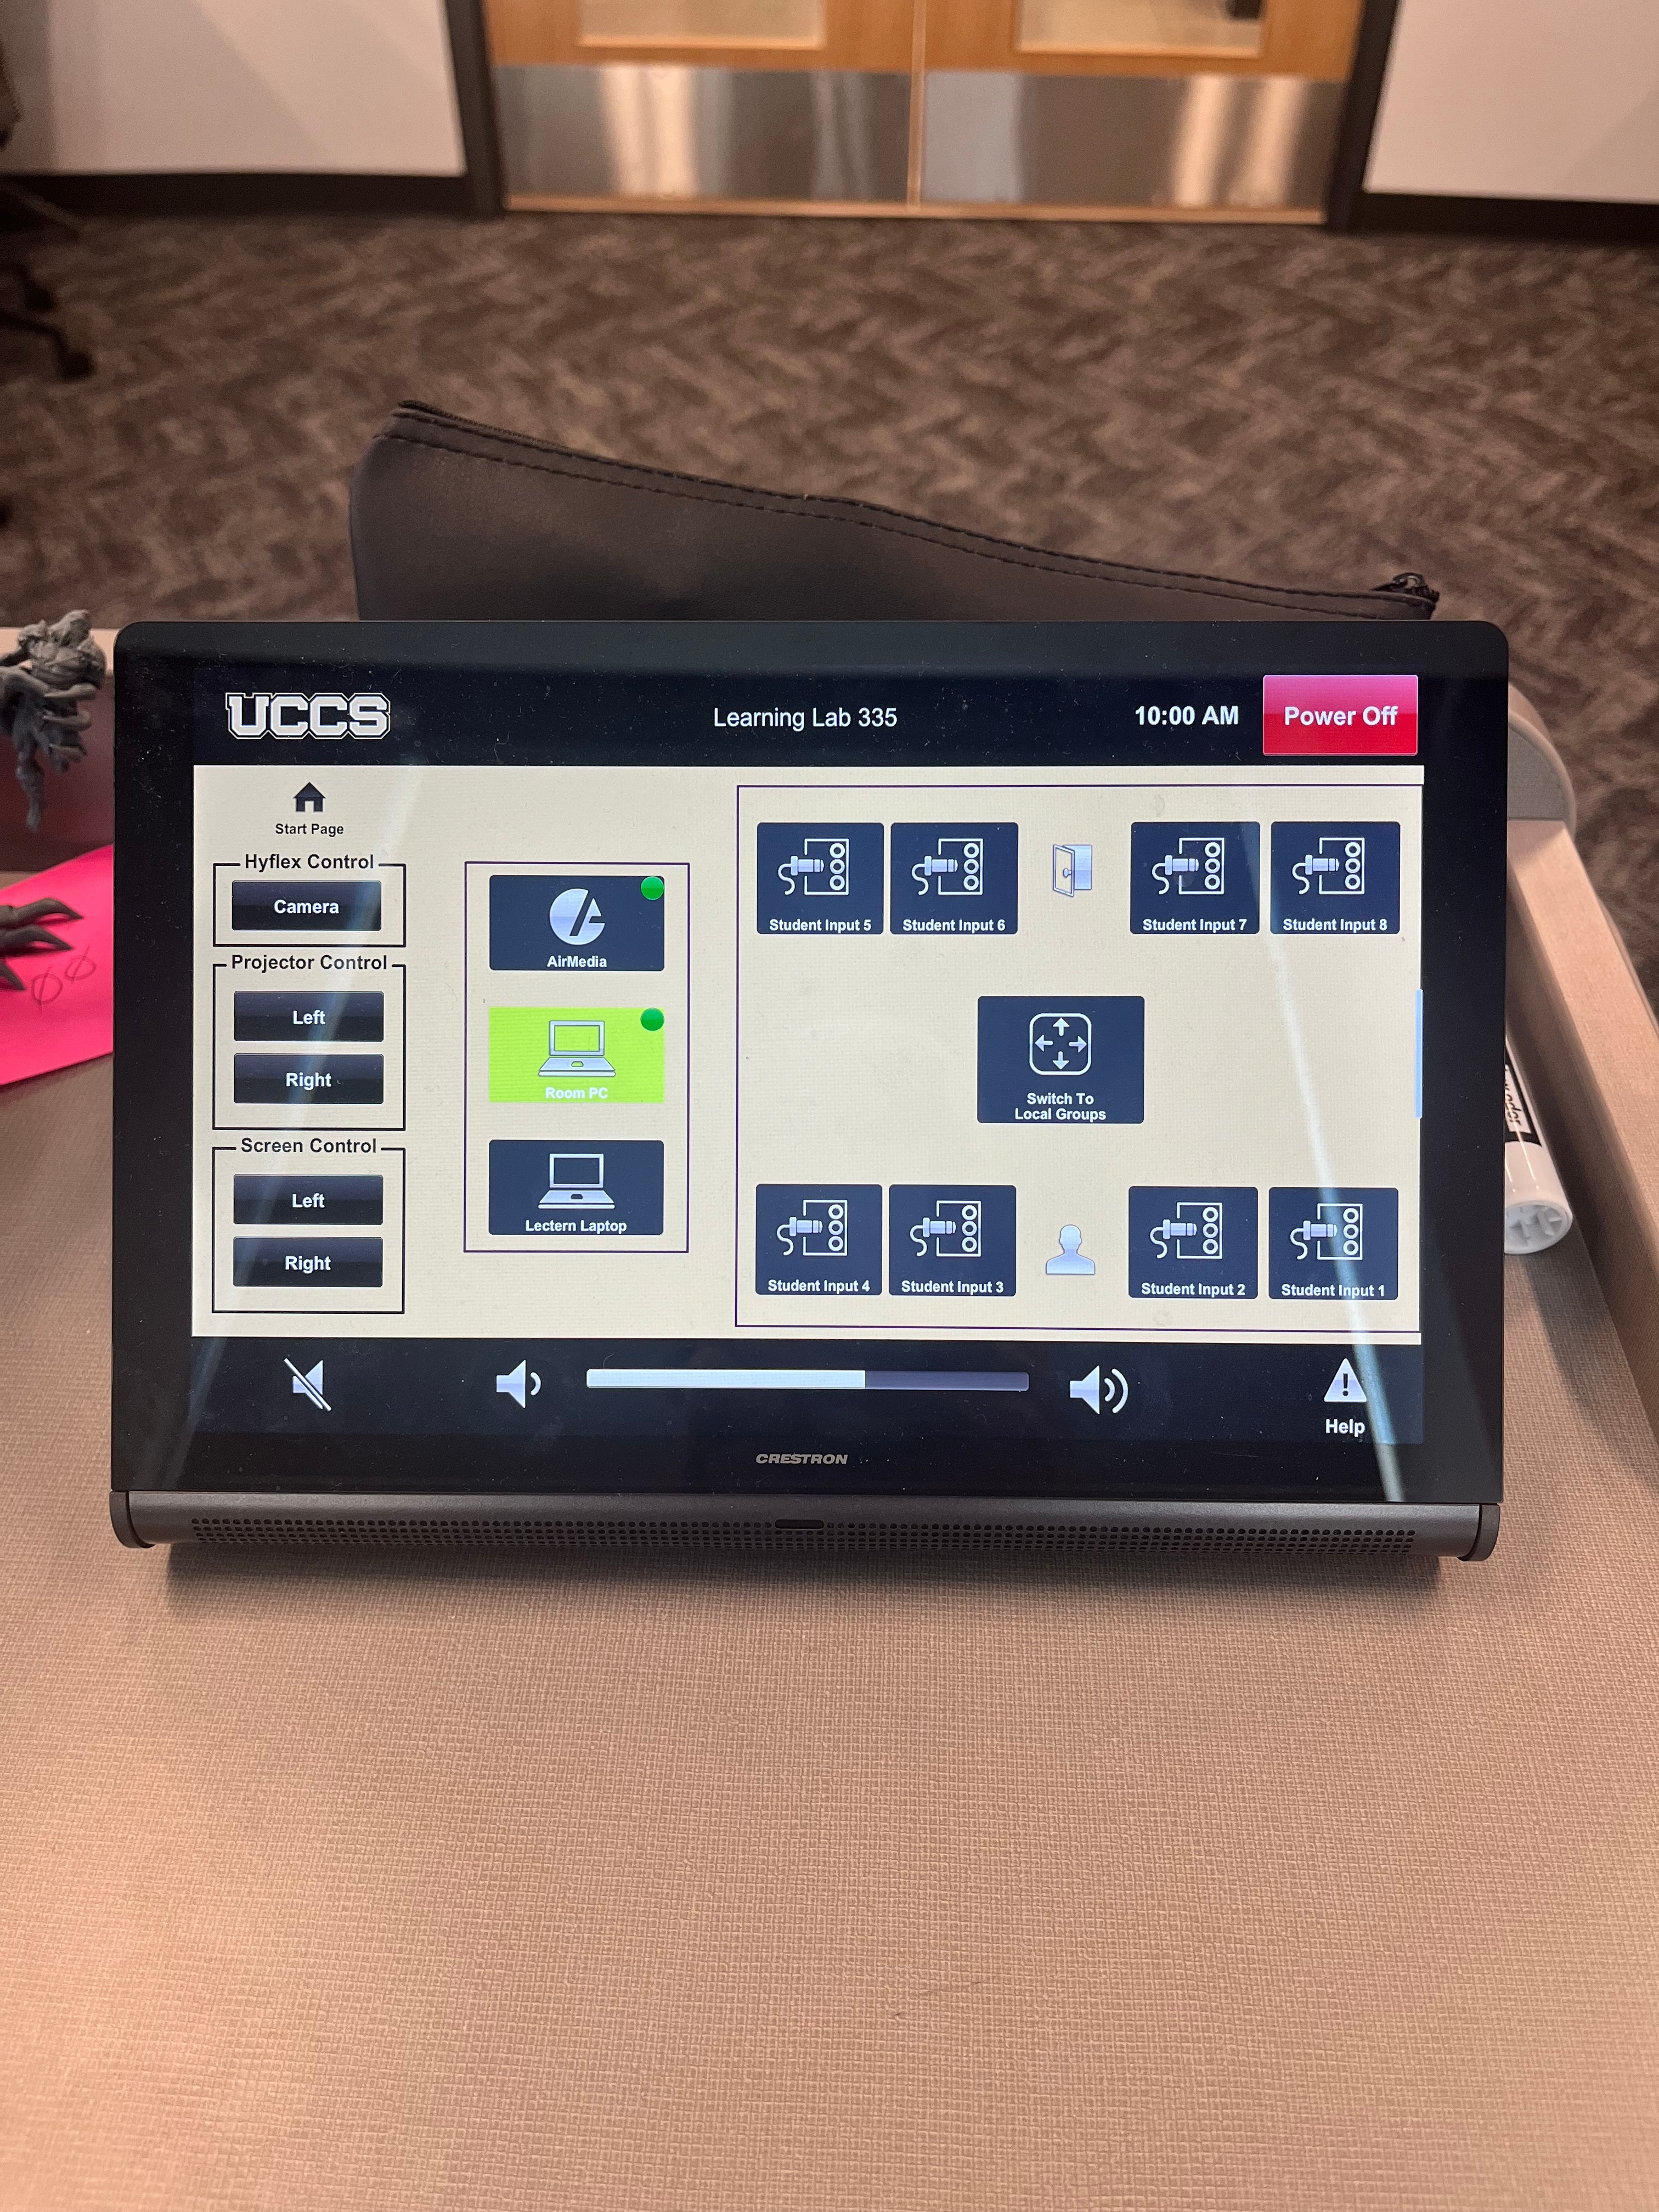
Breakout Mode: This mode will turn on the projectors, lower the screens, turn on the TVs at each of the pods, and switch to the breakout page. With this mode, the professor is able to project their own computer to all of the TVs at the pods, but it also allows the professor to either allow each station to project their computer up to their own respective TVs or the professor can choose to project one pod's source to all of the TVs and projectors. This is done via HDMI cord available at each pod.
To turn the AV system off, press the red Power Off button in the upper right corner. You will have 10 seconds to cancel the power off, then the system will shut down. The power off button will only appear after selecting one of the modes.
Source Selection
Instructor Led: To change sources, select the input you would like to send to the projector. You may choose between Podium PC, Laptop, and Wireless Presentation.
Breakout Mode: Choose any of the pod sources and the signal will send to the projectors and room speakers. Whichever source is selected it will be shown on the projection screens as well as the displays above each pod.
Switch to local groups
- Displays at each pod group will show the device plugged in at the corresponding pod.
- Instructor can still select any source in this mode to be also shown on the projection screens.
Volume Control
Volume can be controlled using the volume buttons at the bottom of any page on the touch panel. The raise and lower buttons are on either side of the volume bar and the mute button is located in the lower left corner. Volume can also be adjusted on the individual source input device (i.e. laptop, podium pc, etc.)
Projector Controls
The projector and screen will automatically power on and off/raise and lower with the system when an instruction mode is selected. On the left-hand side of the touch panel there are options to control the Hyflex camera, left and right projectors and the screens on either side of the room.
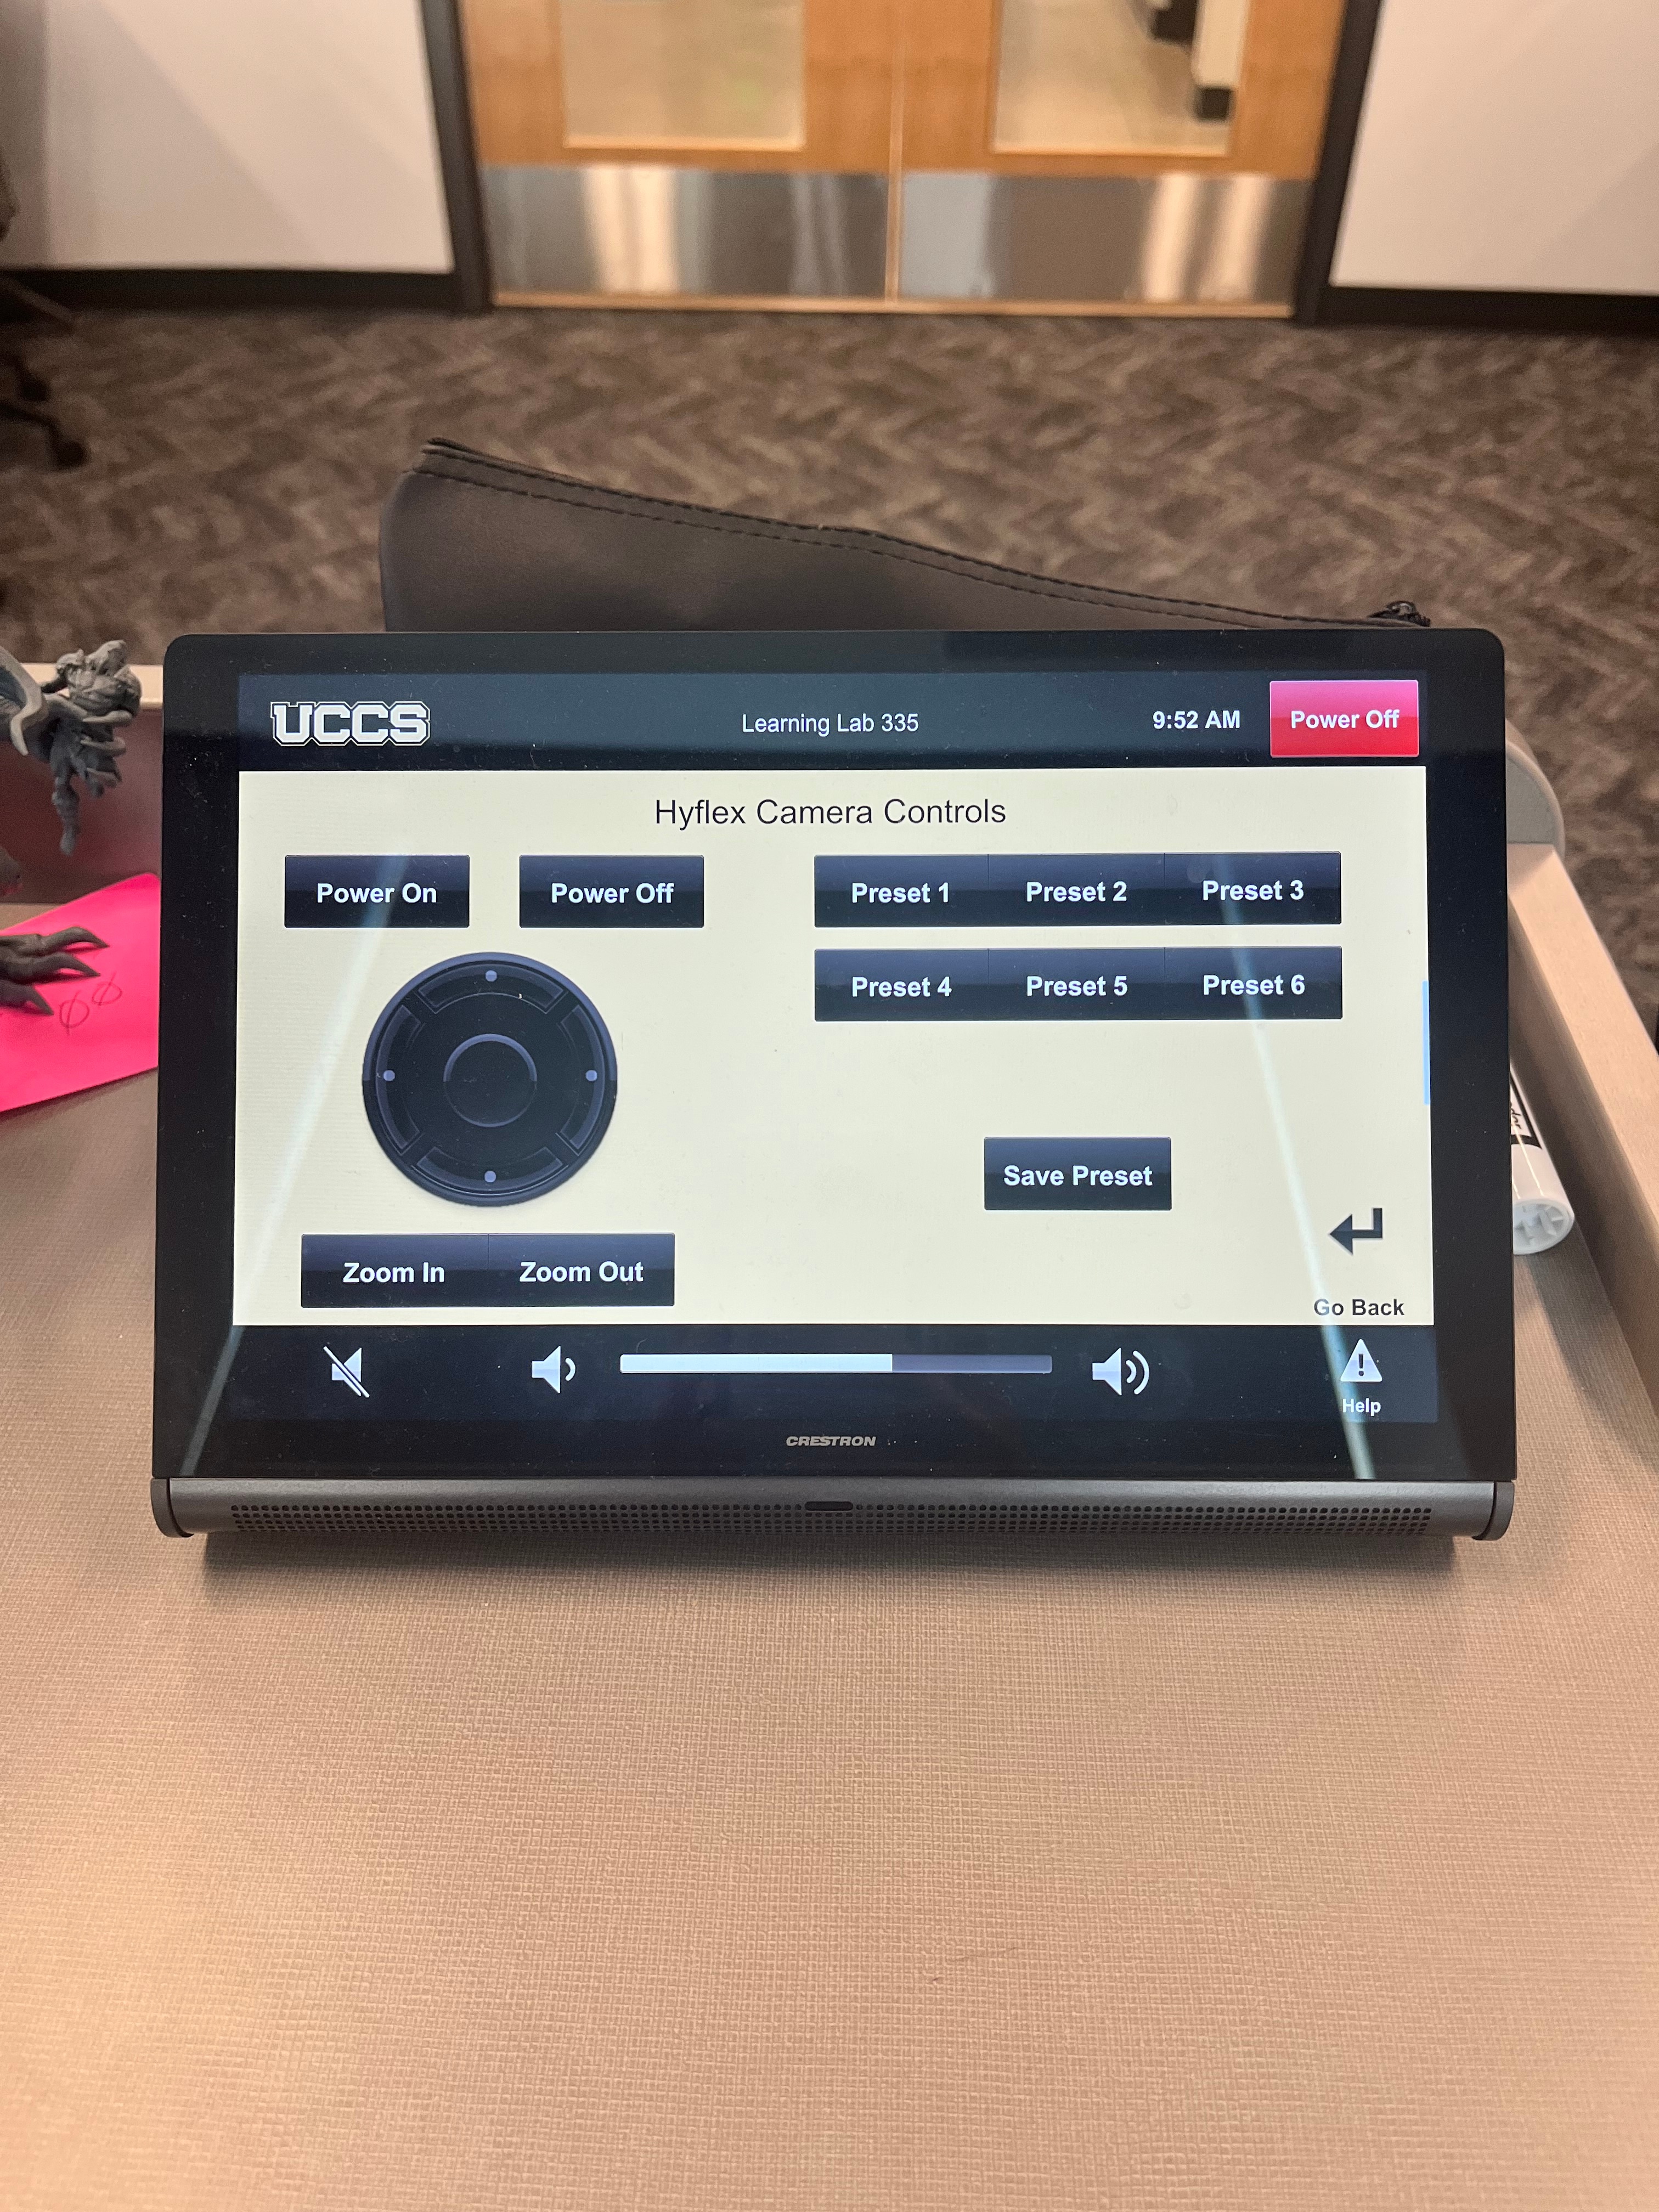
Hyflex Controls
- Select the camera opposite the podium and control the frame, FOV,
Projector Controls
- Select the left or right projectors and control them with a virtual remote
Screen Controls
- Select the left or right projector screens and raise or lower them.
There is currently no A/V Mute button in this room.
Inputs
Using the Podium PC and Lectern
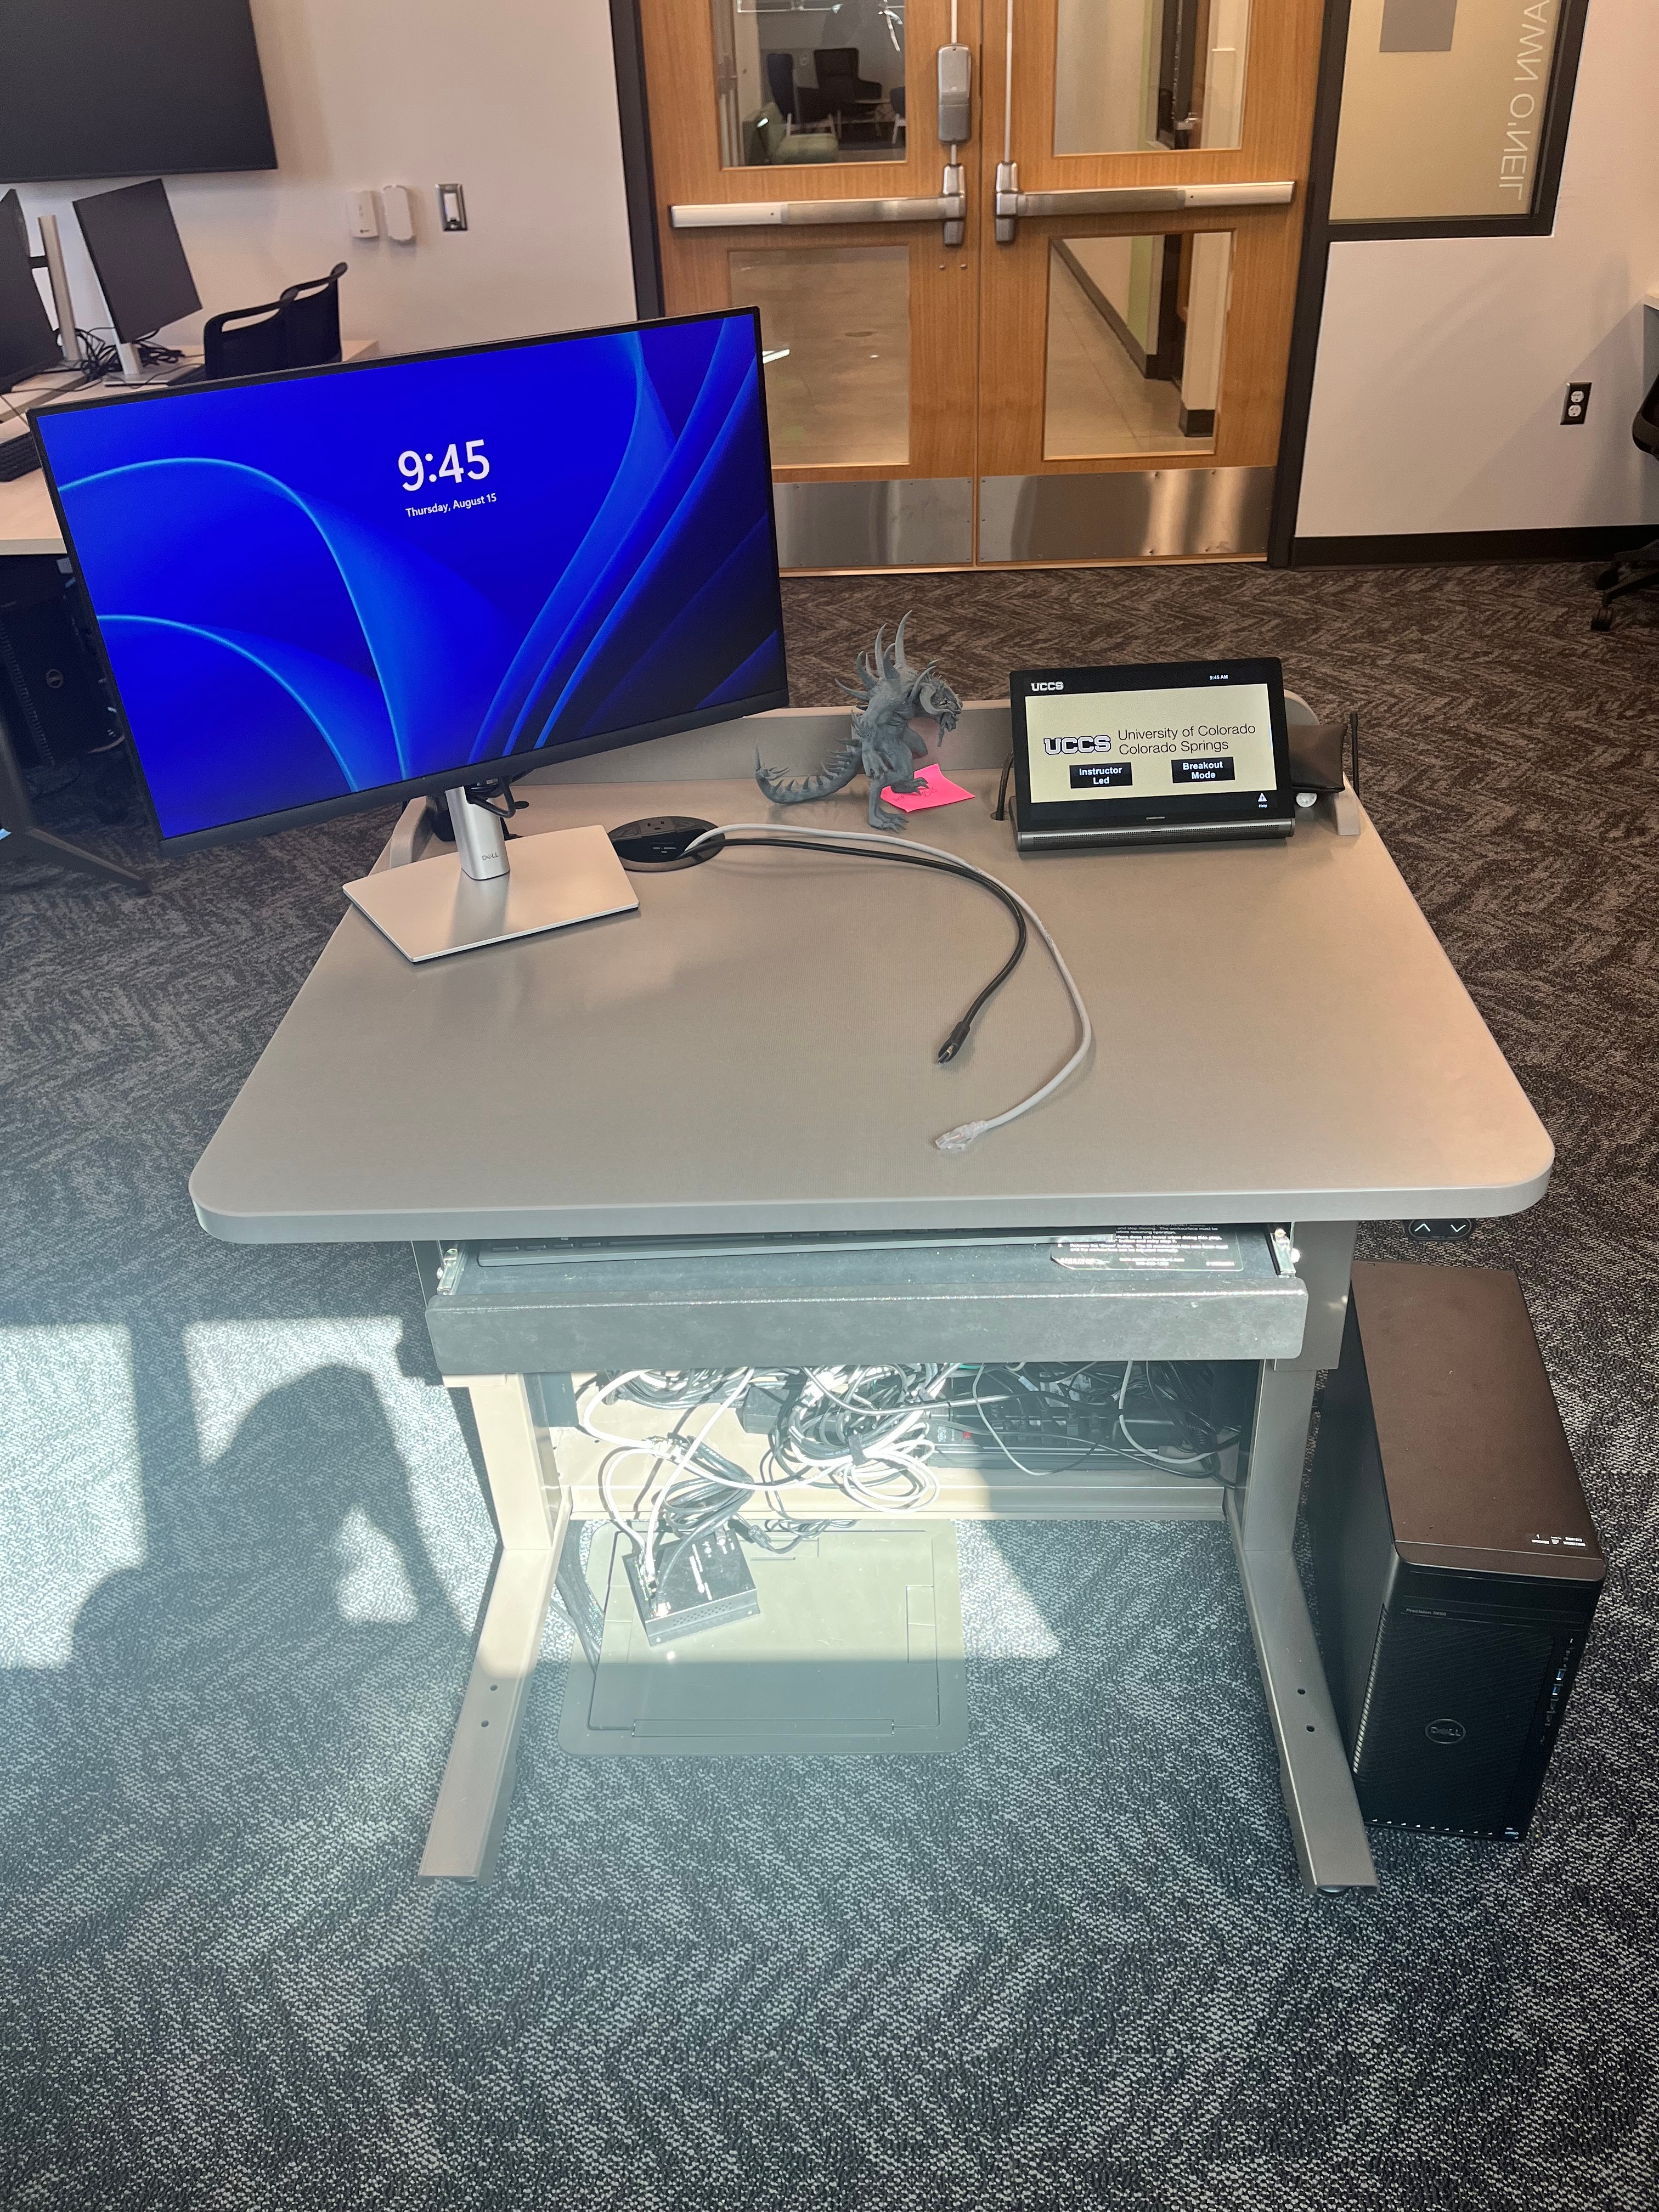
The computer placed on the podium is the primary source for this AV system. This computer runs the same image as all other podium computers in general fund classrooms and labs. You can sign in with your UCCS credentials.
Using a Laptop
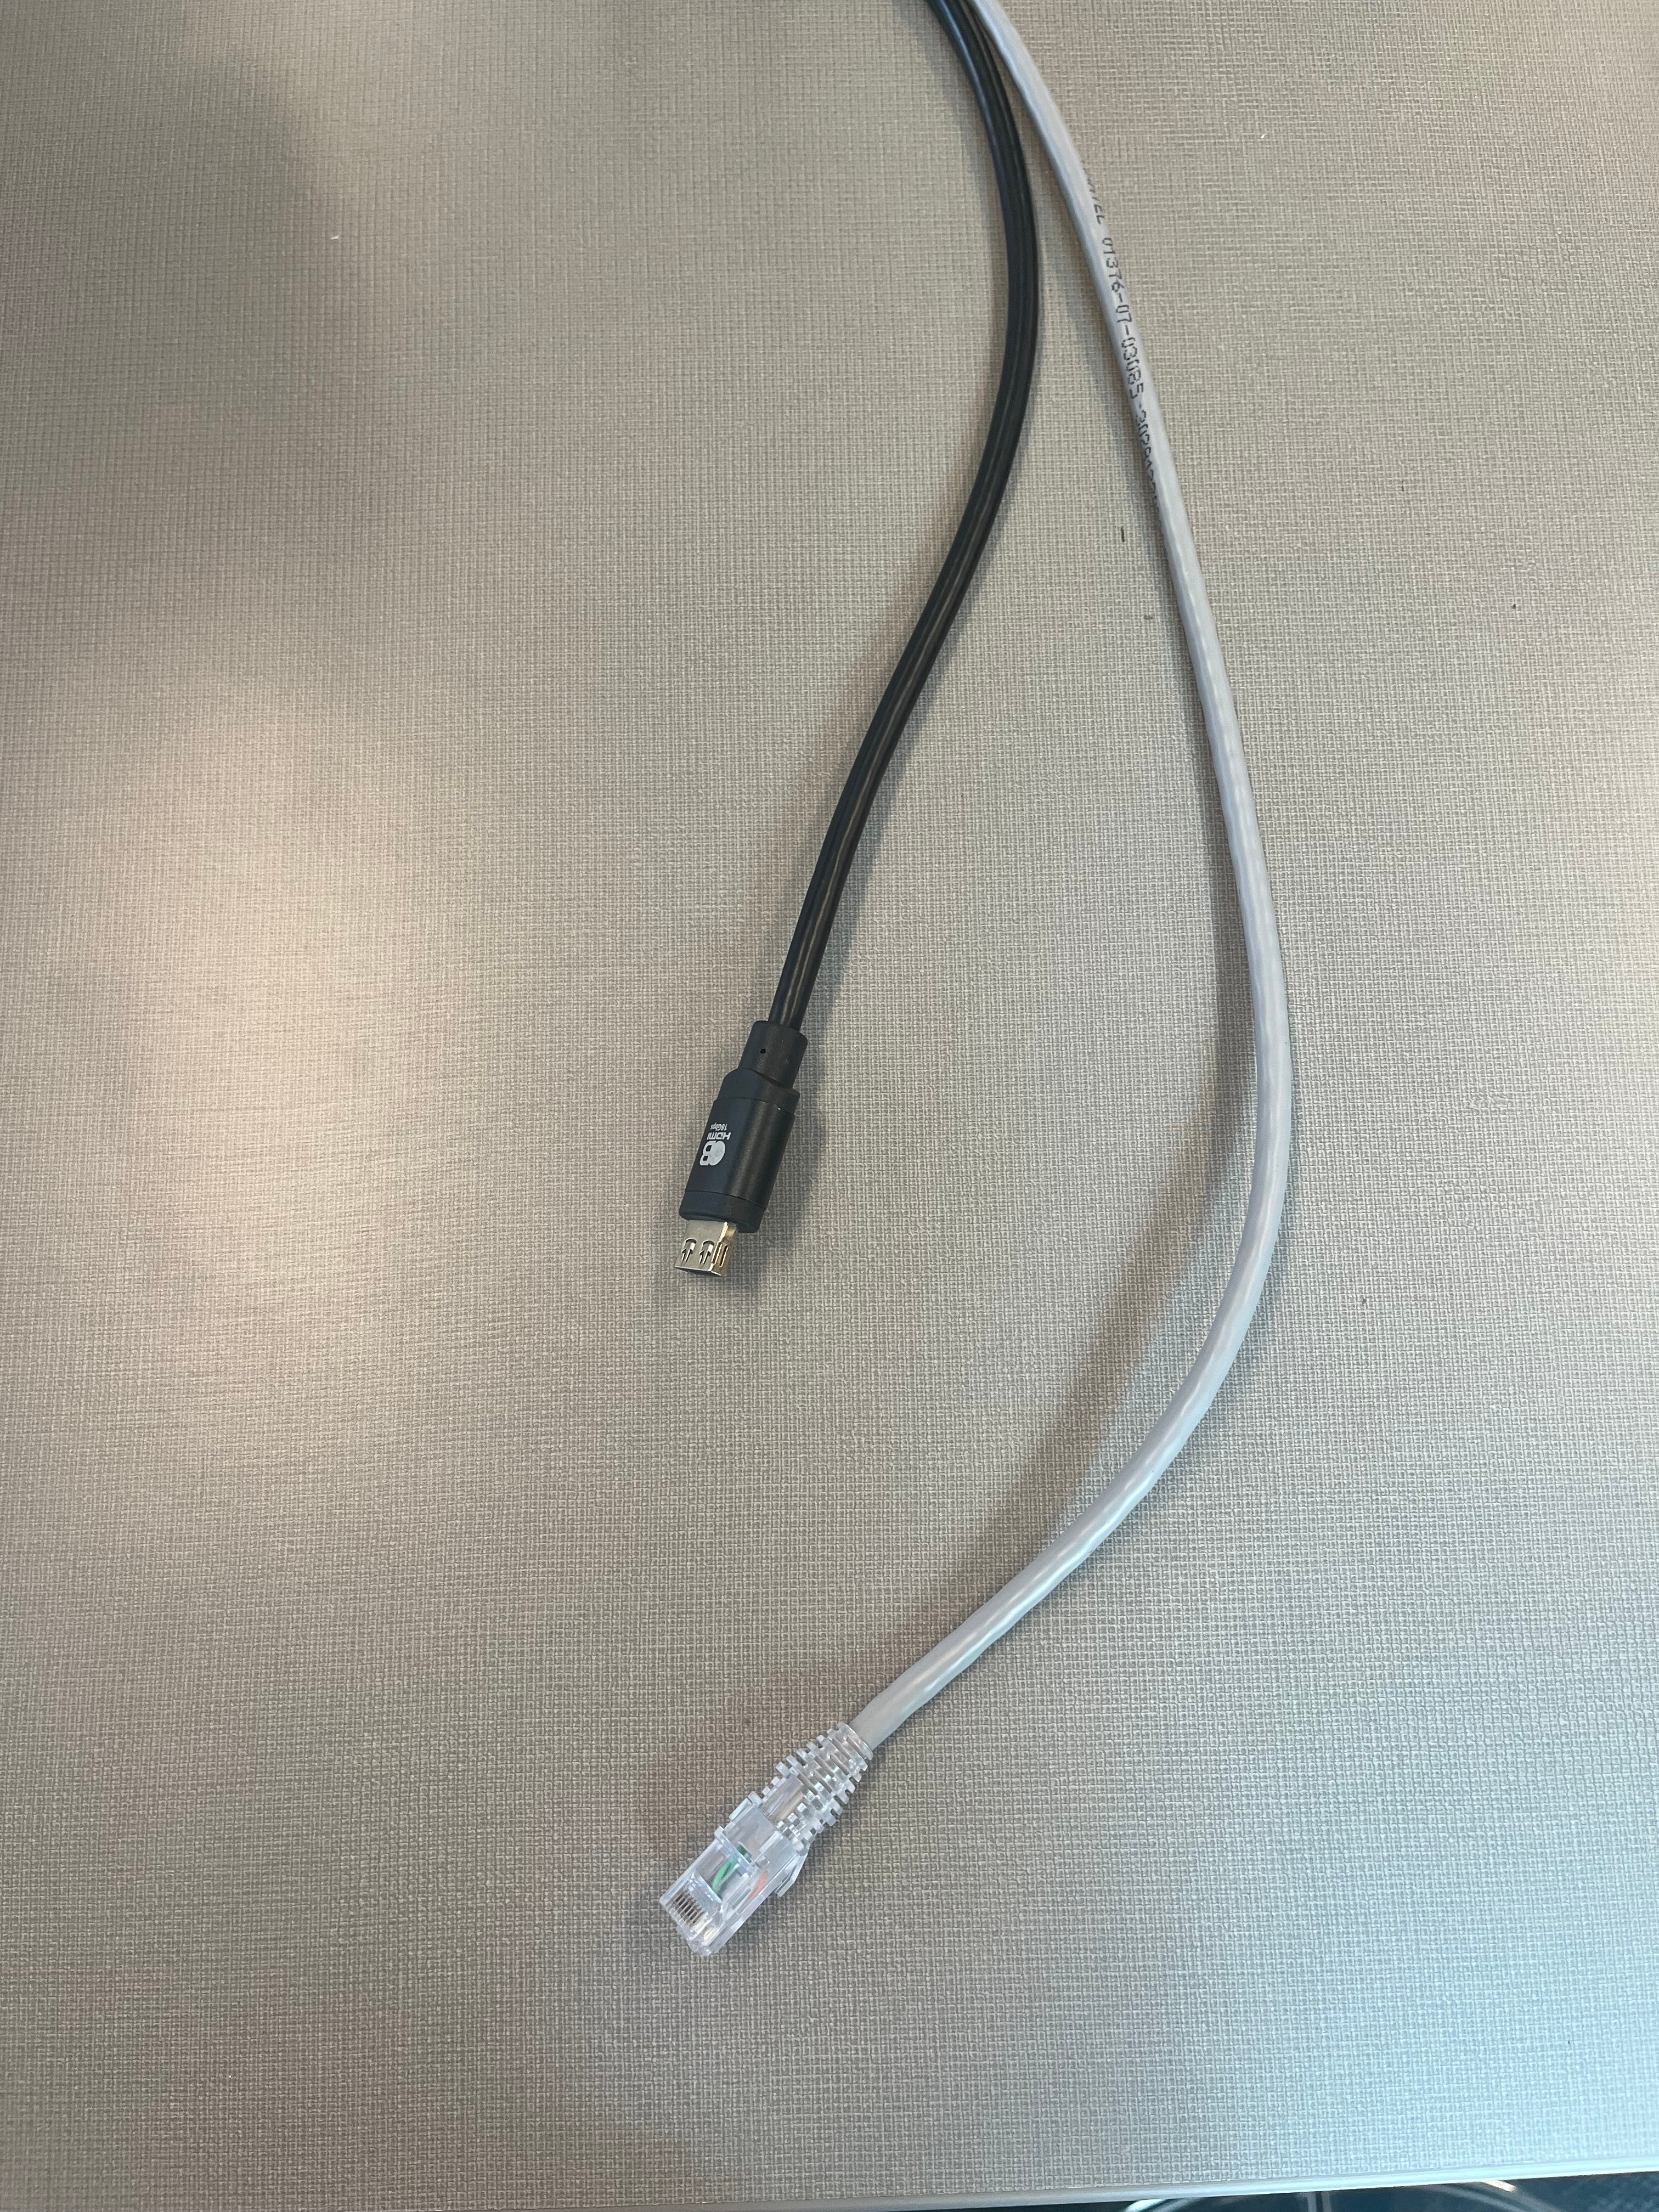
The HDMI and LAN cables on the lectern is for use with a laptop. Connect your device and switch to the laptop input on the touch panel to project.
Wireless Presentation
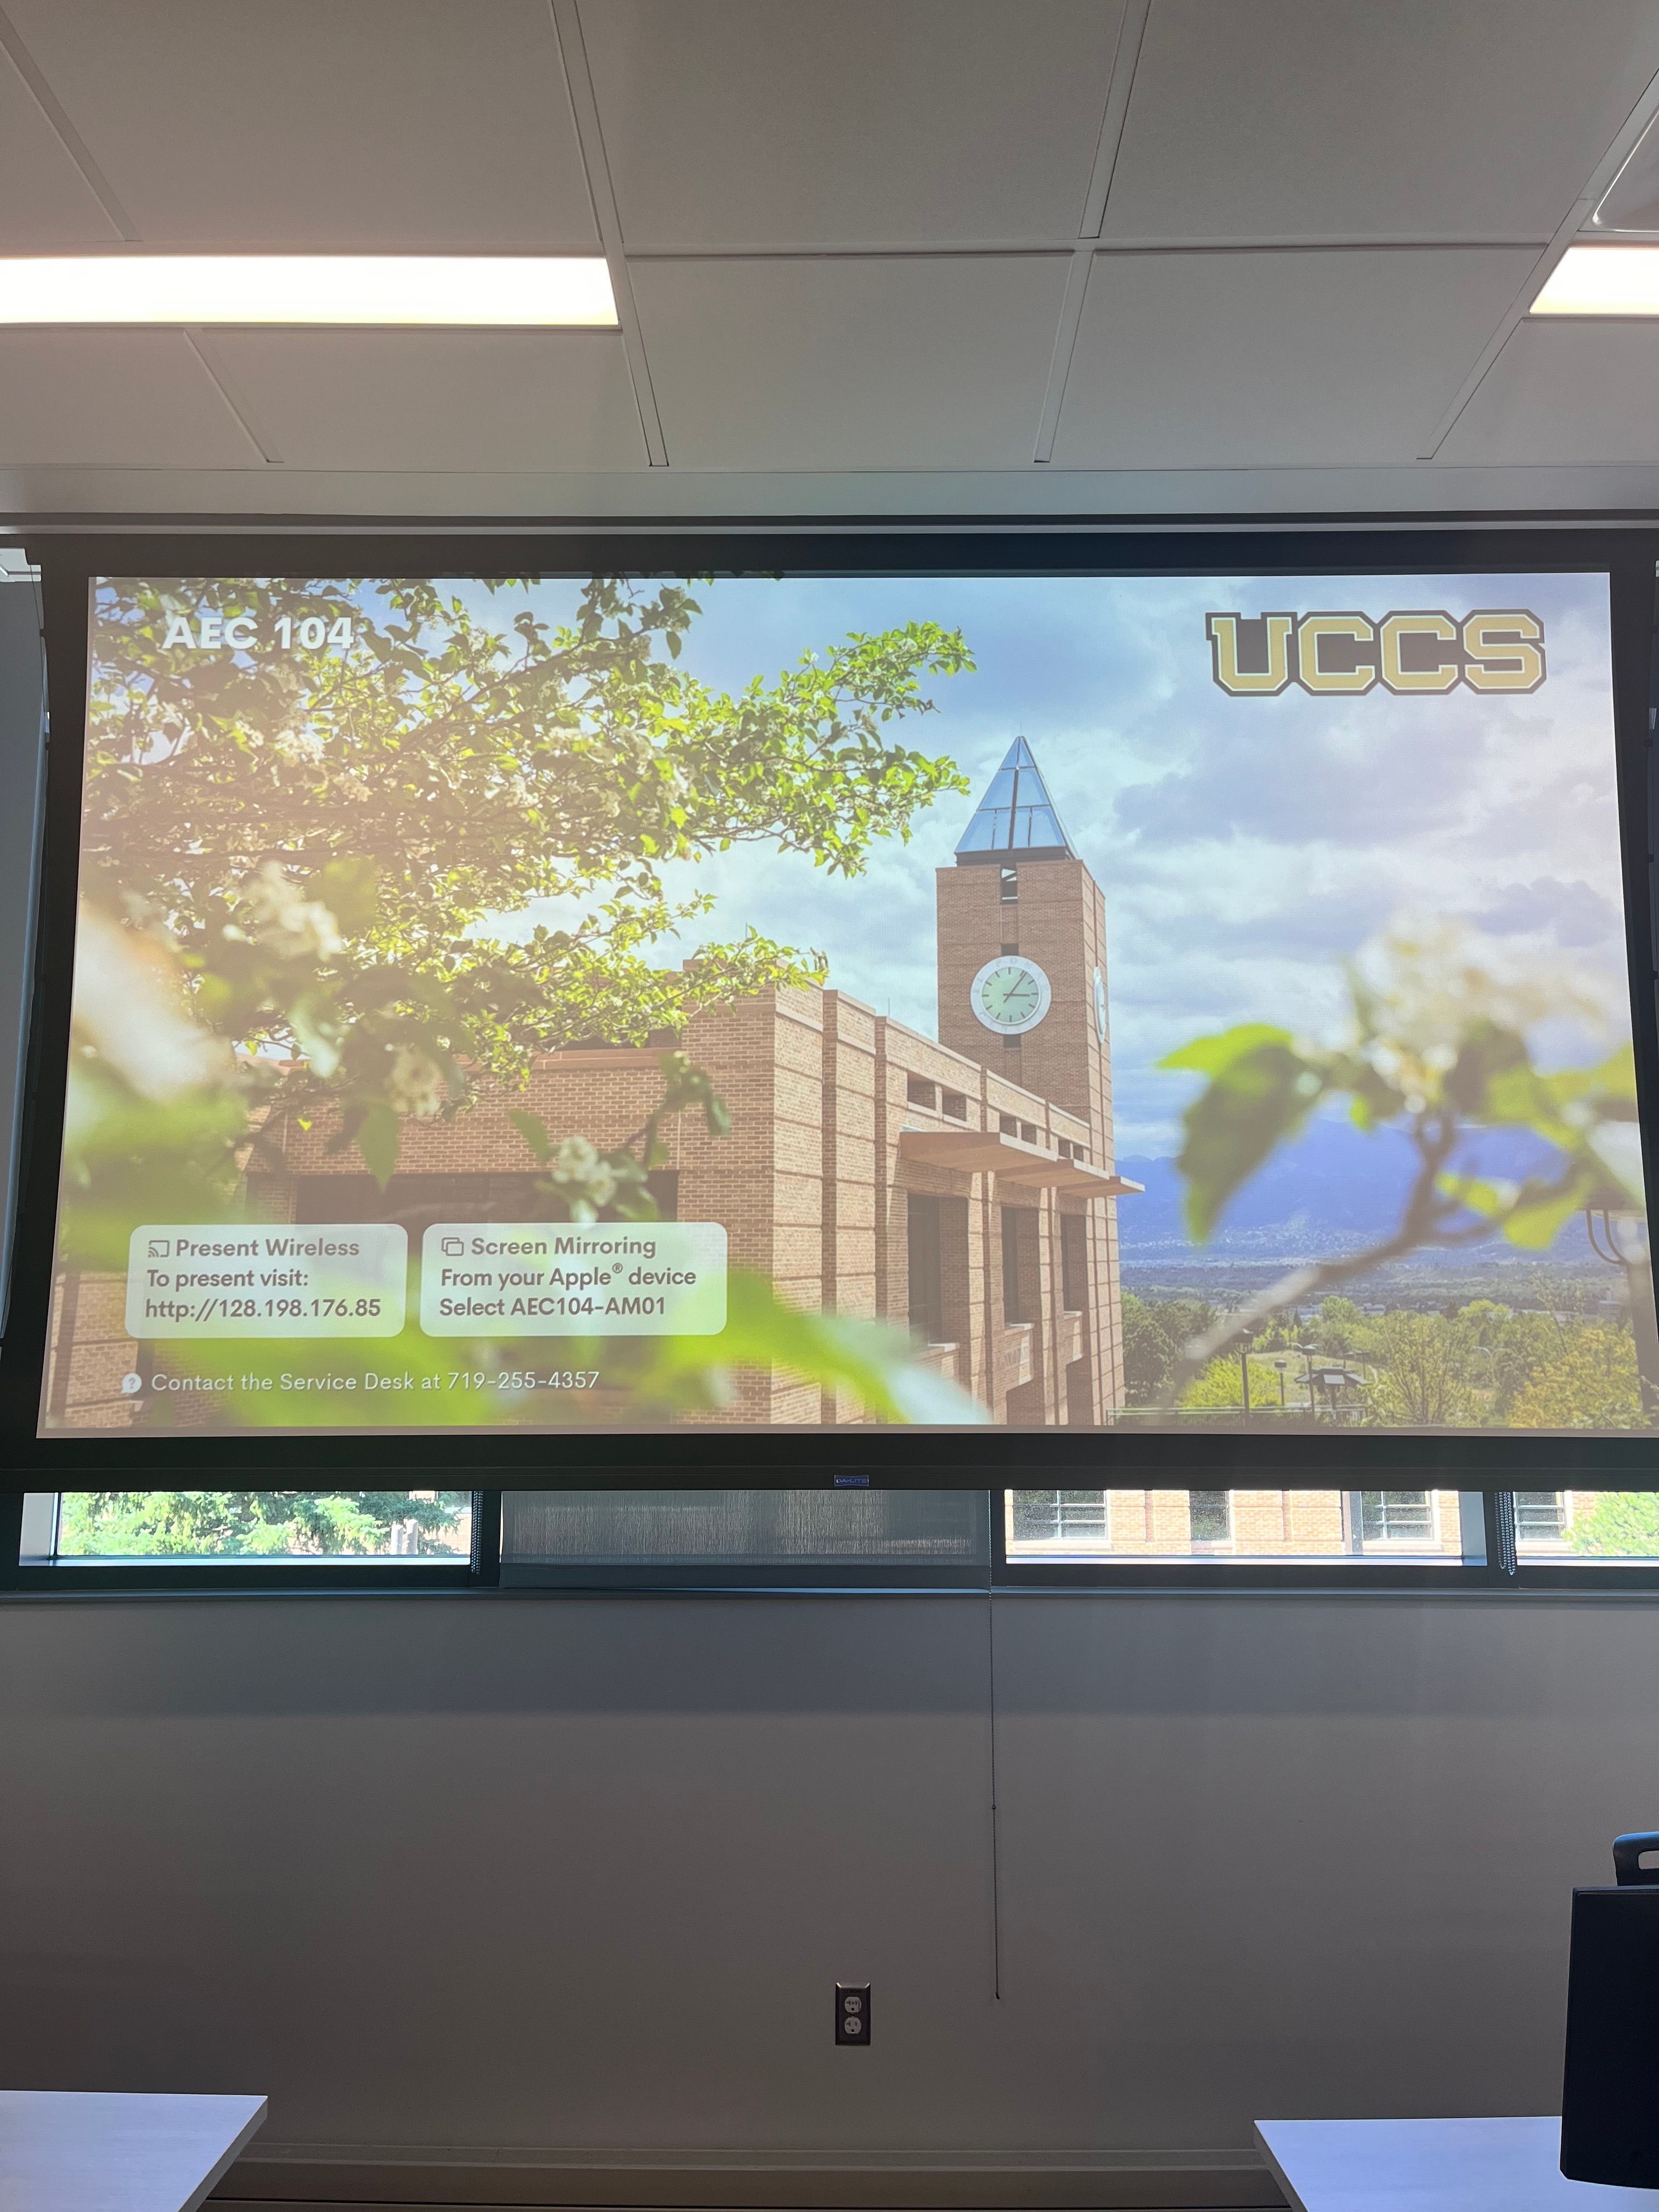
We also have Wireless Presentation available in this classroom through Airmedia
Using the Vaddio/Hyflex VTC System
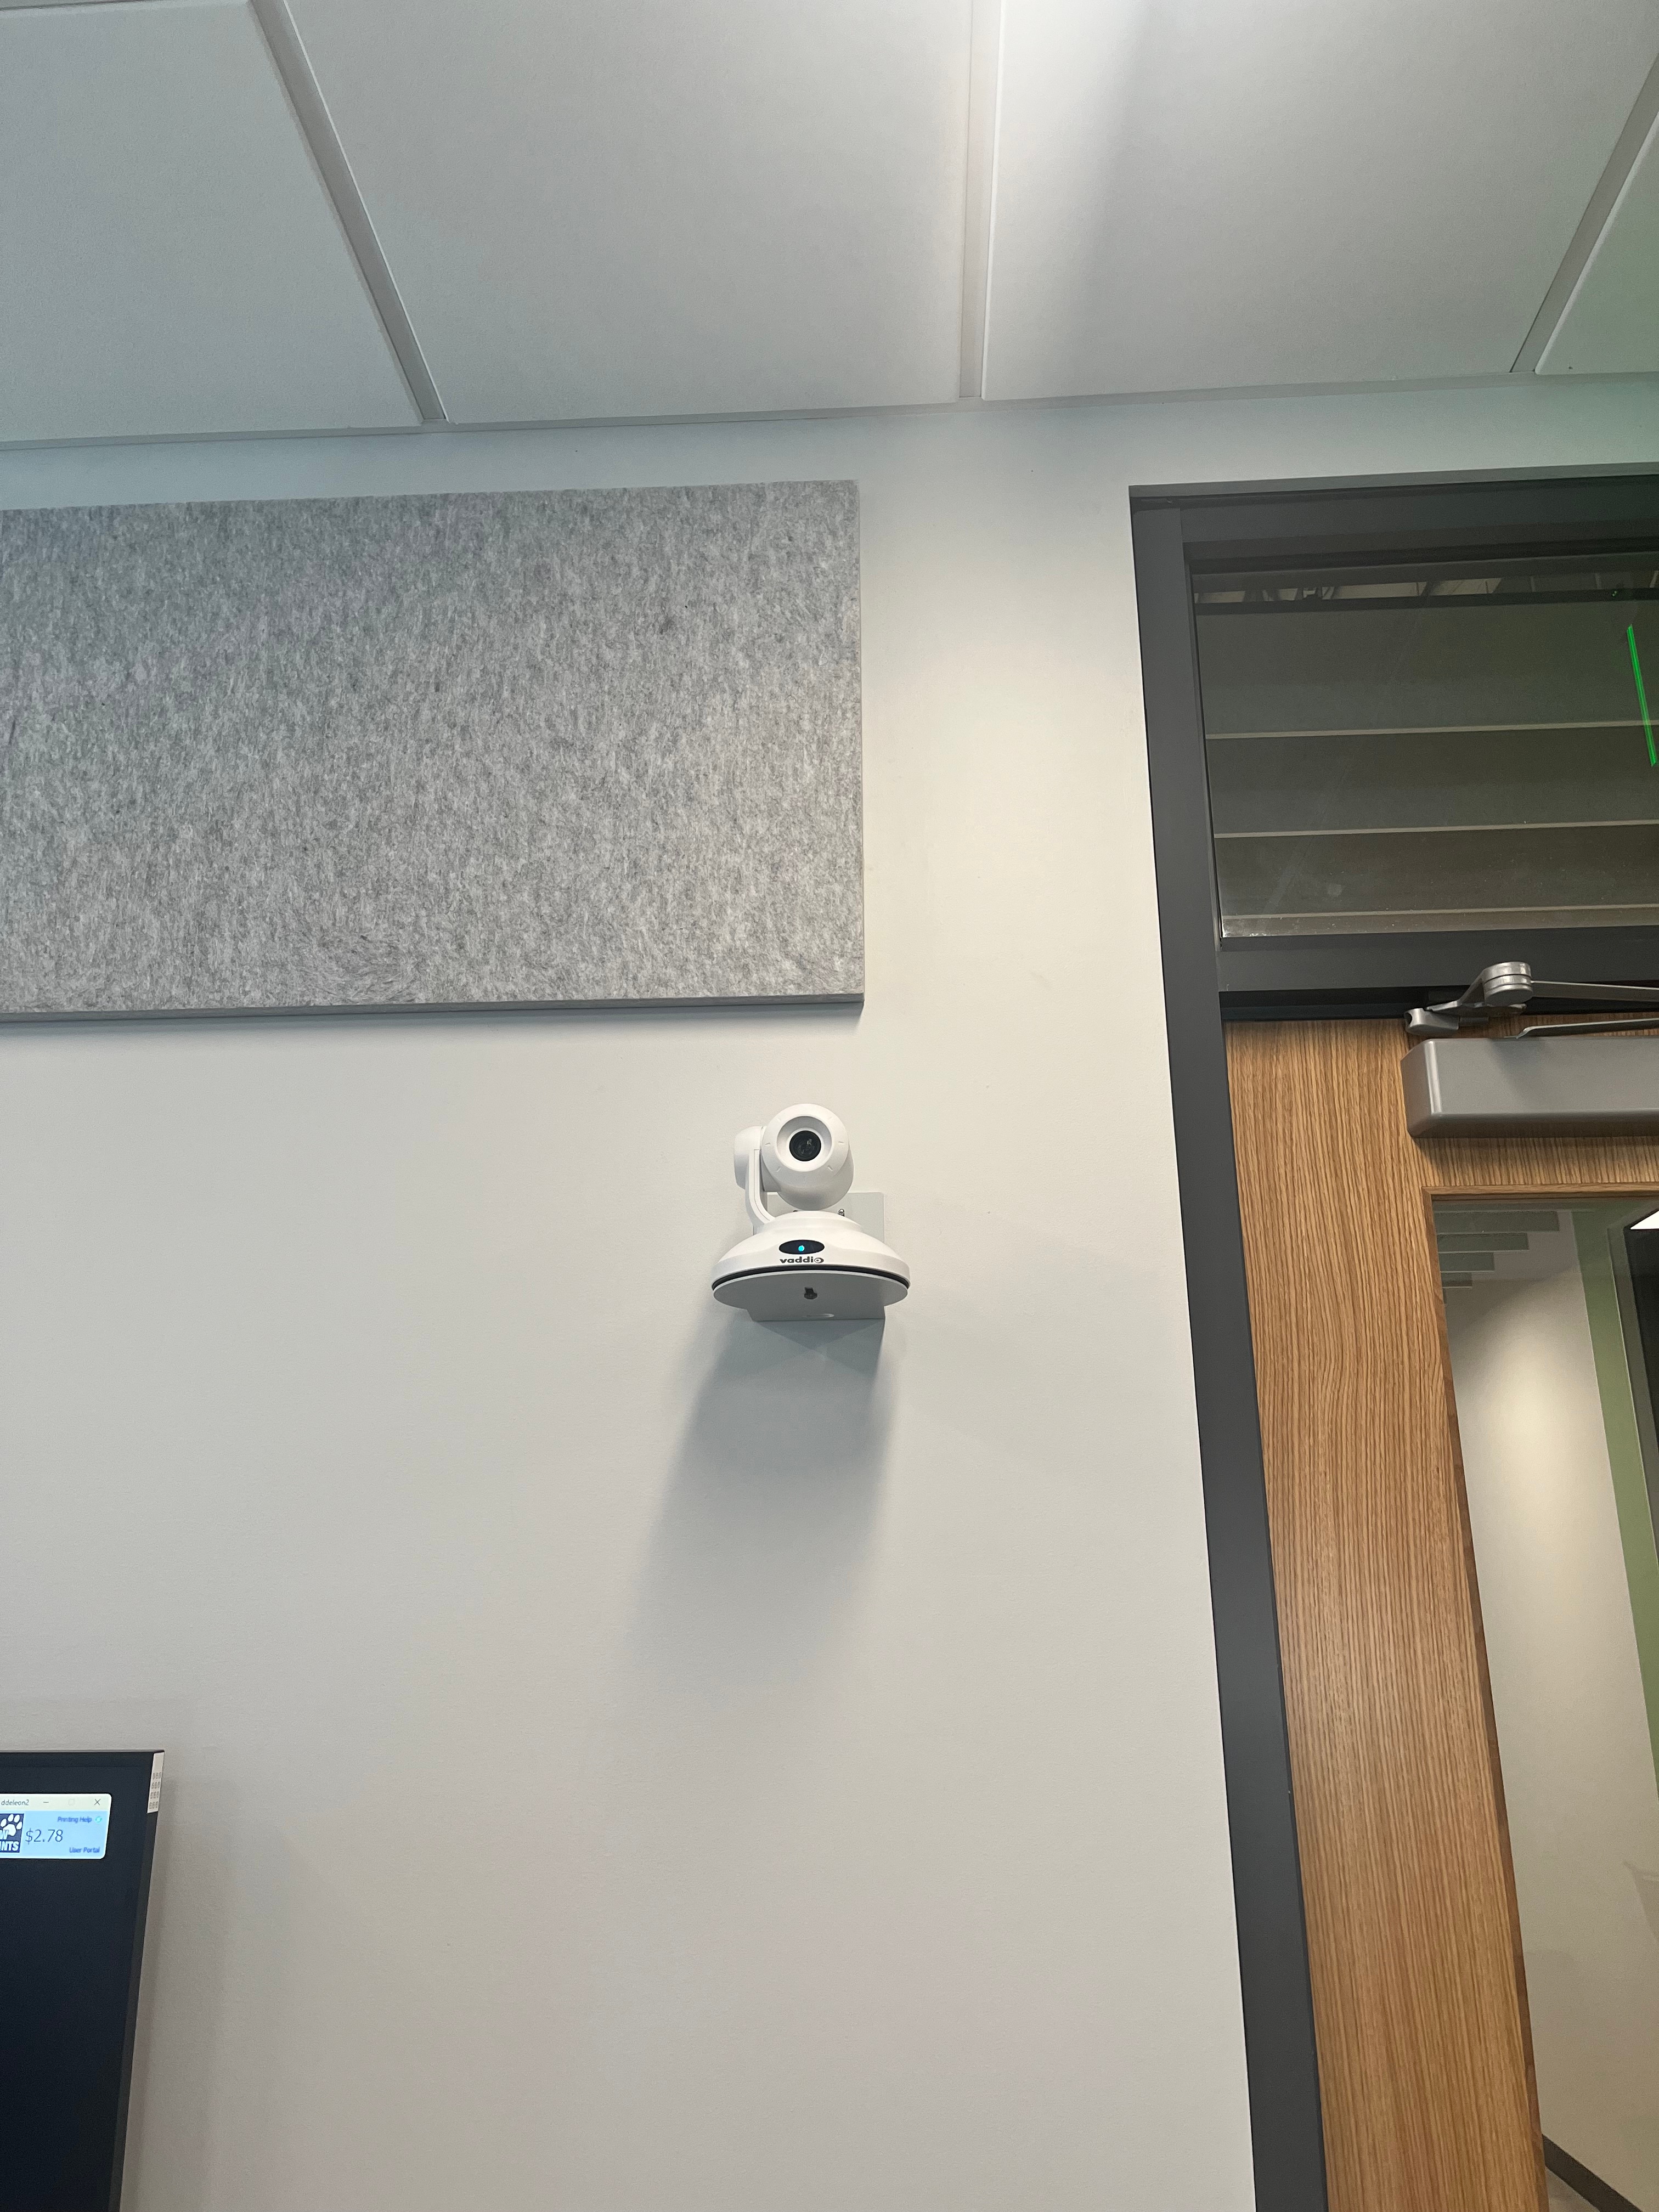
The Hyflex camera in this room is controlled by the Crestron panel, so there will be no Hyflex remote in this classroom.
Screen Control
The screen can be lowered or raised by turning off or on the Crestron system. There are no manual screen controls in this room.
Troubleshooting & Checklist
Audio Issues
Fixing Audio Issues: Standard Crestron Room
Video Issues
In this room, if the Crestron system is receiving a video signal, there will be a green dot in the
corner of the box for each input that is valid, please include that in troubleshooting.
Fixing Video Issues: Standard Crestron Room
Vaddio/Hyflex VTC System
AirMedia/AirPlay
Wireless Presentation (AirPlay/AirMedia)
Room Specific Issues
If the TVs are not connecting with the Crestron system properly, please try to restart the Crestron system.
The audio in this room is known to drop out. We have a temporary solution in place but requires AV staff assistance.
Photos
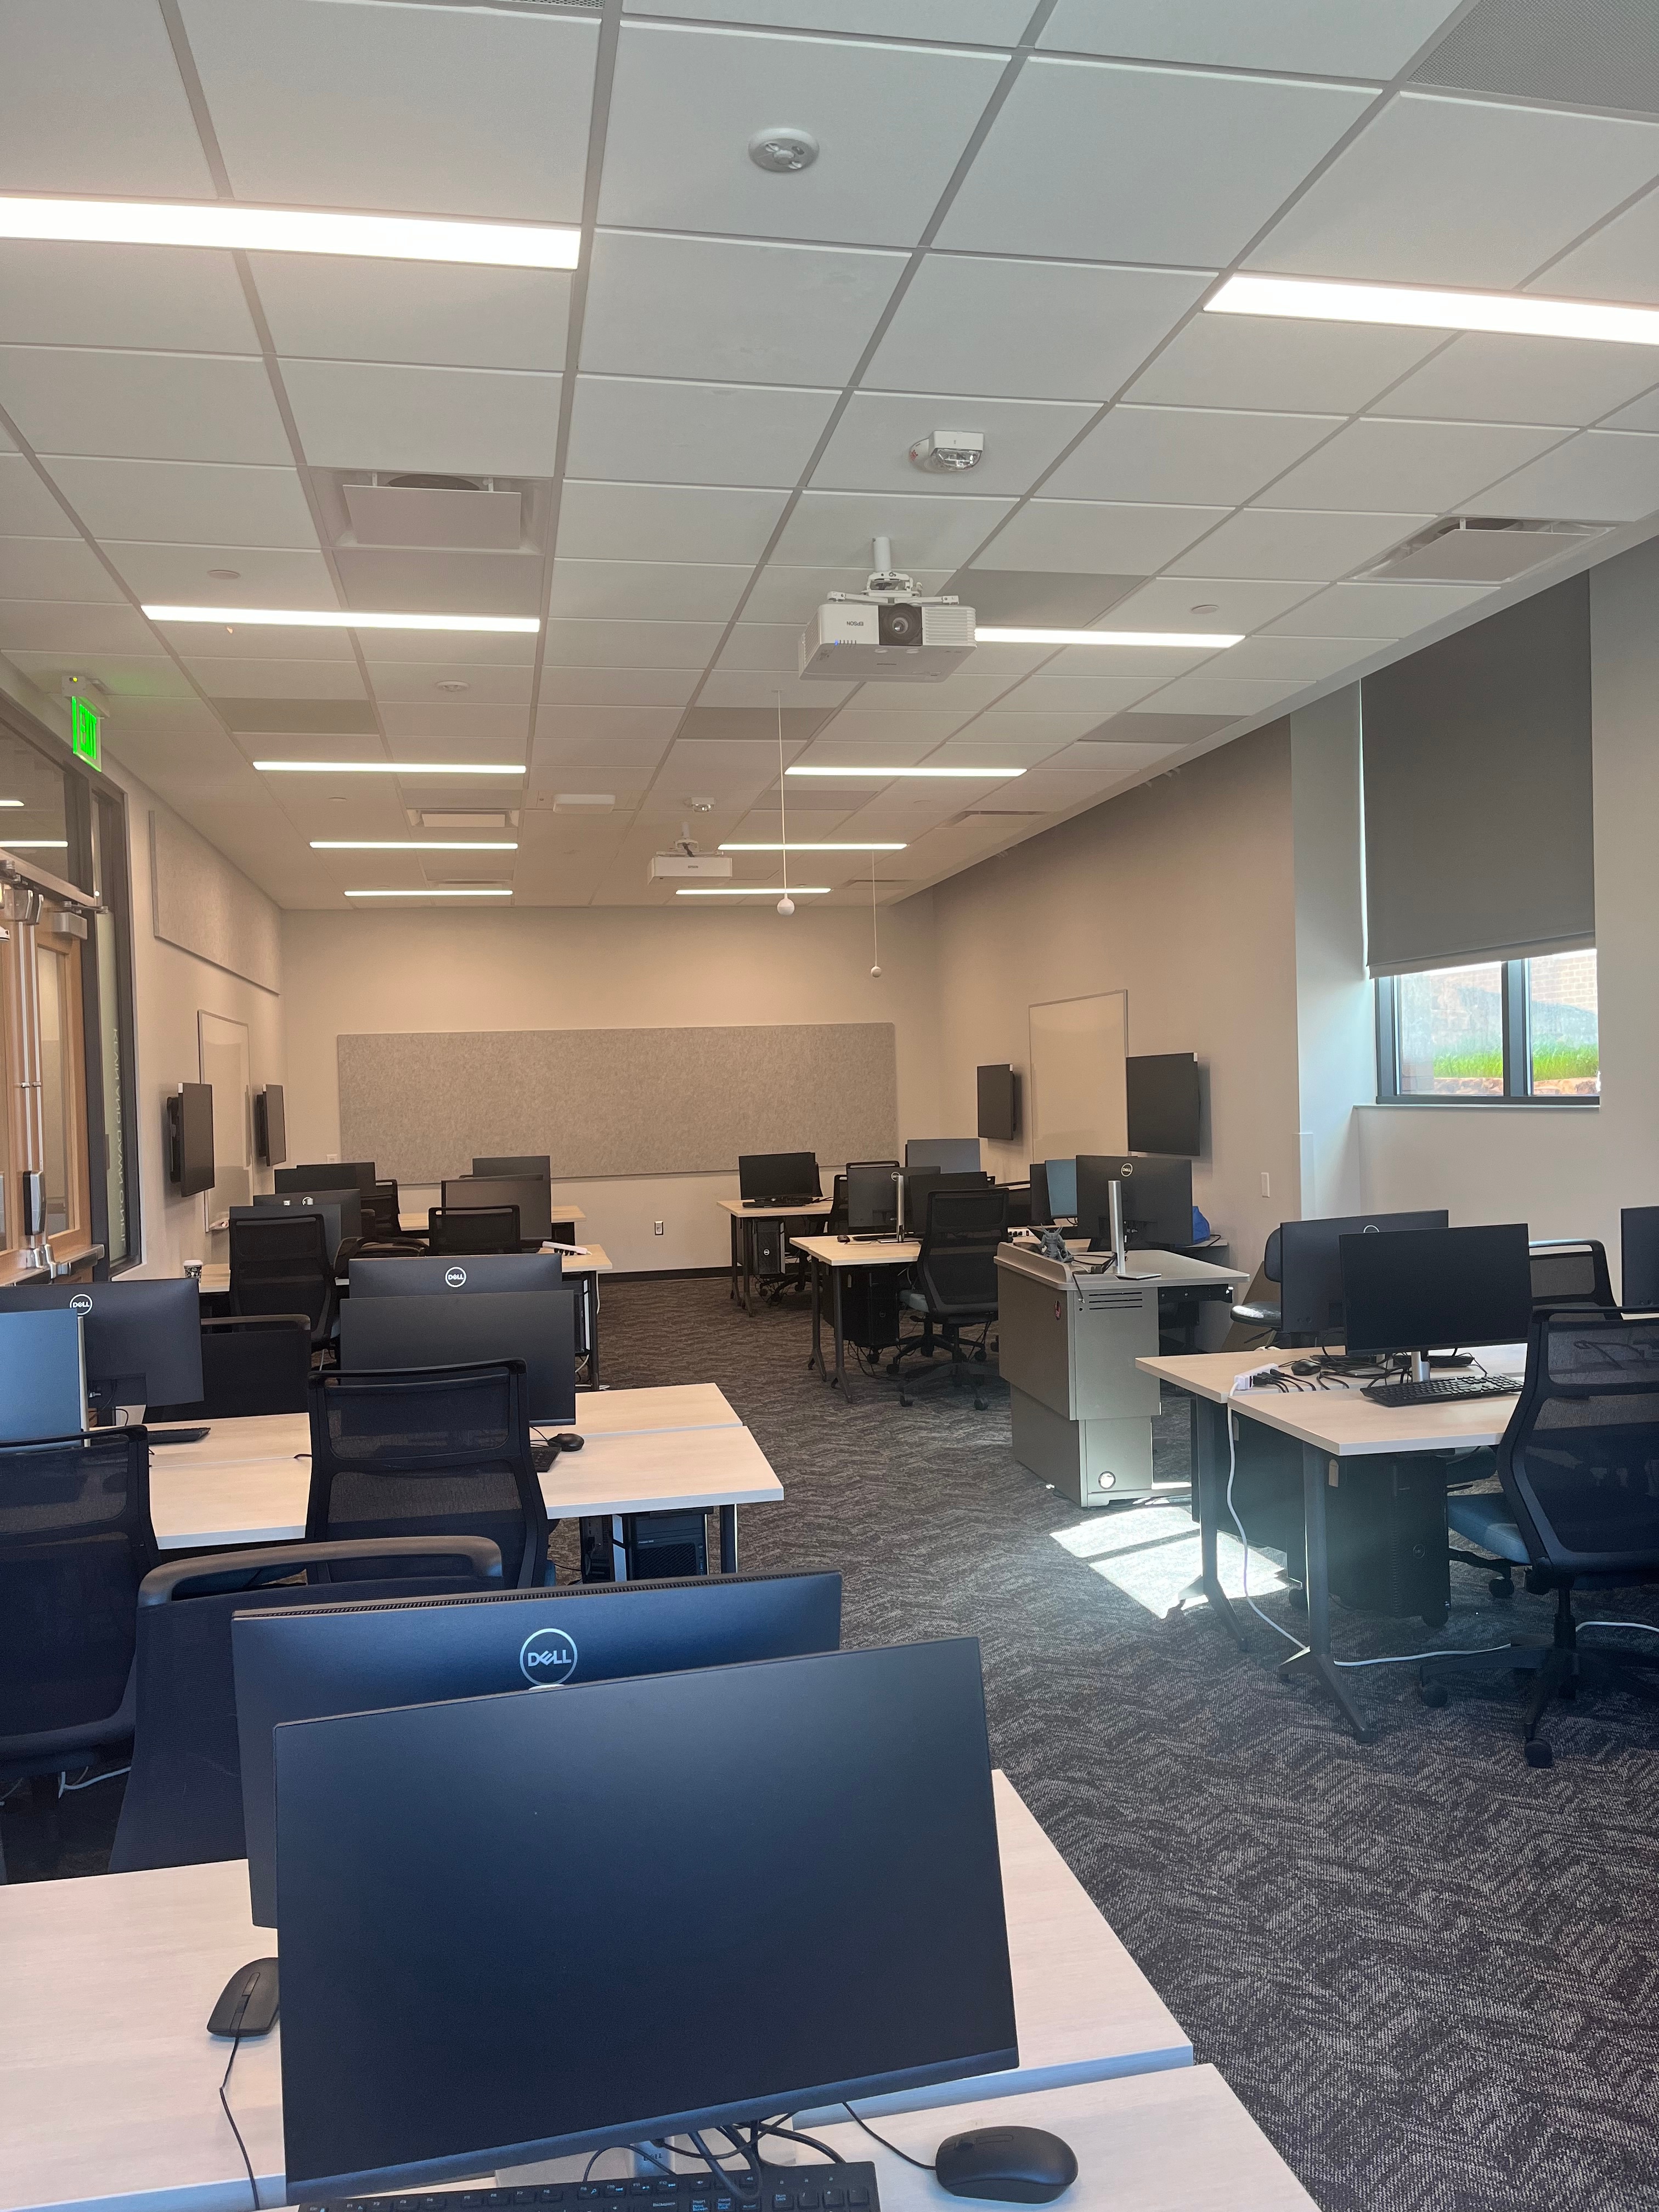
This is a Crestron controlled classroom.

Ceiling mounted speakers and microphones for Hyflex capabilities.
The Hyflex camera is located on the front wall of the room (near the doors).
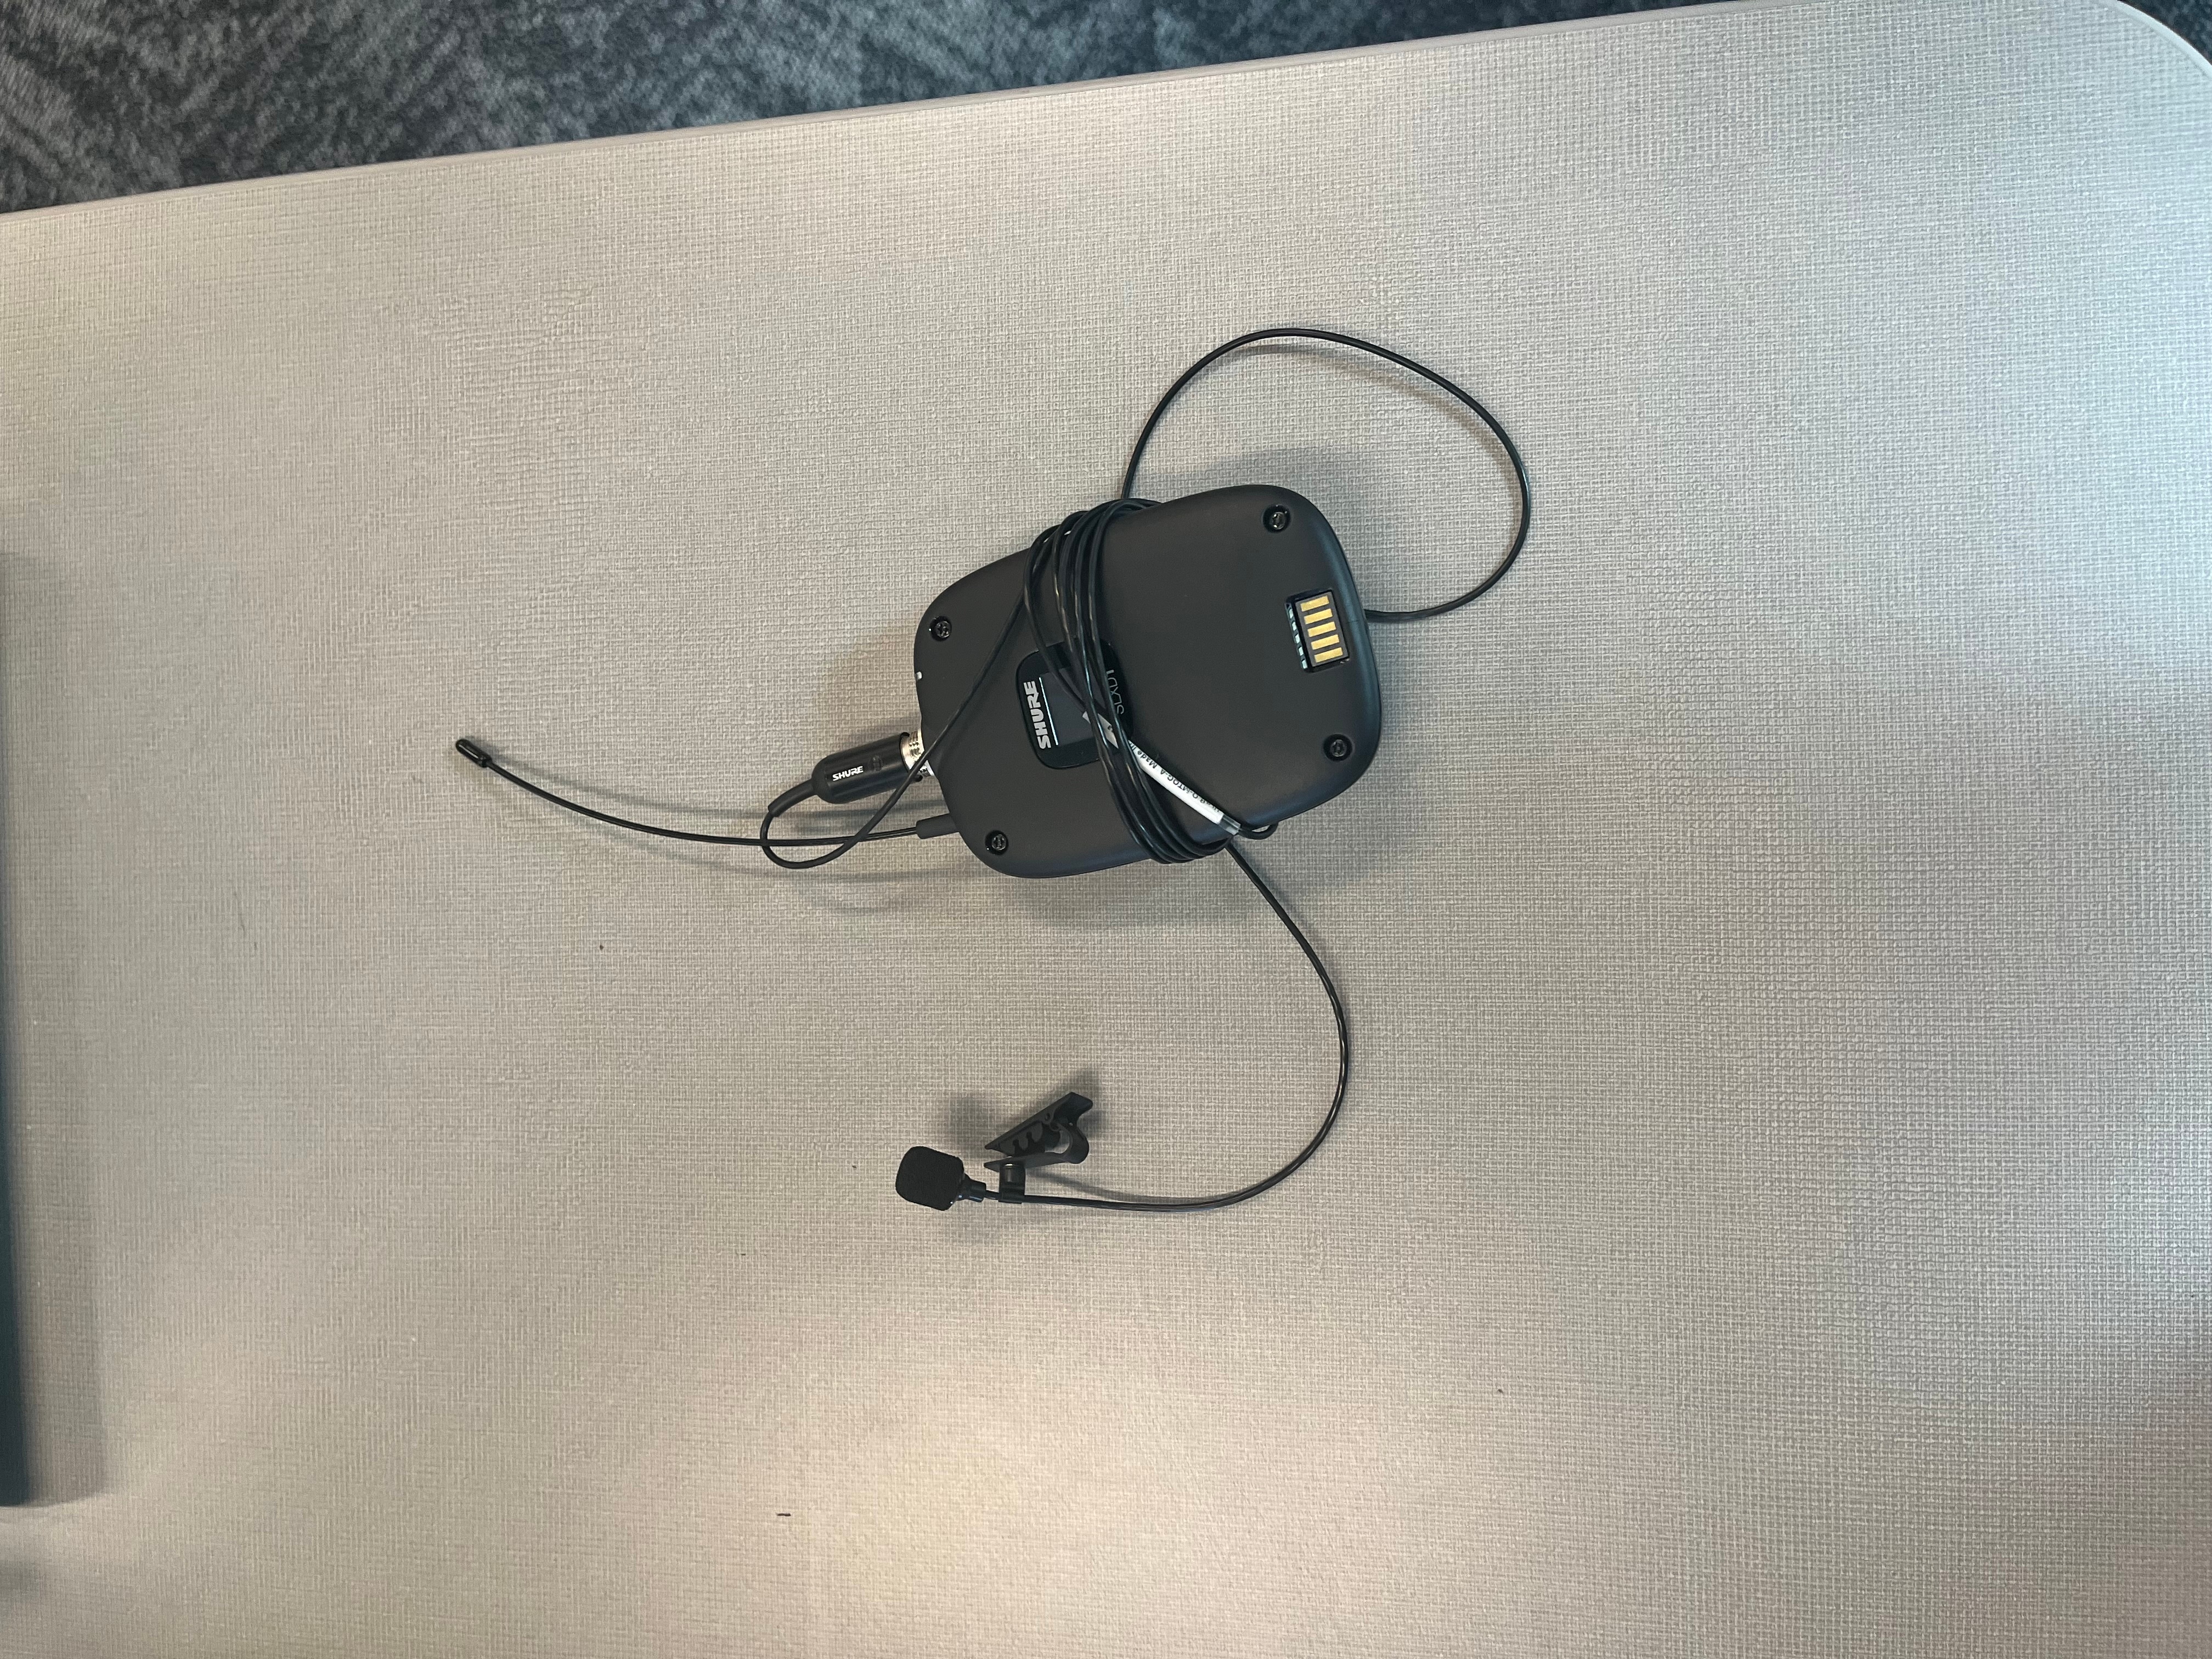
This room is equipped with a lapel microhpone system.