
| Info | ||
|---|---|---|
| ||
In Summer 2025, facilities led a project to convert this room into a departmentally controlled, laptop cart room. OIT will still support the AV in this space but the computer support for the laptop carts is being handled by LAS. Kacey Ross is the main point of contact. If Kacey is asking for assistance, please help to the best of your ability. |
Table of Contents
| Table of Contents | ||
|---|---|---|
|
Features
This is a computer lab re-configurable classroom with one screen, one professor PC at the front desk, and 22 student PCs around the room.HDMI and USB ingest for laptops and other BYOD setups.
- Audio system with speakers
- Pull down projection screen
- Full HD Laser projector
- 23 Dell OptiPlex 7450 AIO Series
- 2 Ceiling Speakers
- iClicker System
- Tensioned Screen
- Epson PowerLite L610U 6000 Lumen Laser Projector with Mount
- Ceiling Audio Amplifier
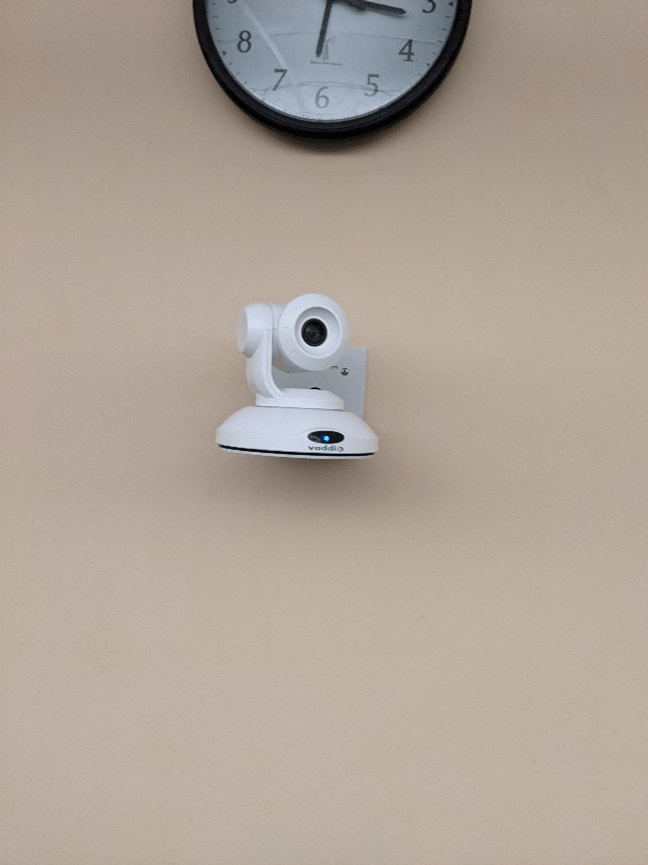
- Vaddio/Hyflex VTC System with Camera and Microphone ArrayMicrophones
- HDMI & USB Laptop Connections
- HDMI 4x1 Auto Switcher
- AirMedia Wireless PresentationCisco CP-7841 Phone (ext. 4227)
Location: Columbine 2nd Floor
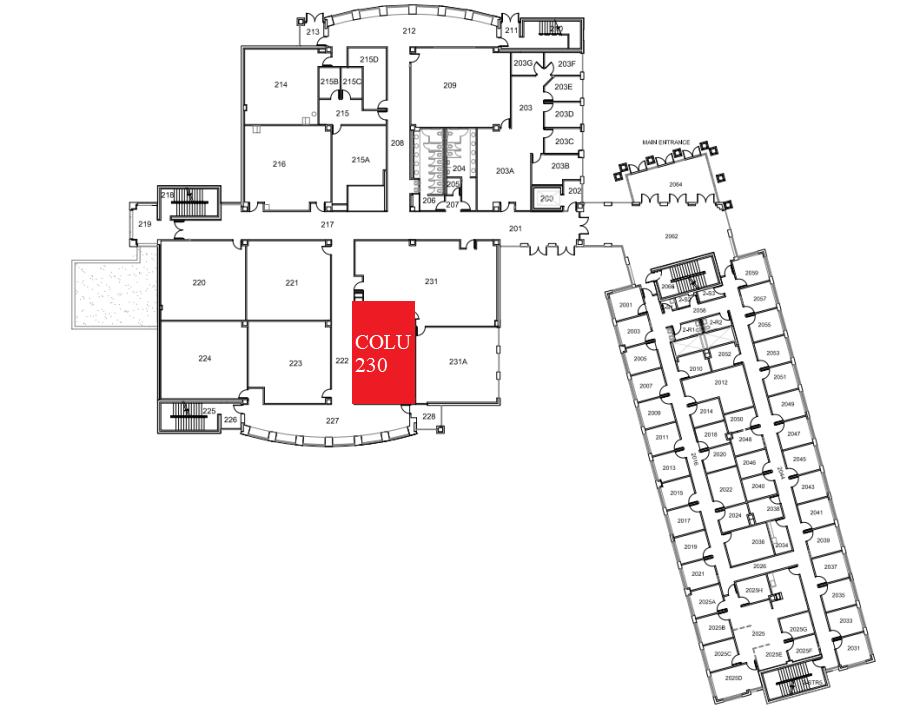
Remotes
Projector Remote
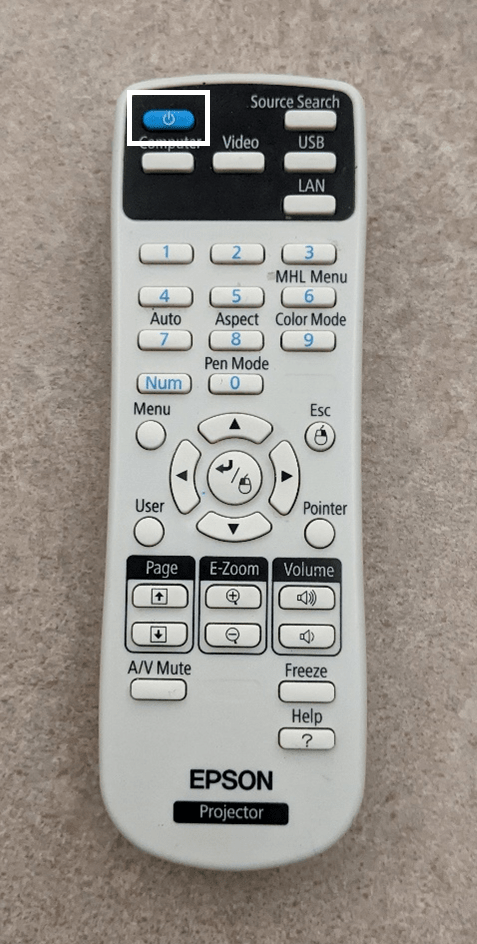
This is the remote that controls the projector in the room. The remote should be located on top of the front desk.
Hyflex Remote
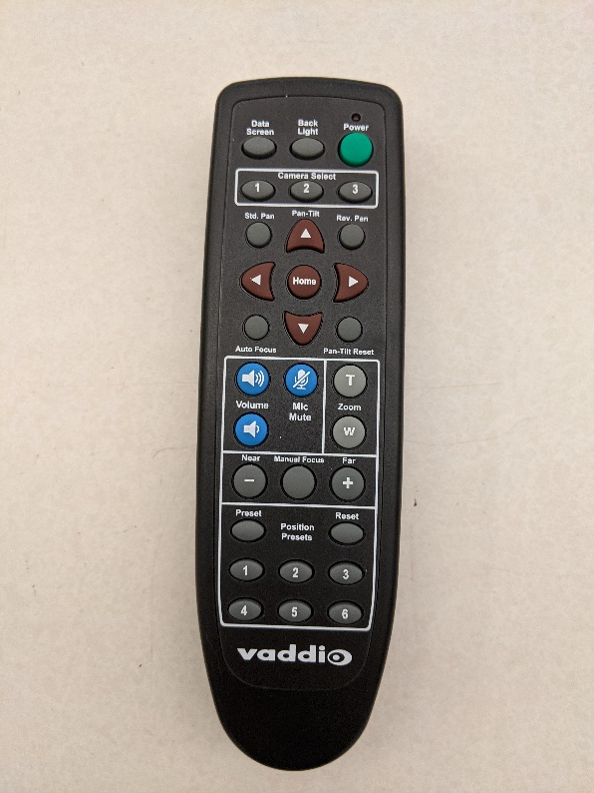
Controls the Hyflex VTC System. Located on top of the front desk.
Controlling the A/V System
Using the Remote
The remote for the projector controls most functions in the room. The remote is labeled below with the colors corresponding to a particular section explaining that function.

Turning the system on and off
To turn the system on, press the power button on the remote (outlined in orange to the left). This will only turn on the projector. You must physically pull on the string/handle on the screen to lower it.
To turn off the system, press the power button twice. This will turn off the projector. To raise the screen, pull on the string/handle and the screen should raise. You may have to push on it a bit to get it all the way up.
Source Selection
Just like all our other classrooms, the correct source should be HDBT, however, this remote does not have that as an option. To select the correct source, hit the blue "Source Search" button to automatically select the HDBT source. The projector will automatically use the laptop HDMI connection if it is connected . Otherwise, it will use the podium PC as the sourceand default to the AirMedia wireless presentation device.
Volume Control
Volume can be controlled with the volume buttons on the remote (outlined in red to the left), or on the PC using the volume controls  on the bottom right corner of the screen.
Projector Control
The most commonly used projector functions are A/V Mute and Freeze. A/V Mute is on the bottom left of the remote, and Freeze is on the bottom right of the remote (both outlined in green to the left).
- A/V Mute will shutter the projector and mute the audio. Use this feature when you want to use the whiteboard or front of the room without shutting down the system. Please only use this feature for up to 20 minutes, otherwise it's best to shut down the system.
- Freeze will freeze the currently displayed image on the screen. Use this feature if you'd like to hold a frame still on the screen or use the podium PC for another activity without displaying it, such as checking your email.
Inputs
Using
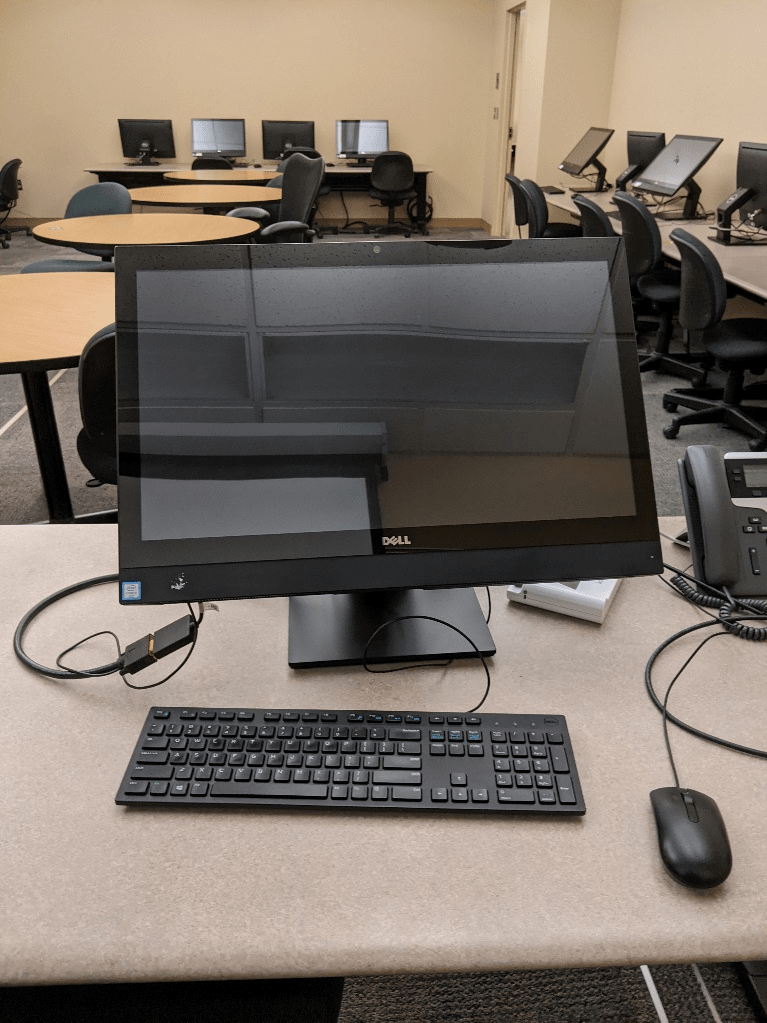
The podium PC is on the desk at the front of the room and is the primary source for this AV system and should use the VGA connection. This computer runs the same image as all other podium computers in general fund classrooms and labs. You can sign in using your UCCS credentials.
The keyboard and mouse are sitting right in front of the PC on the desk.
Usinga Laptop
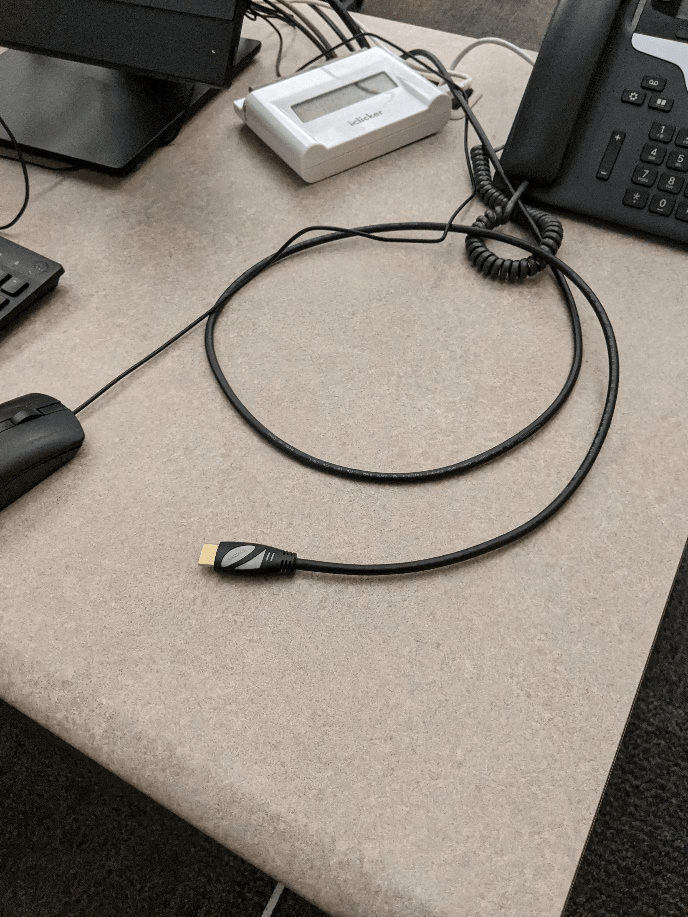

This room is
equipped with an HDMI cable for a laptop. You can connect your laptop to this HDMI
cable, and the projector will automatically switch sources to the connected laptop.
Using Wireless Presentation
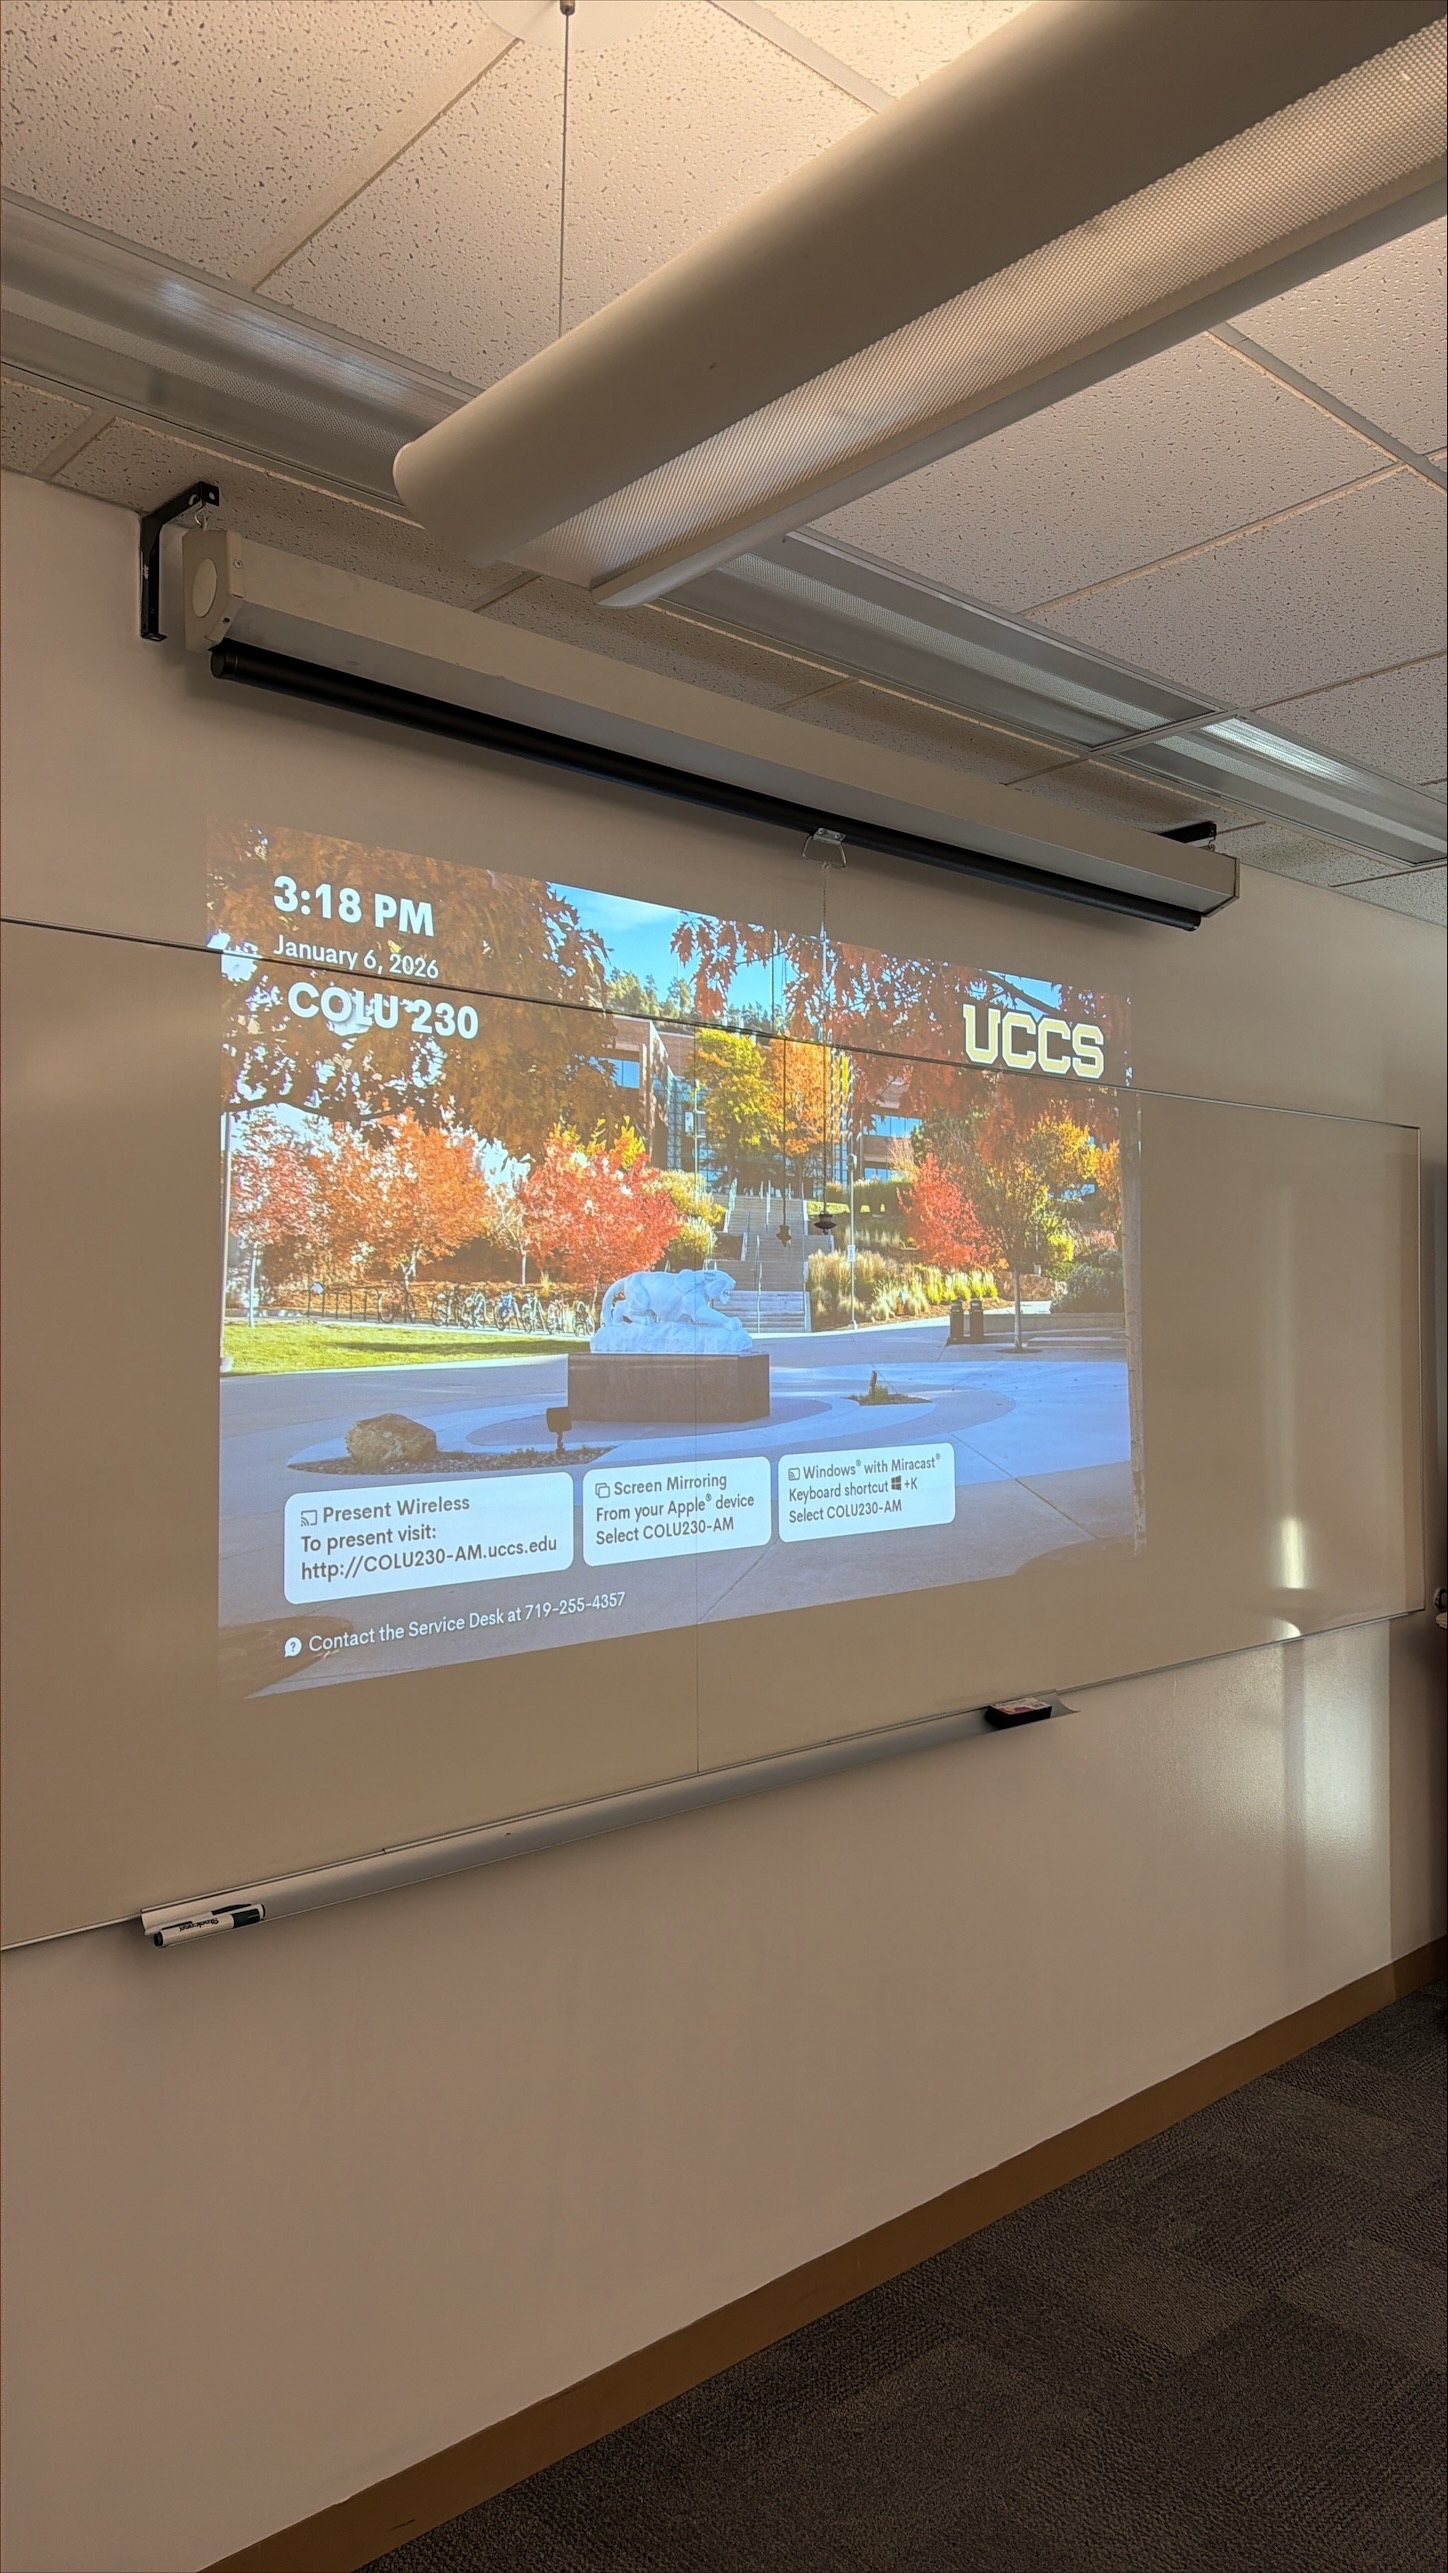
You can also connect their laptop via a Crestron Air Media to wirelessly present. To change the source, disconnect any devices attached to the HDMI cable, and the projector will automatically switch to the AirMedia source.
Using the Vaddio/Hyflex VTC System
iClicker
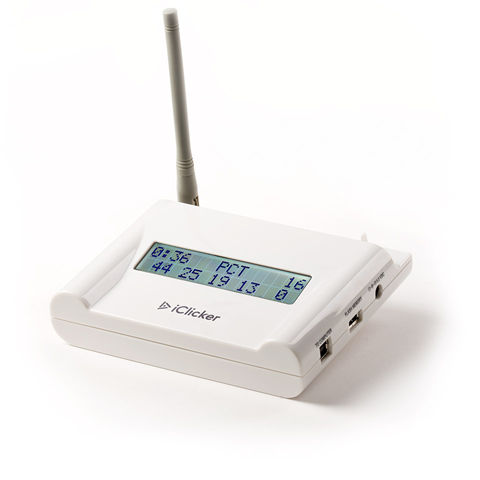
The iClicker system is used for student engagement and is located under/behind the podium PC. Unfortunately, this is not supported by OIT. If an instructor asks for assistance, they need to visit the Faculty Resource Center.
Screen Control
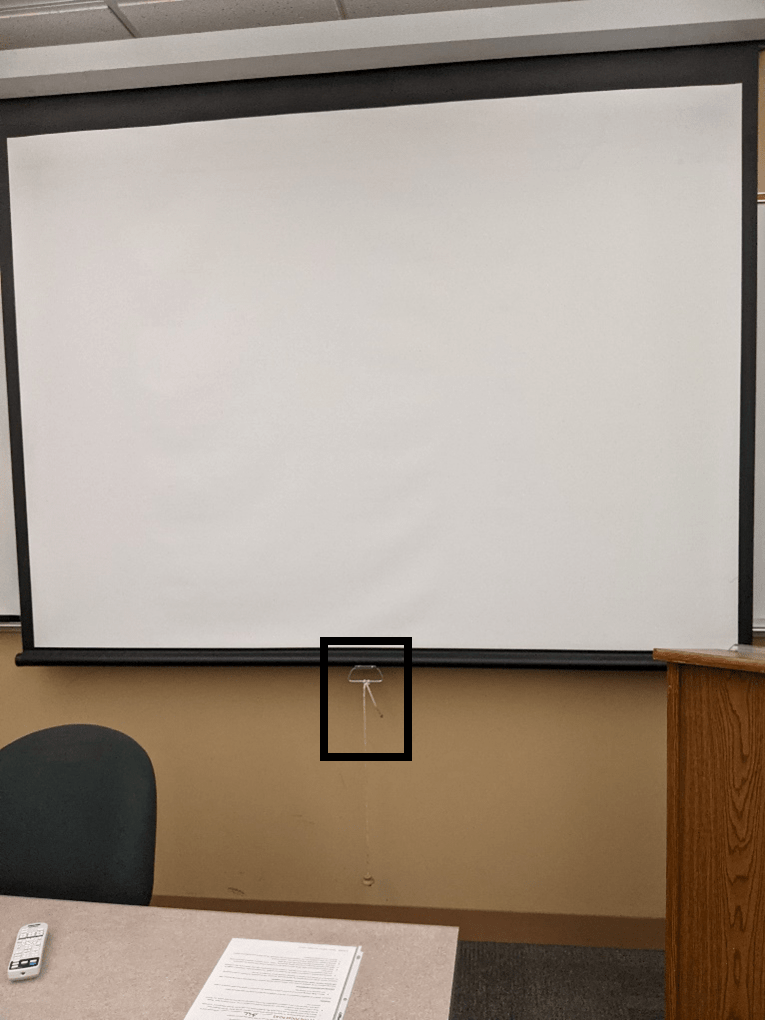
The screen in this room is manually operated. The handle, with a string attached, is outlined in black in the photo below.
| Info |
|---|
| OIT calibrates the projector image when the bottom weighted bar of the screen is closest to the marker tray. If the screen isn't the same height as the marker tray, the image may be off centered or cut off. |
Mobile Laptop Cart
The room is supplied with a mobile laptop cart as displayed below:
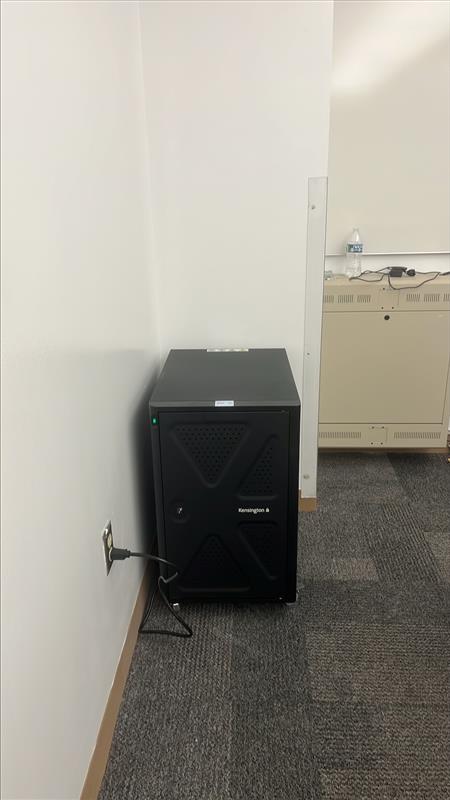
Note: The laptops are managed by LAS and not by OIT. For any issues with the laptops, message LAS: Contact Us | College of Letters, Arts & Sciences
Troubleshooting
Audio Issues
Video Issues
Vaddio/Hyflex VTC System
How To Use a Hyflex Troubleshooting
Room Specific Issues
Photos
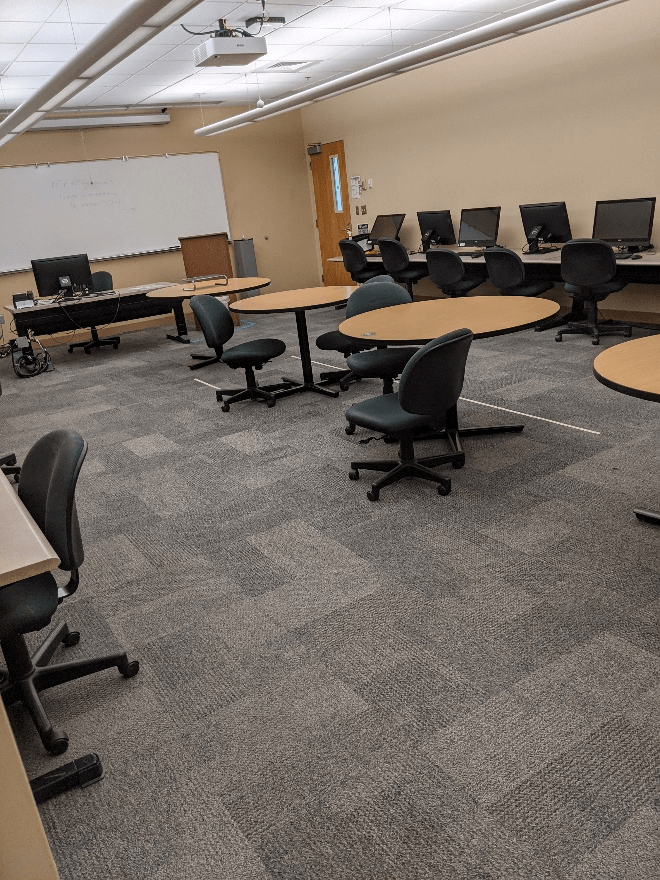

This is the view of the room from the back right door that connects to the 231 open lab.
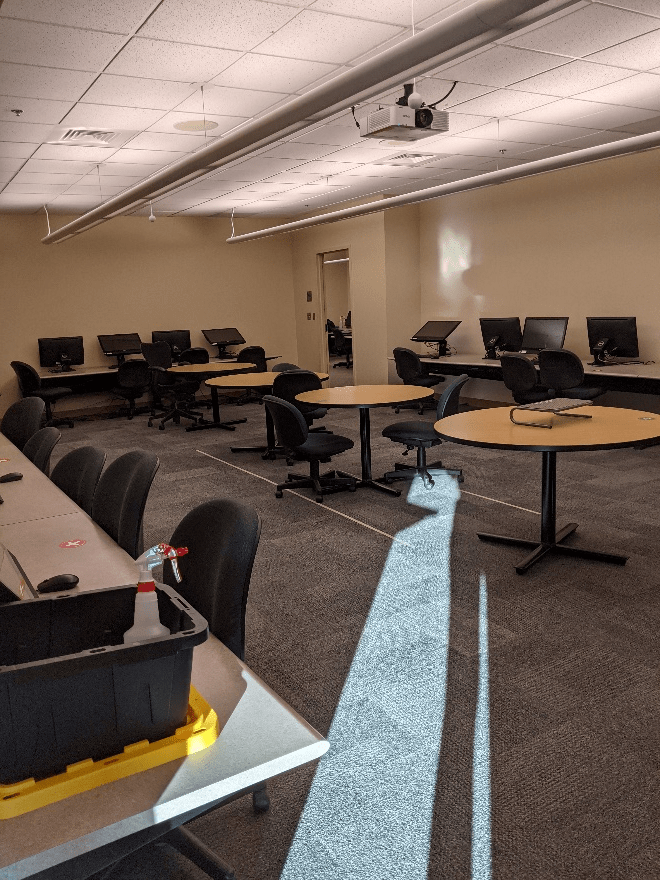
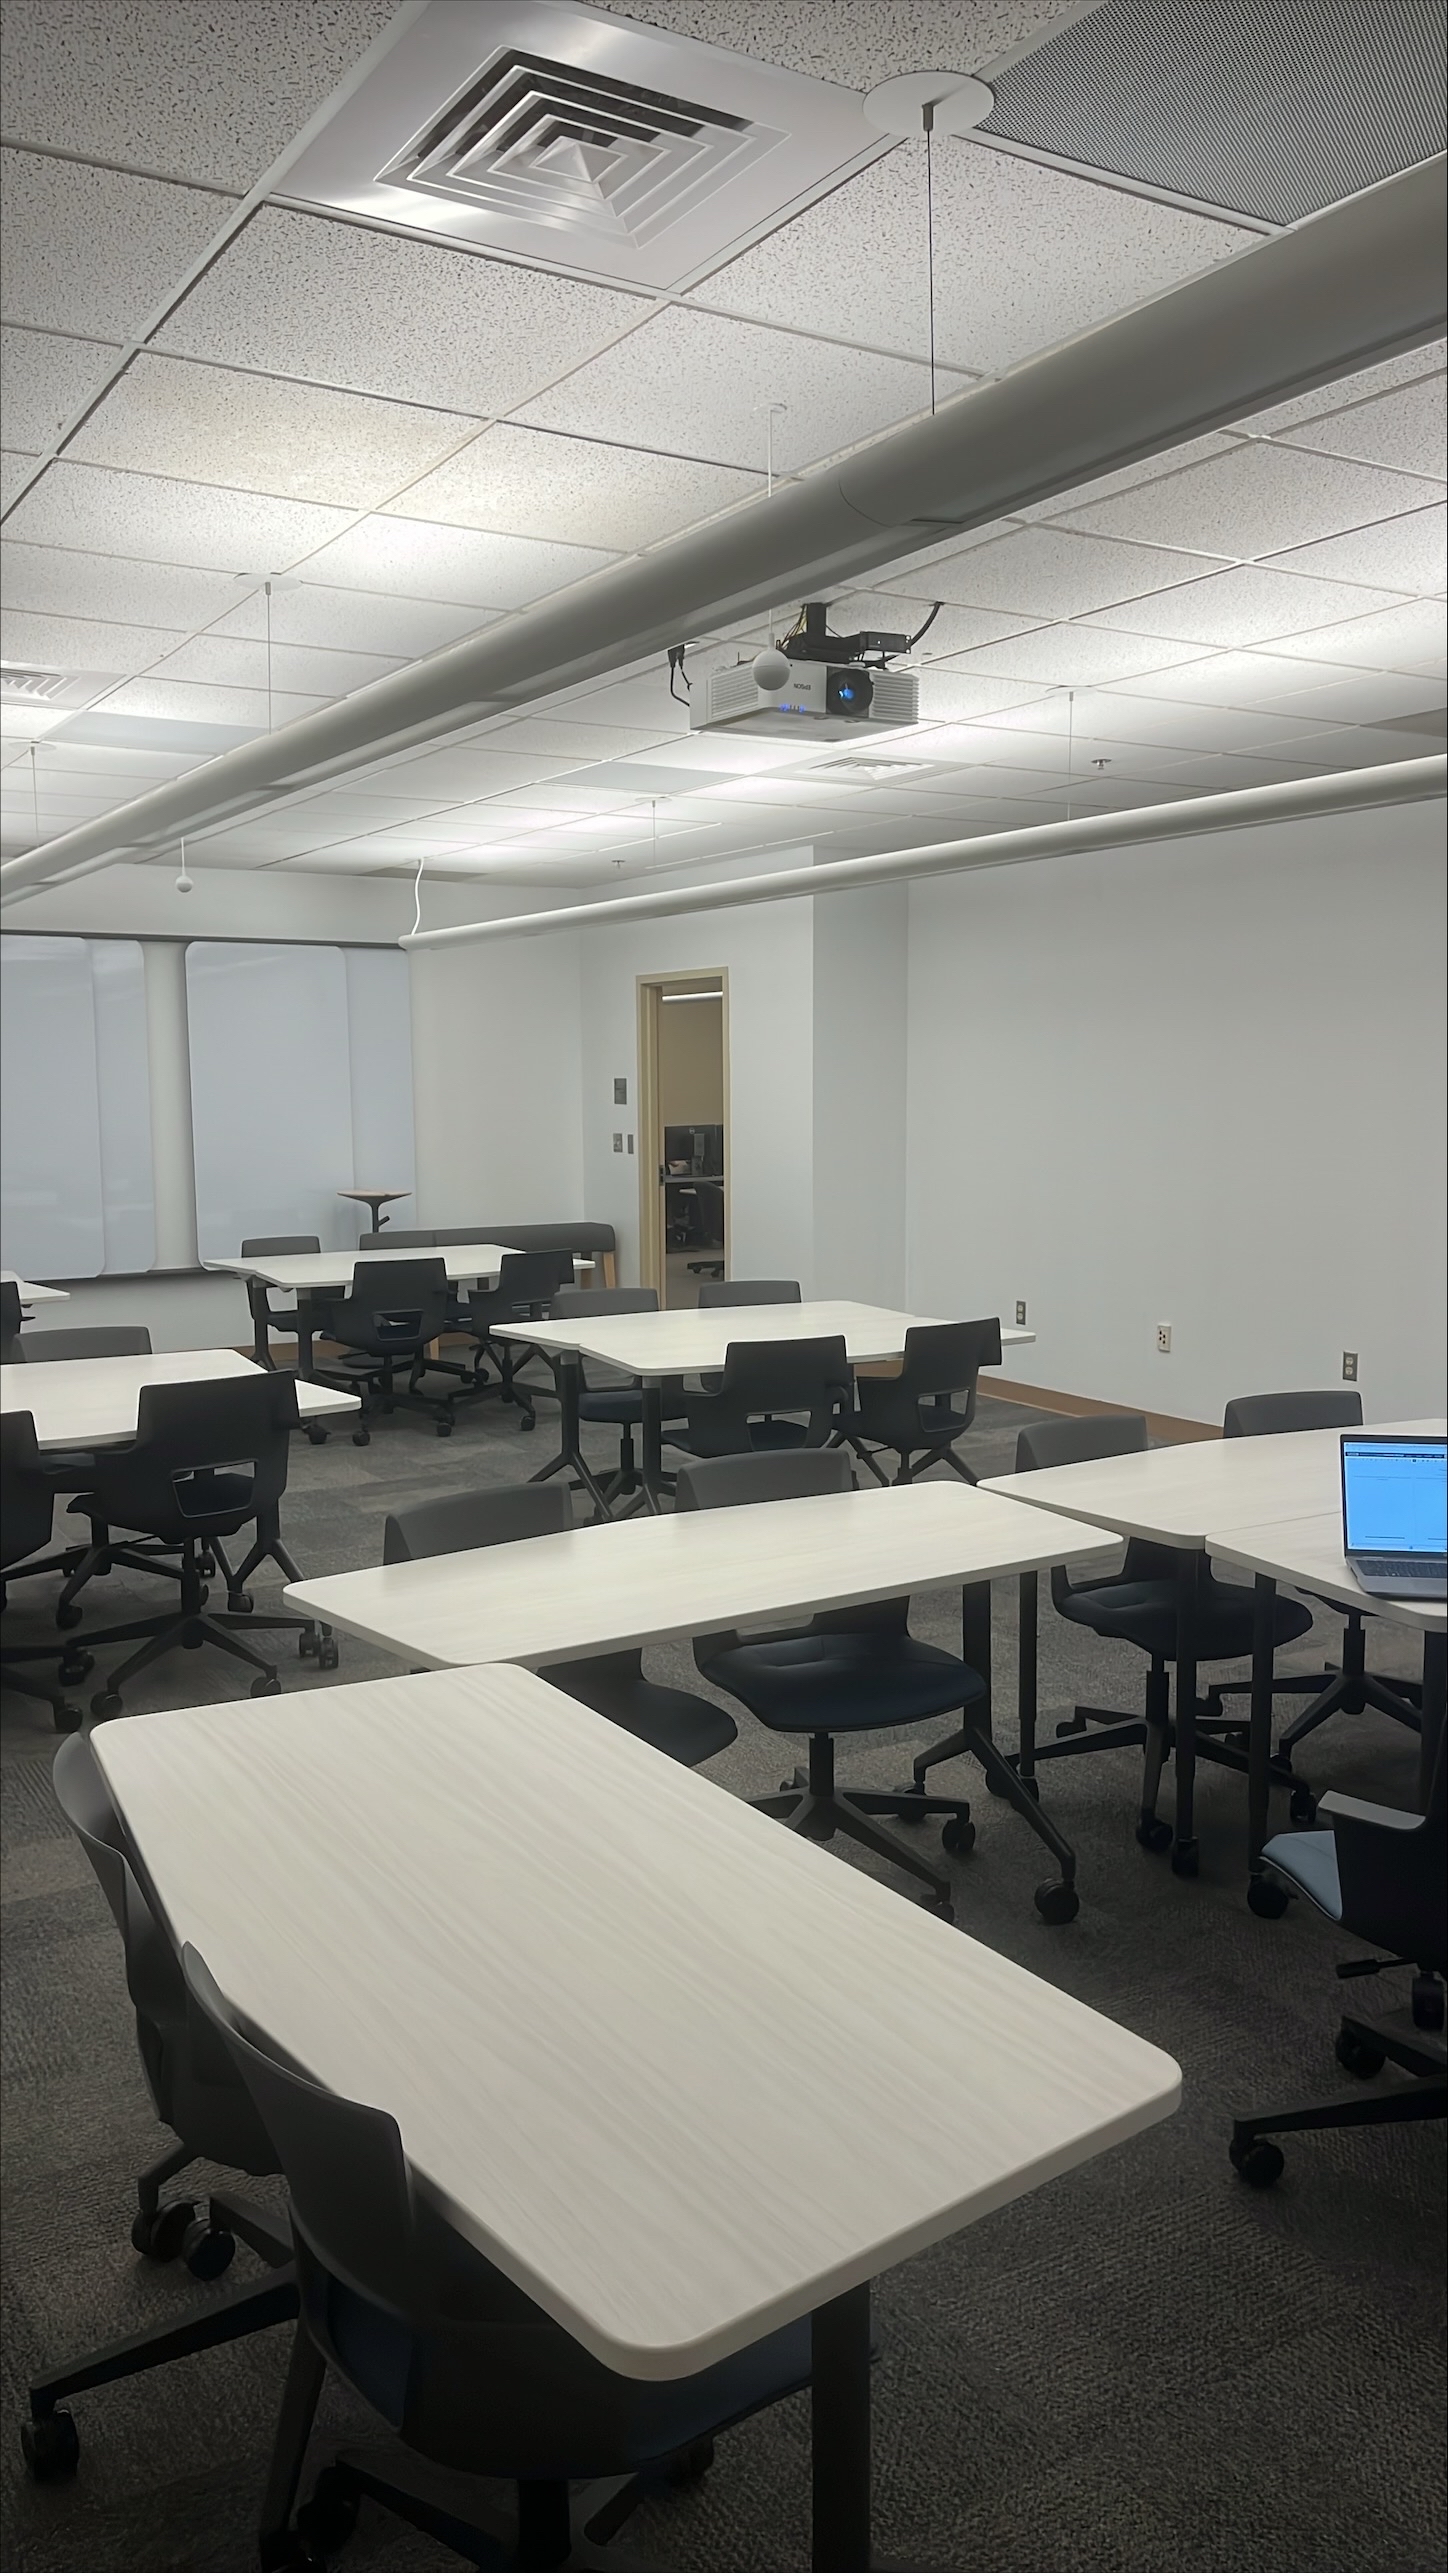
This is the view of the room from the front left door that connects to the hallway.
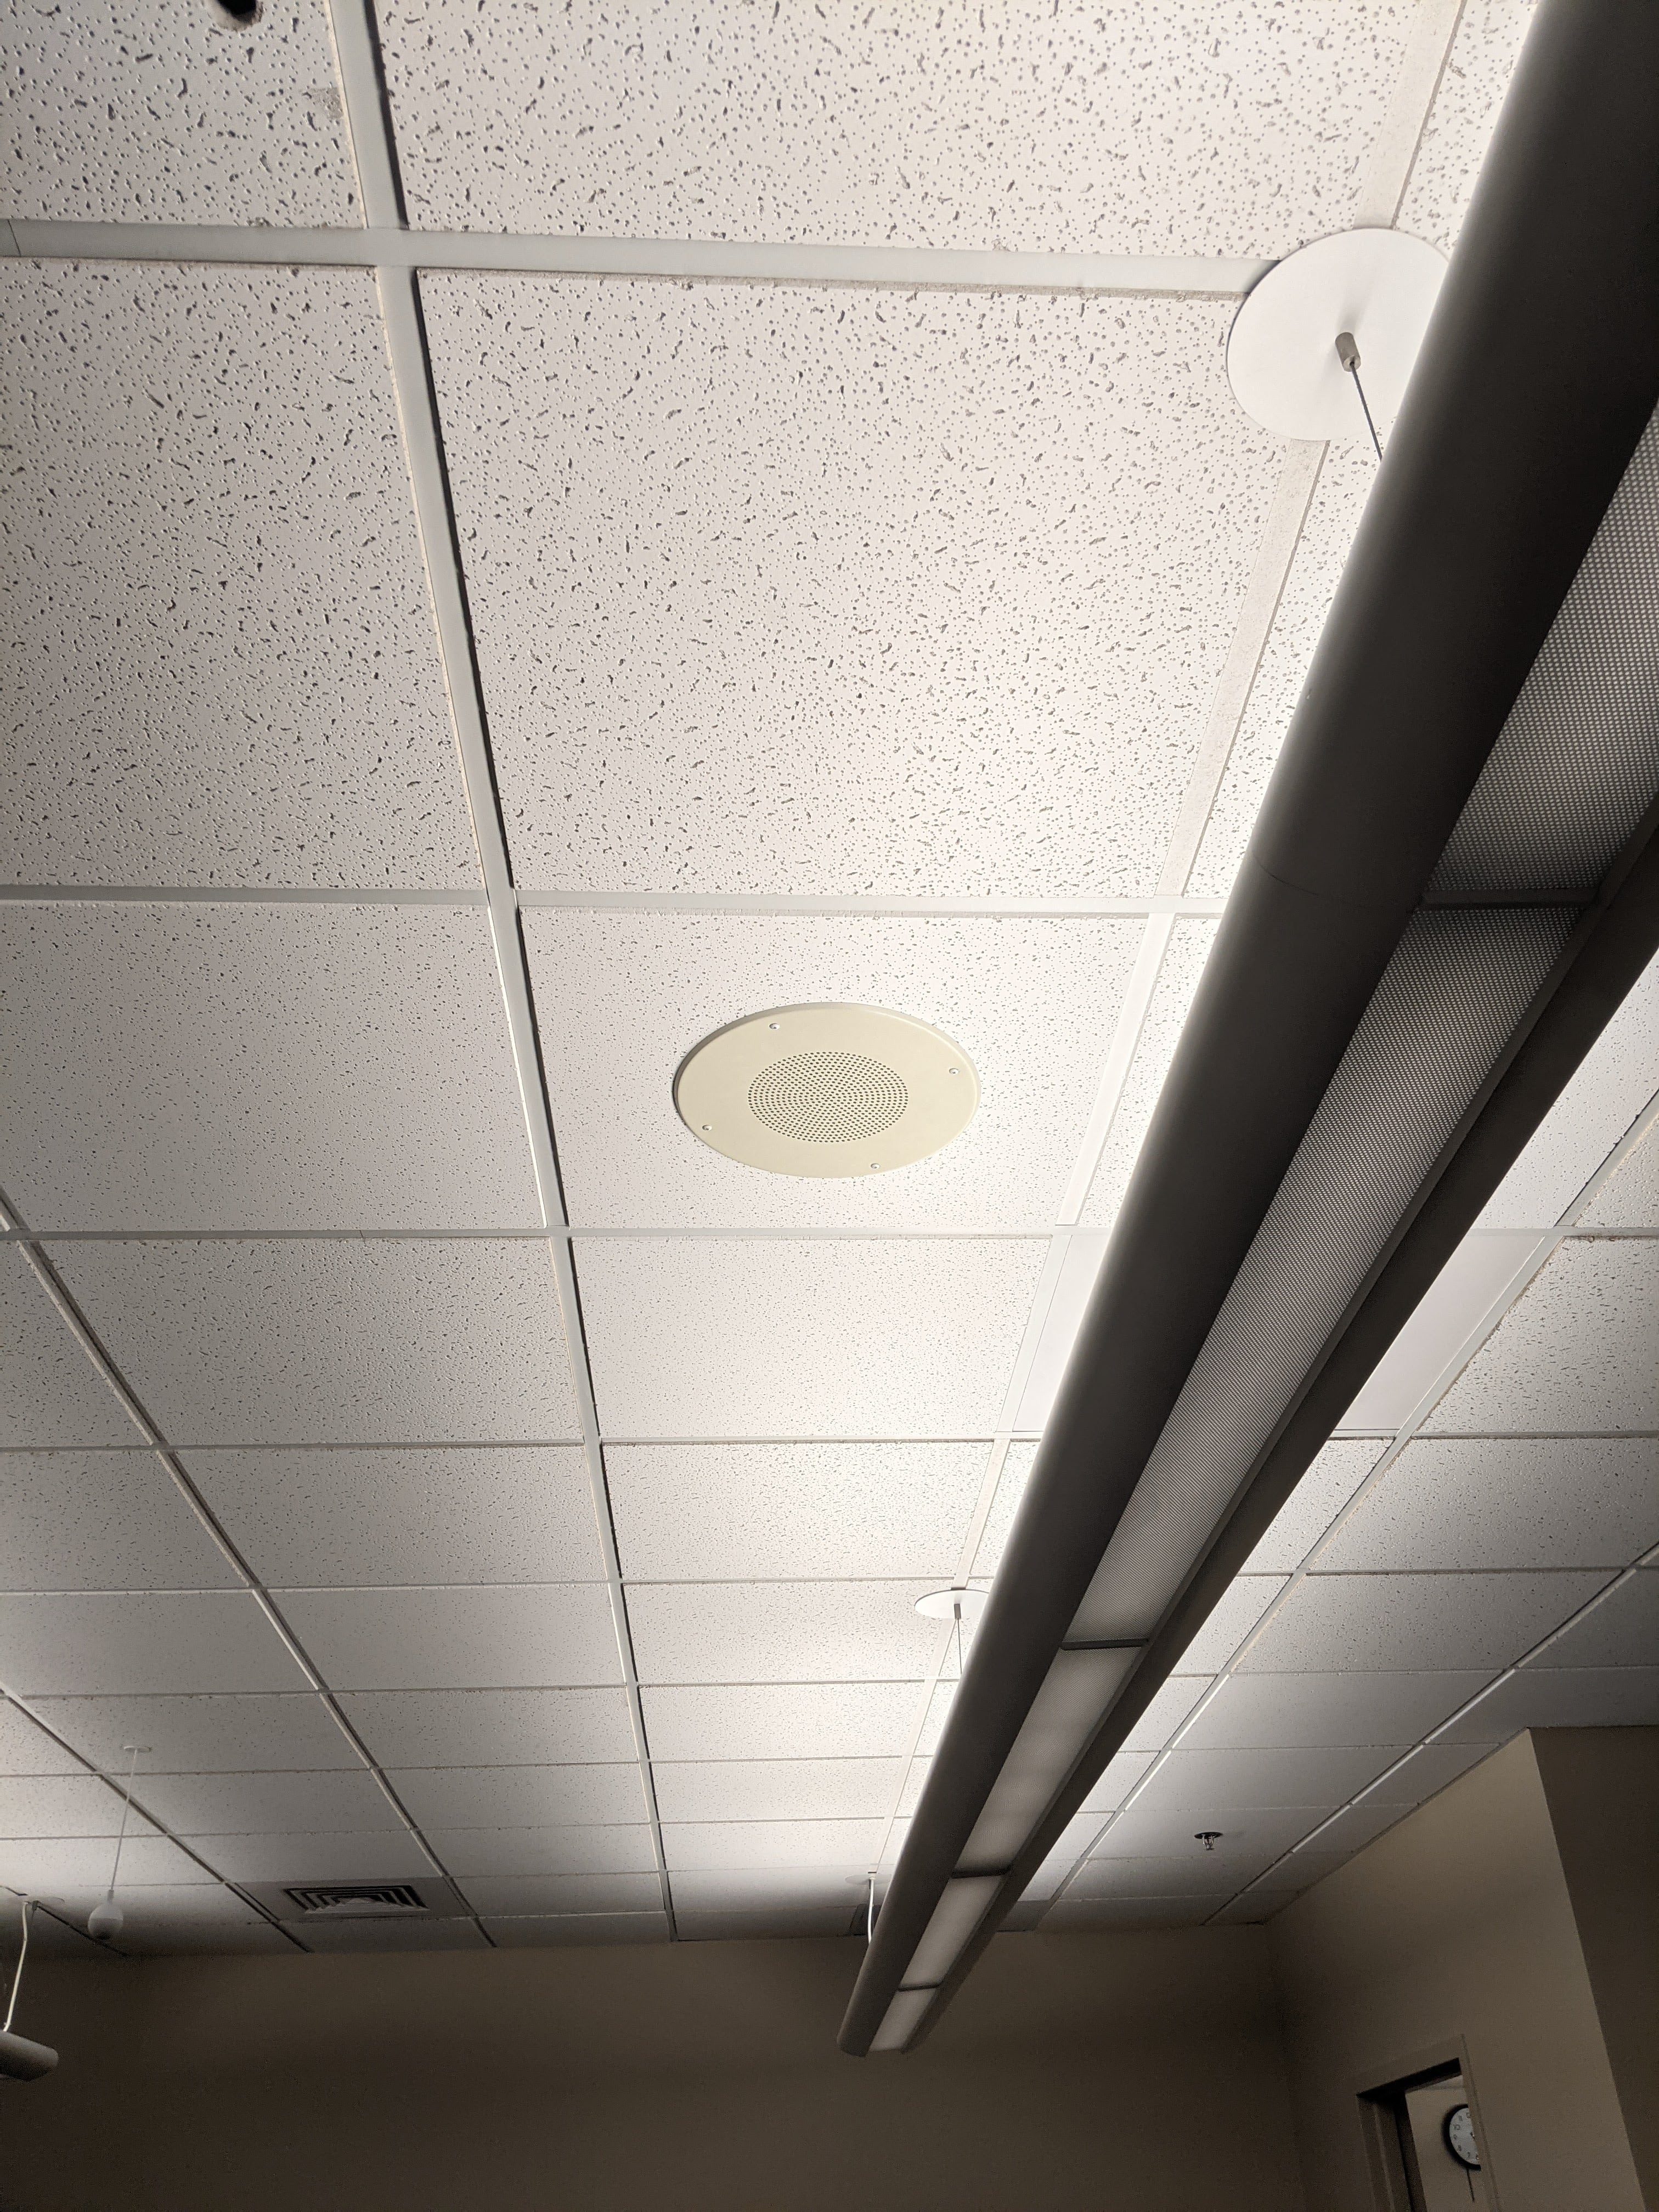
The room speakers are located on in the ceiling on either side each corner of the projectorclassroom.
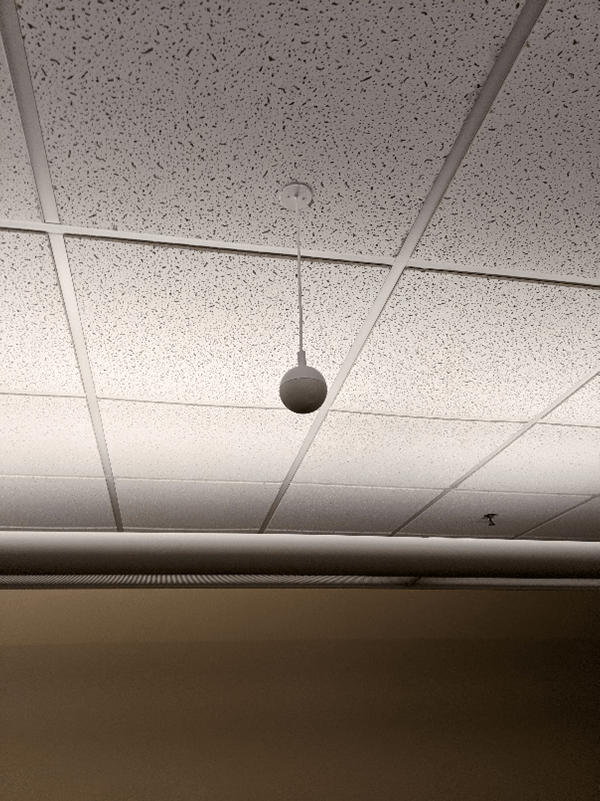
This is one of the two microphones in the room.
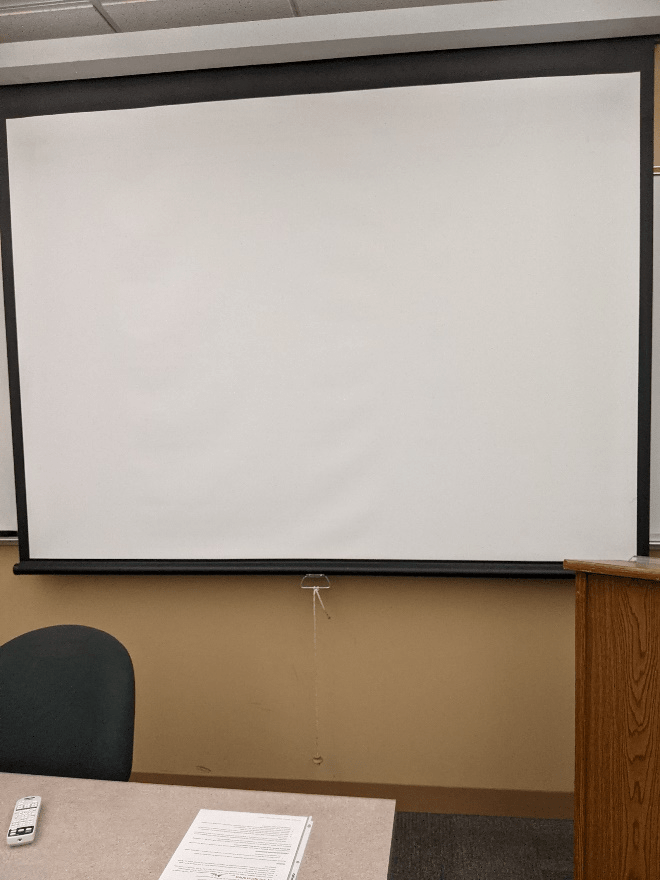
This is the screen located on the front wall behind the desk.
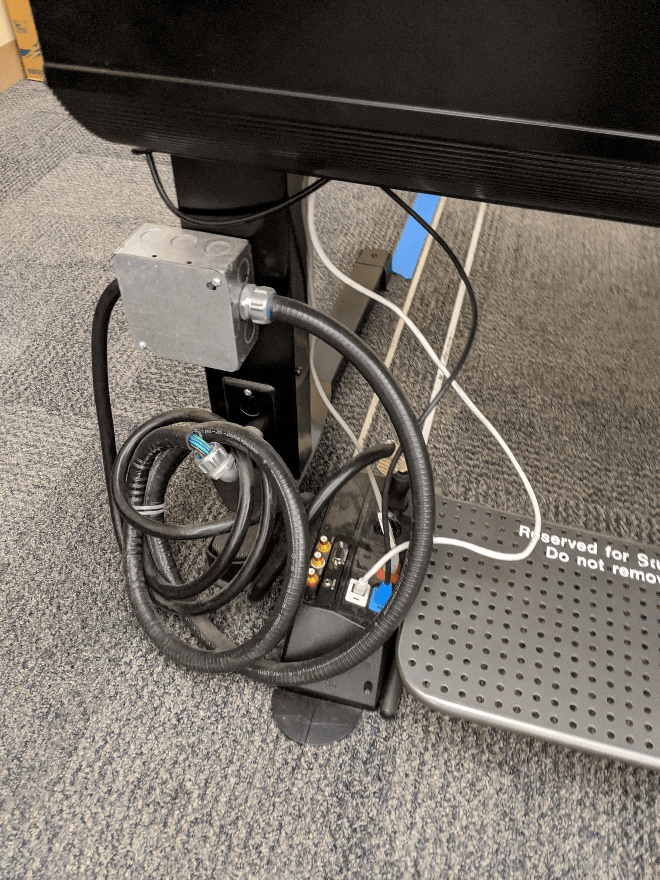
the
floor under the back right side of the frontdesk.
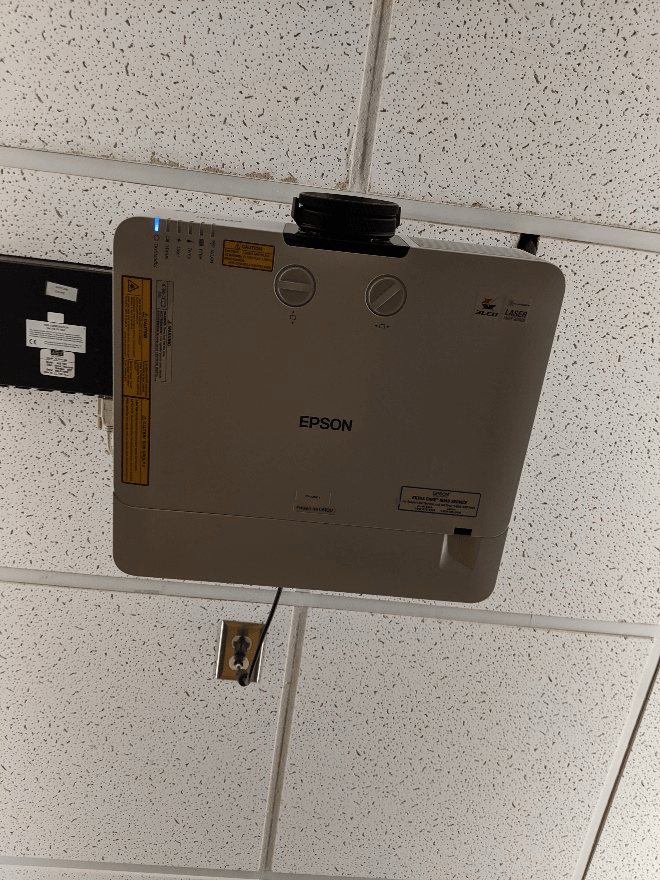
This is the projector in the room.
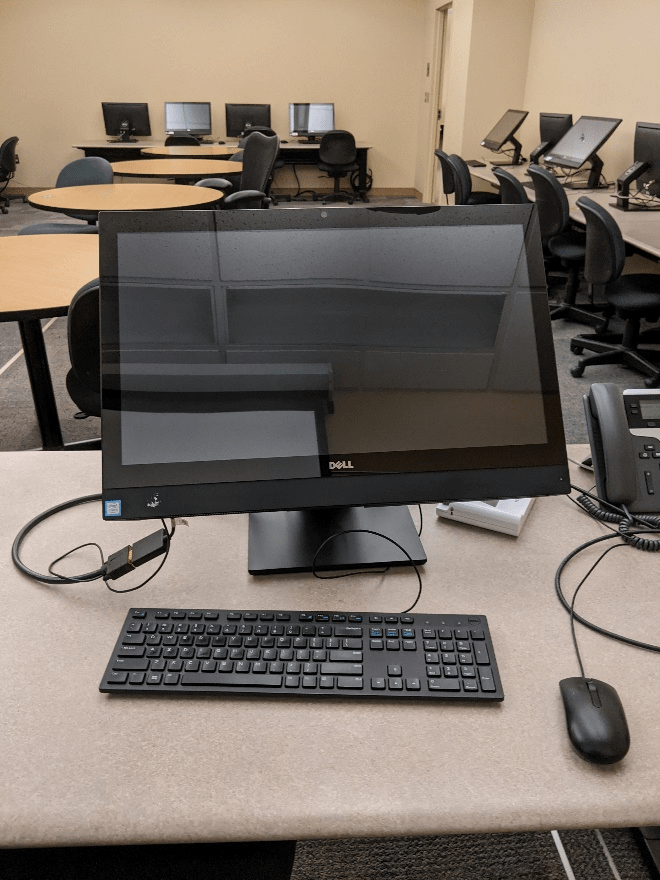
This is the podium PC that is at the front of the room on the desk and is the main source for the AV system.
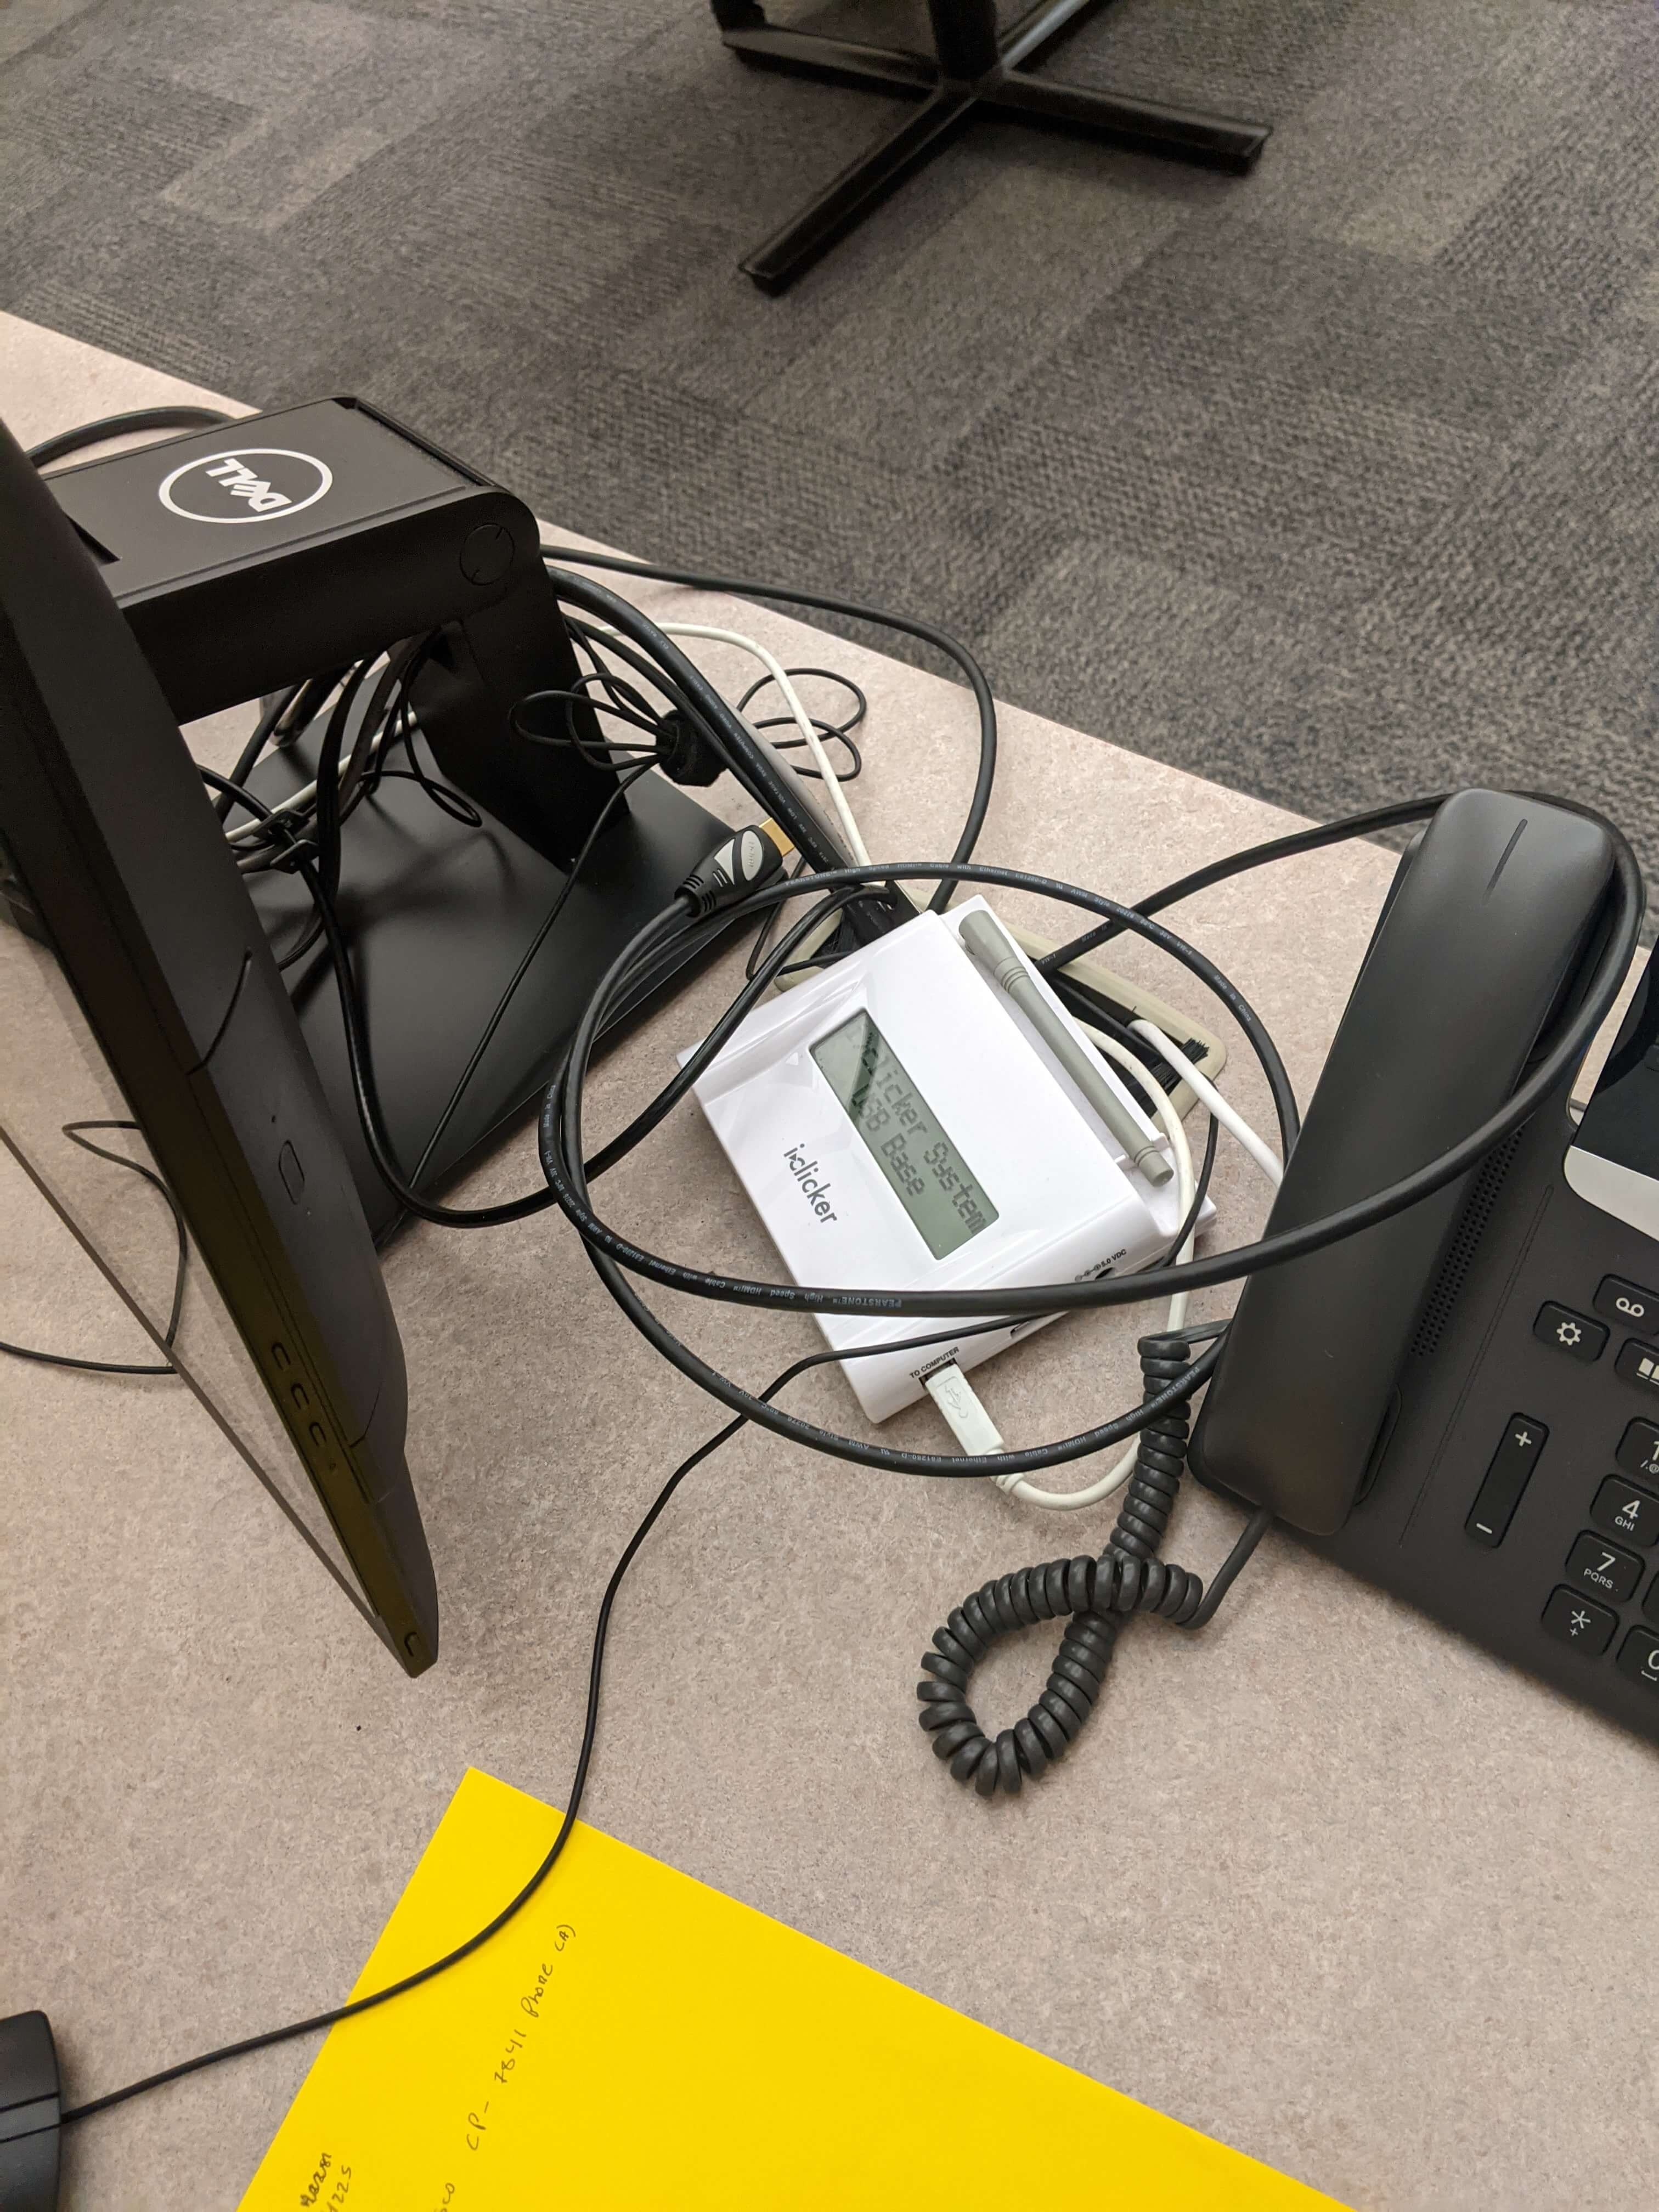
This is the iClicker, located between the phone and the podium PC.
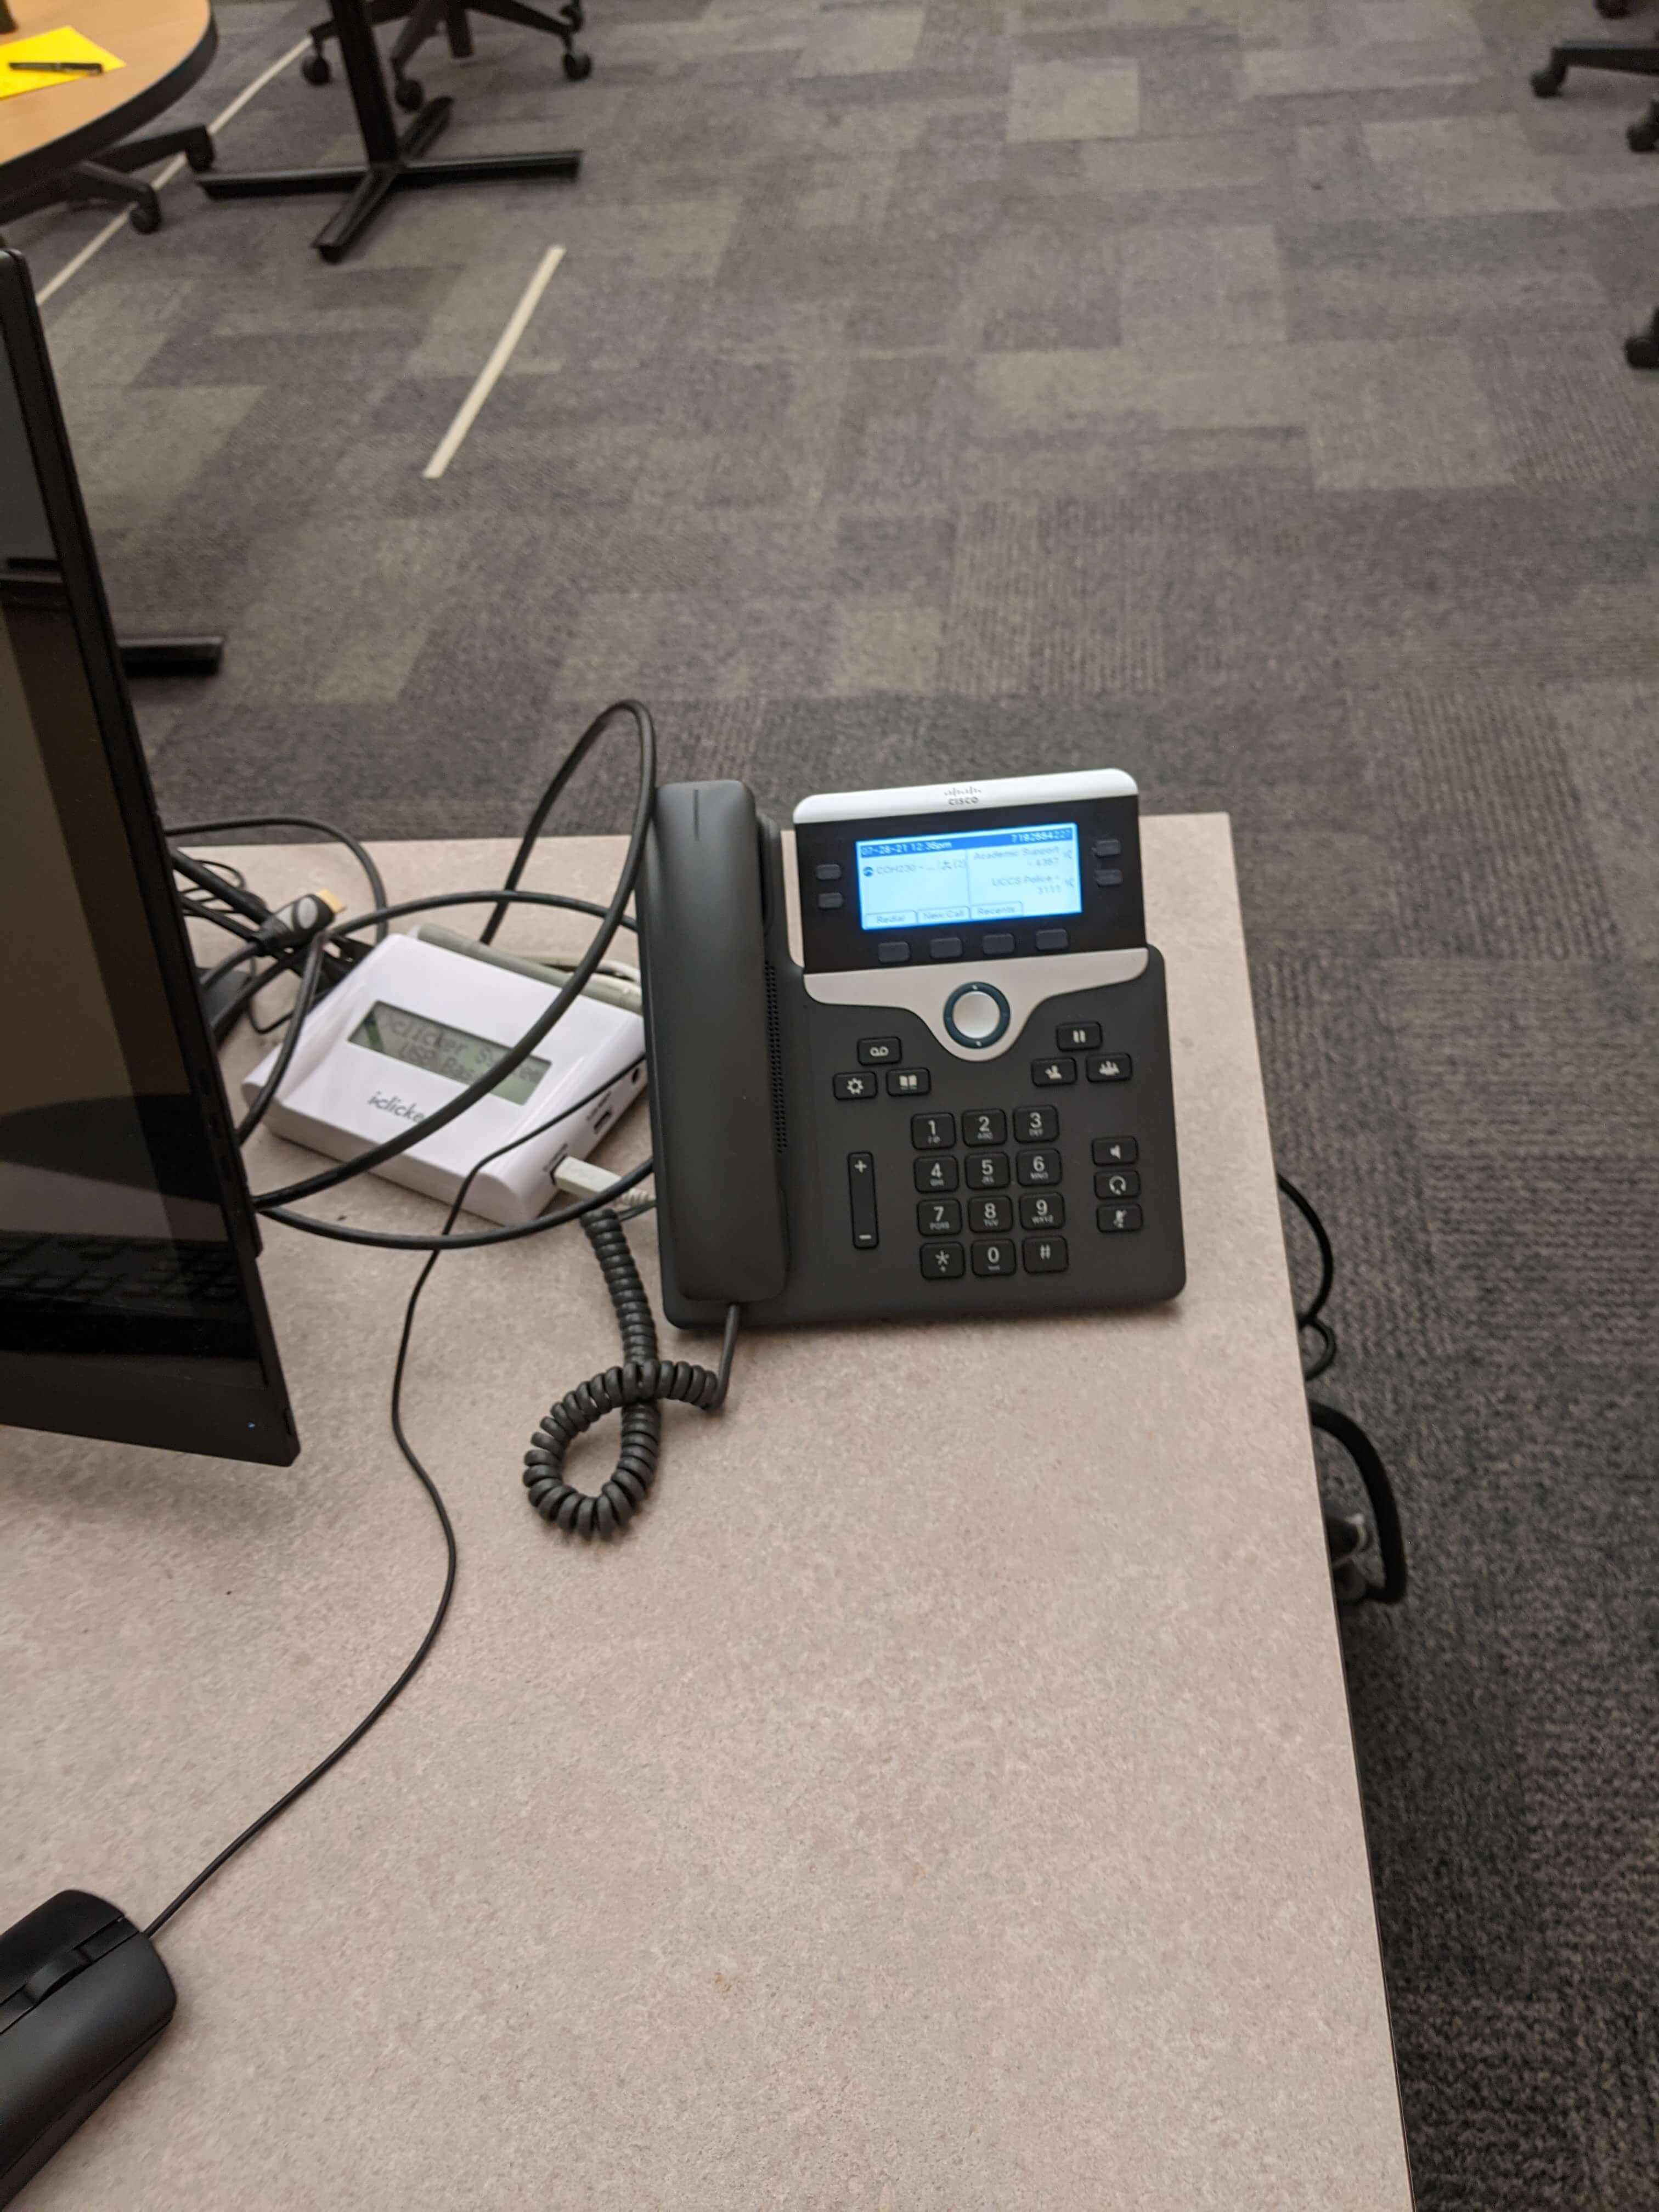
This is the phone, located to the right of the podium PC.
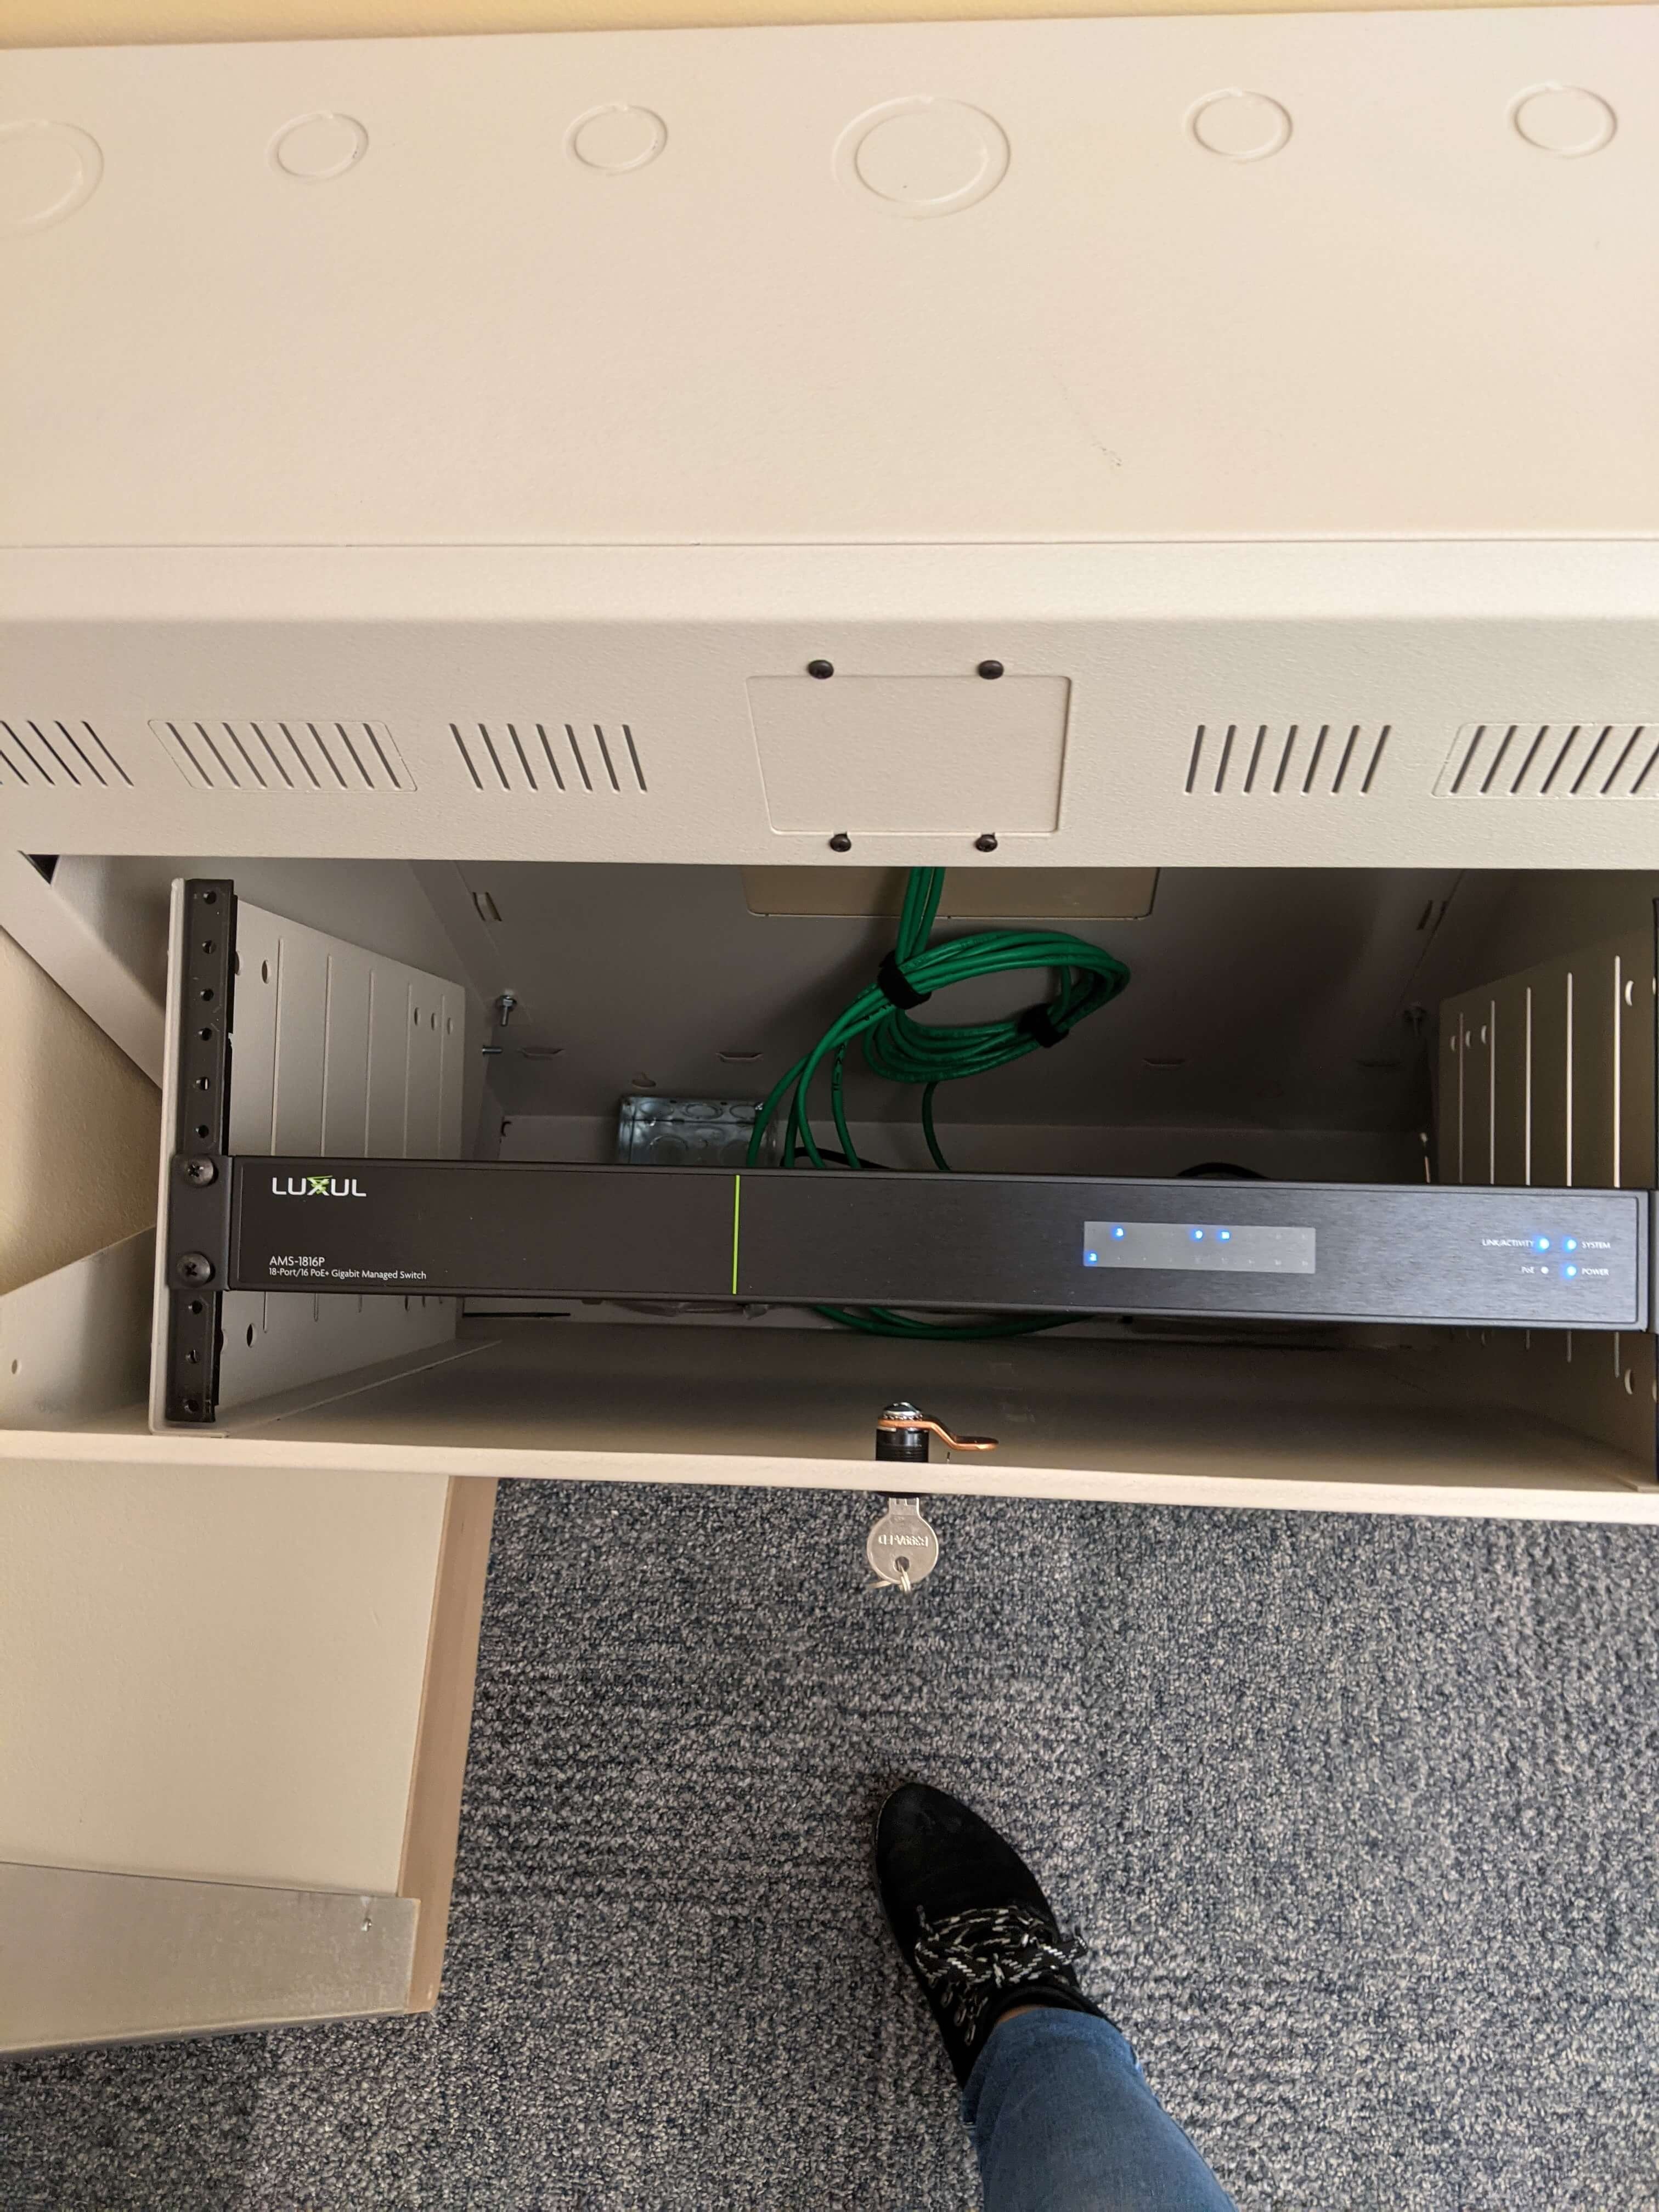
.