
Table of Contents
| Table of Contents | ||
|---|---|---|
|
Features
This is a projector based classroom with a wall-mounted rack and Crestron panel.controlled by a Crestron touch panel
- Podium PC
- Full HD Laser Projector
- Blu-Ray Player
- HDMI, VGA, Composite and XLR inputs
- Wall projection screen and whiteboard
- Epson BrightLink 1485Fi with Epson Easy Interactive Pens and touch input
- Large dry erase marker wall
- Audio system with ceiling speakers
- Extron MPA 401 speaker amplifier
- DMPS3-4K-150-CCrestron control system
- Touch panel
- Wall-mounted Lectern and PC
- Need updated picture of AV rack with Vaddio equipment
- Vaddio Microphone and Camera for HyFlex
Location
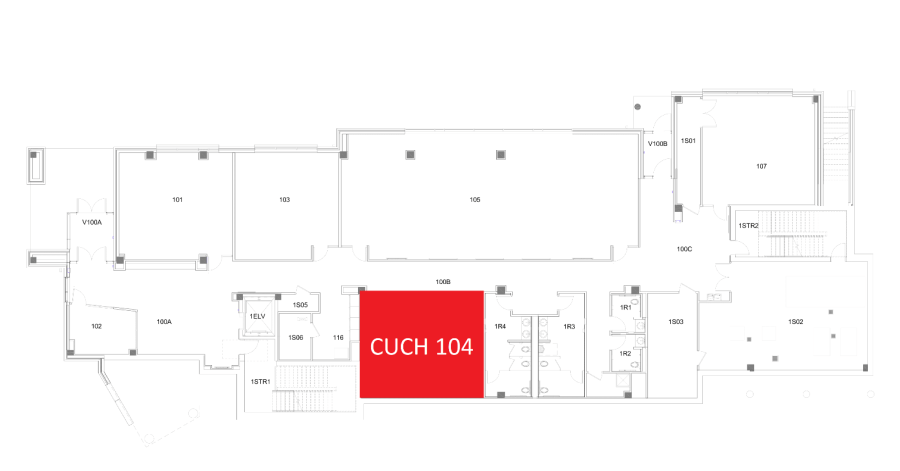
Location
Controlling the A/V System
Using the Touch Panel
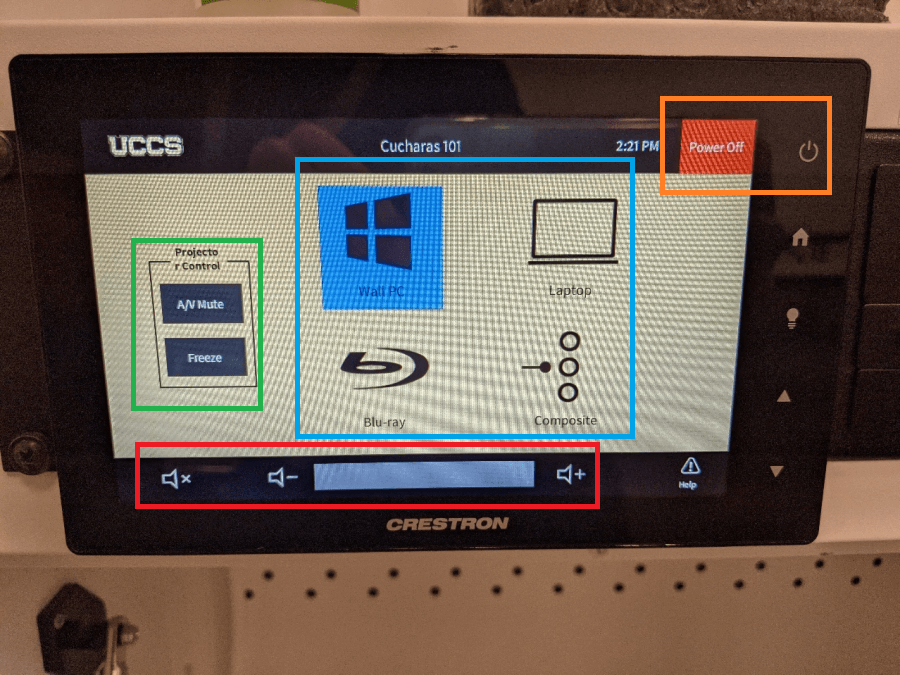
The touch panel controls most functions in the room. The touch panel is labeled below with the colors corresponding to a particular section explaining that function.
Turning the system on and off
The AV system will power on when pressing the start page on the touch panel. This will turn on the projector, lower the screen, and switch the panel to the main menu page.
To turn the AV system off, press the red Power Off button in the upper right corner (outlined in orange to the left). You will have 10 seconds to cancel the power off, then the system will shut down.
Source Selection
To change inputs, select the input you would like to send to the projector from the options listed on the panel. You may choose between Wall PC, Laptop, Blu-ray, and Composite (outlined in blue to the left).
Volume Control
Volume can be controlled using the volume buttons at the bottom of any page on the touch panel. The mute button is located in the lower left corner (outlined in red to the left).
Projector Controls
The projector will automatically power on and off with the system.
On the left side of the touch panel are options for A/V Mute, Freeze, and screen controls (outlined in green to the left).
- A/V Mute will shutter the projector and raise the screen. Use this feature when you want to use the whiteboard or front of the room without shutting down the system. Please only use this feature for up to 20 minutes, otherwise it's best to shut down the system.
- Freeze will freeze the currently displayed image on the screen. Use this feature if you'd like to hold a frame still on the screen or use the podium PC for another activity without displaying it, such as checking your email.
Inputs
Using the Wall PC

The computer mounted on the wall is the primary source for this AV system. This computer runs the same image as all other podium computers in general fund classrooms and labs. You can sign in with your UCCS credentials.
The keyboard is located on top of the fold-out rack next to the computer. This should always be open.
The PC mount is adjustable. To adjust the height and position of the PC, gently hold it and move it to the desired position.
Using a Laptop
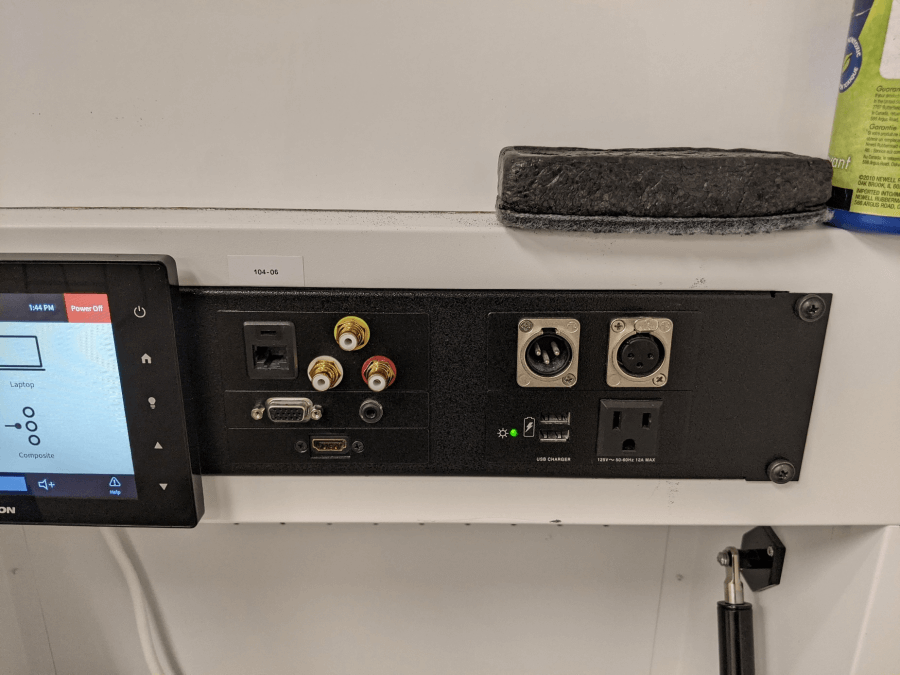
This room does not provide laptop cables. You will need either an HDMI or VGA + Audio cable to use a laptop in this room.
To use a laptop, plug it in to the correct port located on the wall panel next to the PC, and select the Laptop input on the Crestron panel.
You may also use the ethernet port provided on the wall panel for internet.
You will need to supply your own cablecables for your laptop.
Using the Blu-ray Player

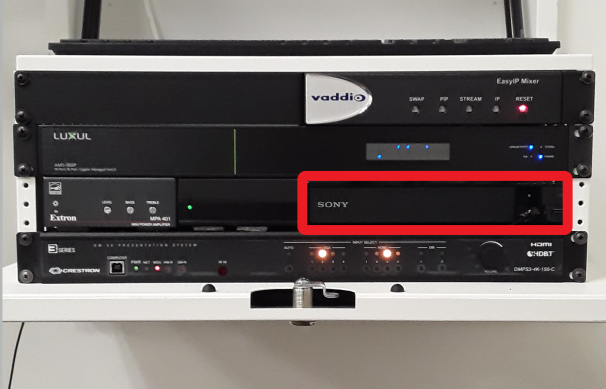
Selecting the Blu-ray source will open the Blu-ray control page. Use this page to turn on the player, open the disc drive, and navigate through the disc menus.
The Blu-ray player is located in the middle of the fold-out rack to the right.
Using the Composite Input
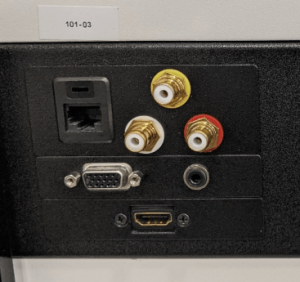

Composite inputs are utilized for older devices to carry video and left/right audio to the projector. The cables are color coordinated and should be inserted into the corresponding location.
Using Microphone Input and Output
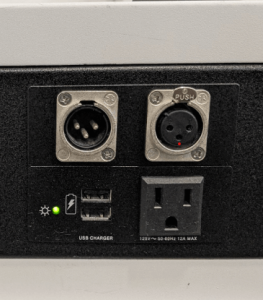
There is a microphone input and output located top of the lectern. They are primarily used with assistive listening systems.
The microphone input panel allows for two devices to be connected to the system, one for input and one for output. Both devices must use the XLR connections provided. Any microphone or audio input device connected to the input port will add audio to the system. This audio will be heard on the in-room speakers and the XLR output. The XLR output port will allow any connected device to receive all audio from a selected source and the XLR input.
Troubleshooting
Audio Issues
Fixing Audio Issues: Standard Crestron Room
Video Issues
Fixing Video Issues: Standard Crestron Room
Room Specific Issues
The Crestron panel is known to de-sync with the projector. This means the panel will not turn the projector on/off, and the AV Mute and Freeze functions will not work. This issue is being actively investigated.
For a workaround, see Known Error: CUCH Projector Not Controlled.
Photos
Vaddio/Hyflex VTC System
Photos

The room features a wall mounted PC, touch input projector with interactive pens, dry erase marker wall, and a touch panel.
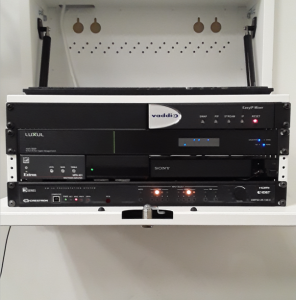
The AV rack is located next to the wall mounted PC.mouse, keyboard, and Blu-Ray player are located inside the wall rack
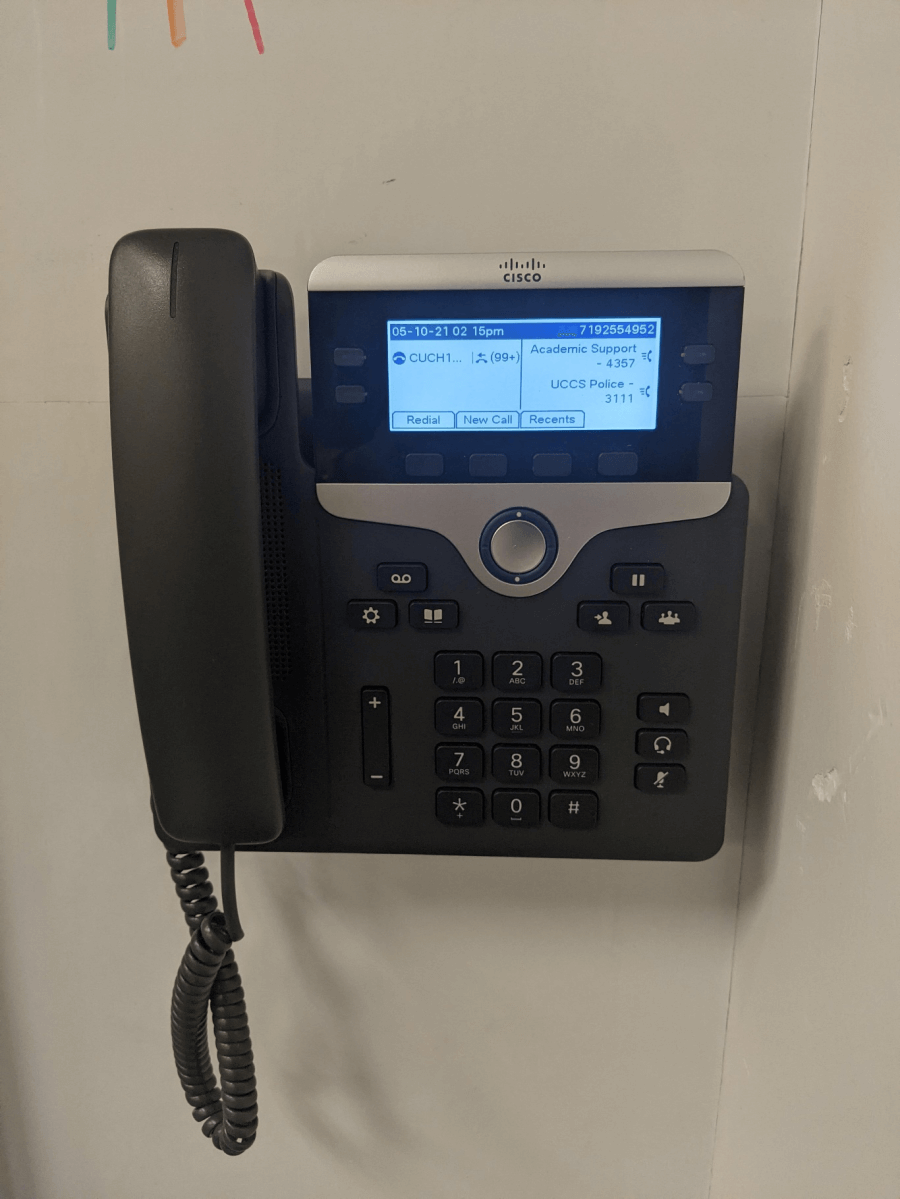
The phone is located next to the rack and wall PC.
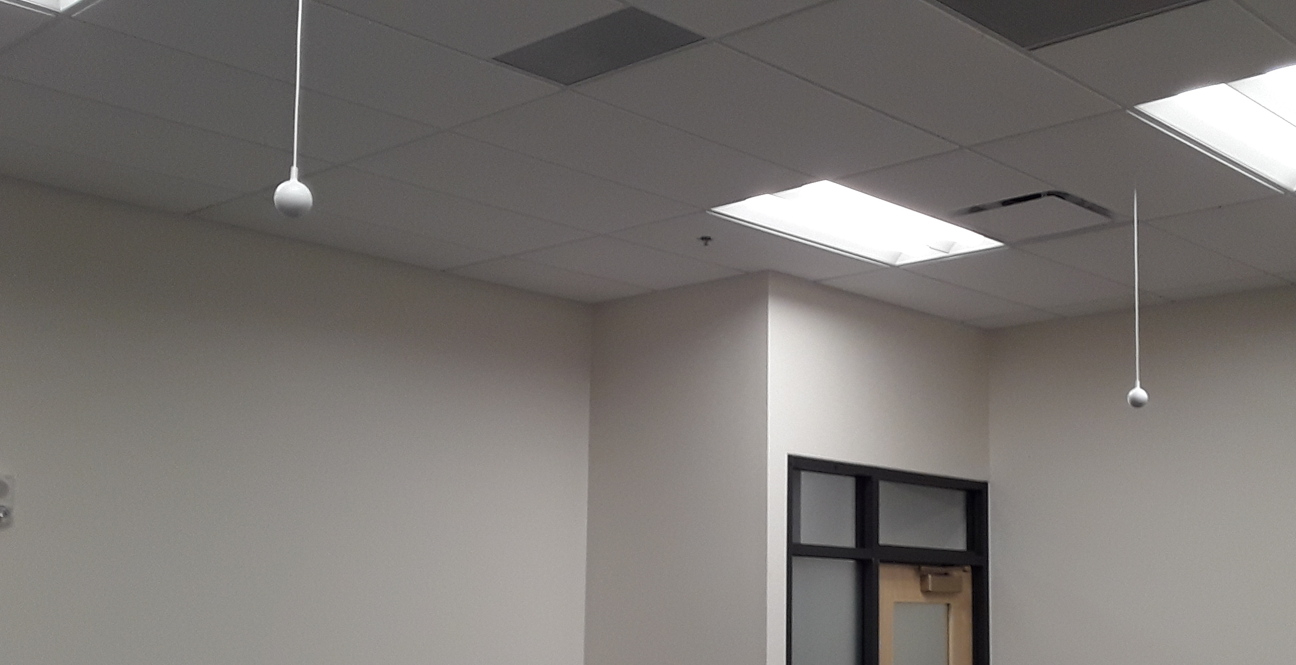
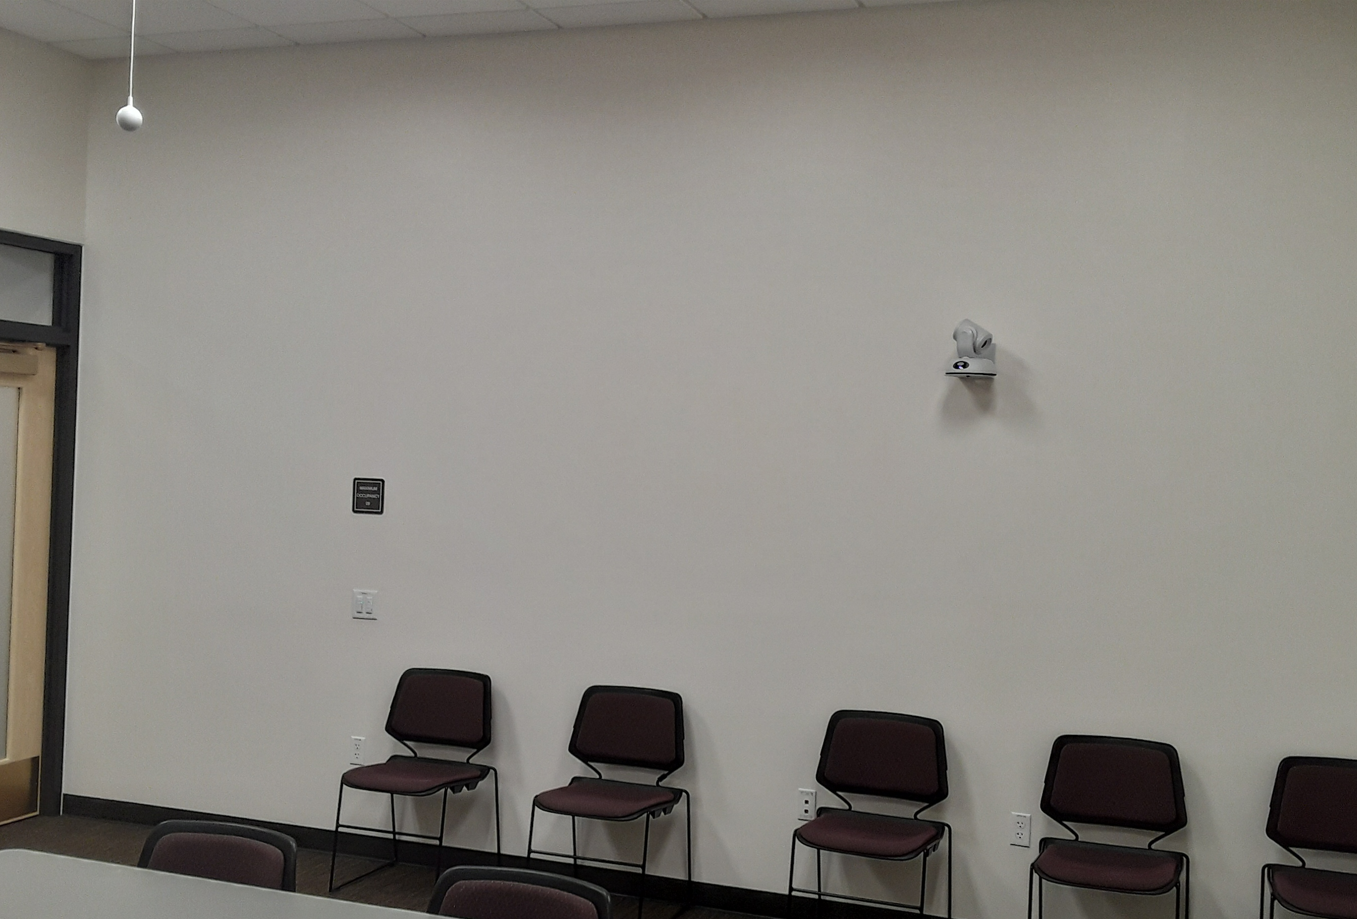
Vaddio microphones for HyFlex System
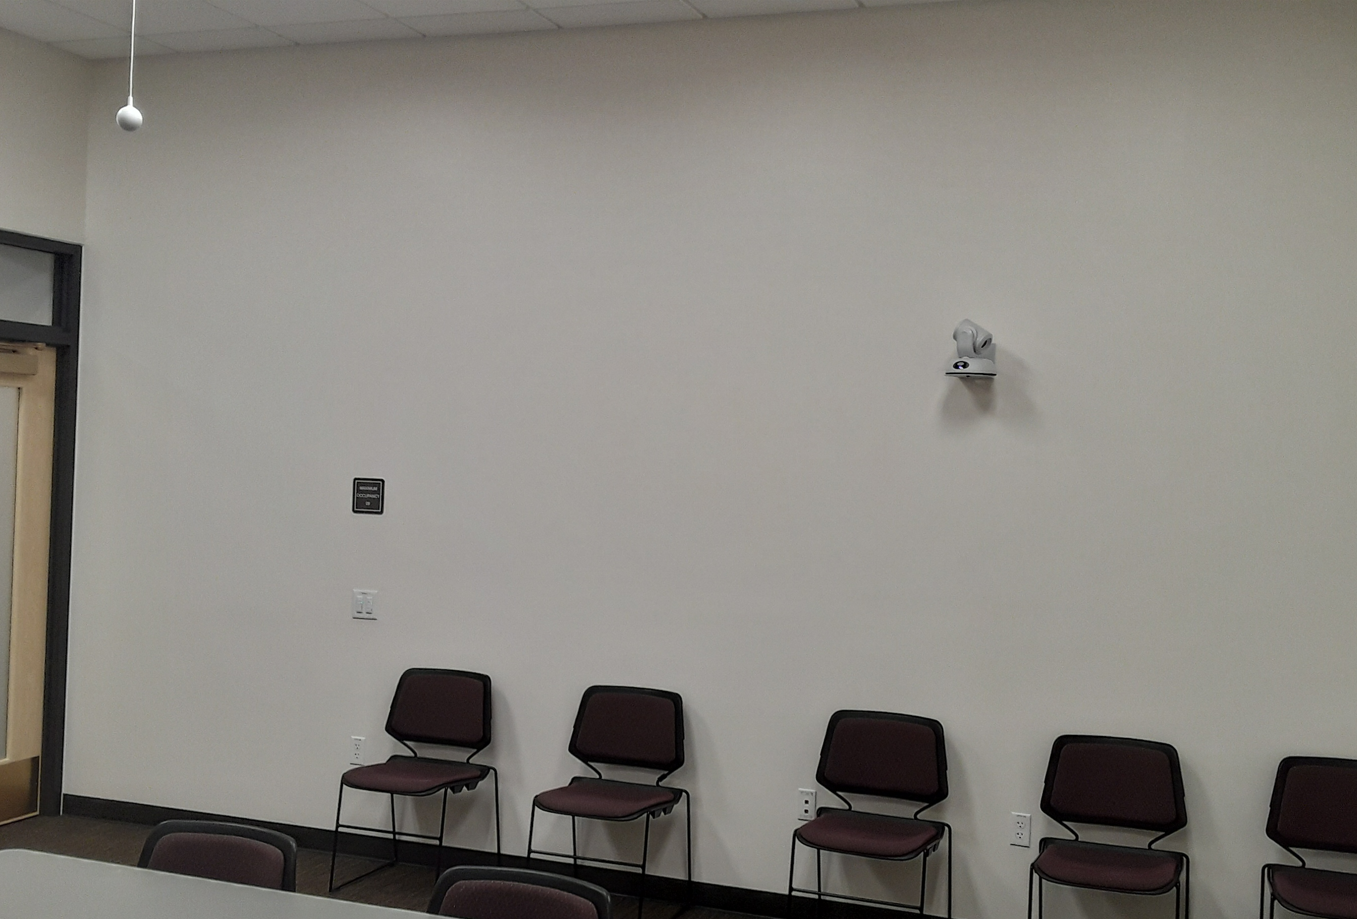 Vaddio camera and microphone for HyFlex System