Table of Contents
Scope
This is a projector-based conference room controlled by a Crestron touch panel.
- Podium PC
- Epson EB-L63OU Projector with mount
- Automatic tension screen
- Crestron touch panel
- Rack system
- DMPS3-4K-150-C
- Crestron AirMedia
- Vaddio/Hyflex VTC System with Camera and Microphones
Controlling the AV System
Using the Touch Panel
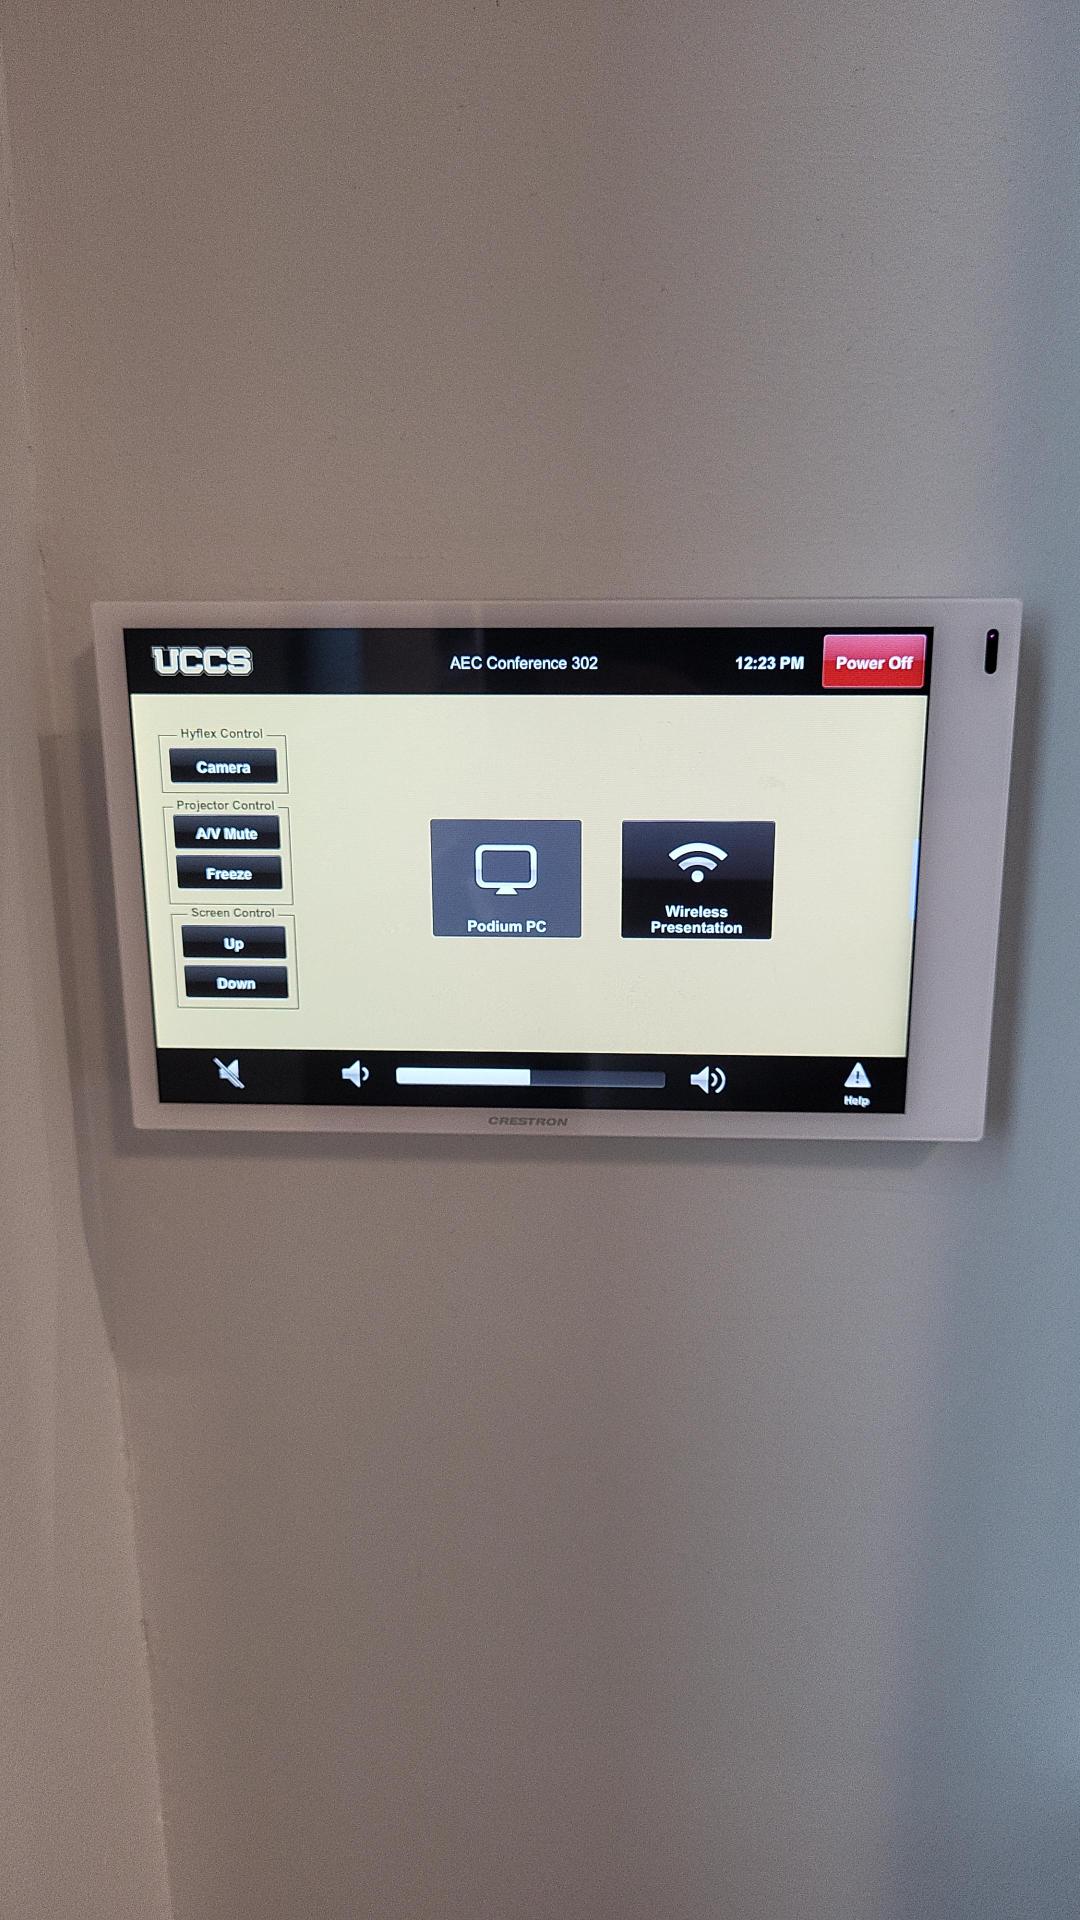
The touch panel controls all AV functionality in the space.
Turning the system on and off
The AV system will power on when pressing the start page on the touch panel. This will turn on the projector, lower the screen, and switch the panel to the main menu page.
To turn the AV system off, press the red Power Off button in the upper right corner. You will have 10 seconds to cancel the power off, then the system will shut down.
Source Selection
To change sources, select the input you would like to send to the projector. You may choose between Podium PC, Laptop, Doc Cam, Wireless Presentation (AirMedia), and Blu-ray.
Volume Control
Volume can be controlled using the volume buttons at the bottom of any page on the touch panel. The raise and lower buttons are on either side of the volume bar and the mute button is located in the lower left corner.
Projector Controls
The projector and screen will automatically power on and off/raise and lower with the system.
Camera Controls
The touch panel also allows the user to adjust the camera position in the room. By pressing the Camera option on the left side of the touch panel, the user can access these controls.
Inputs
Using the Podium PC
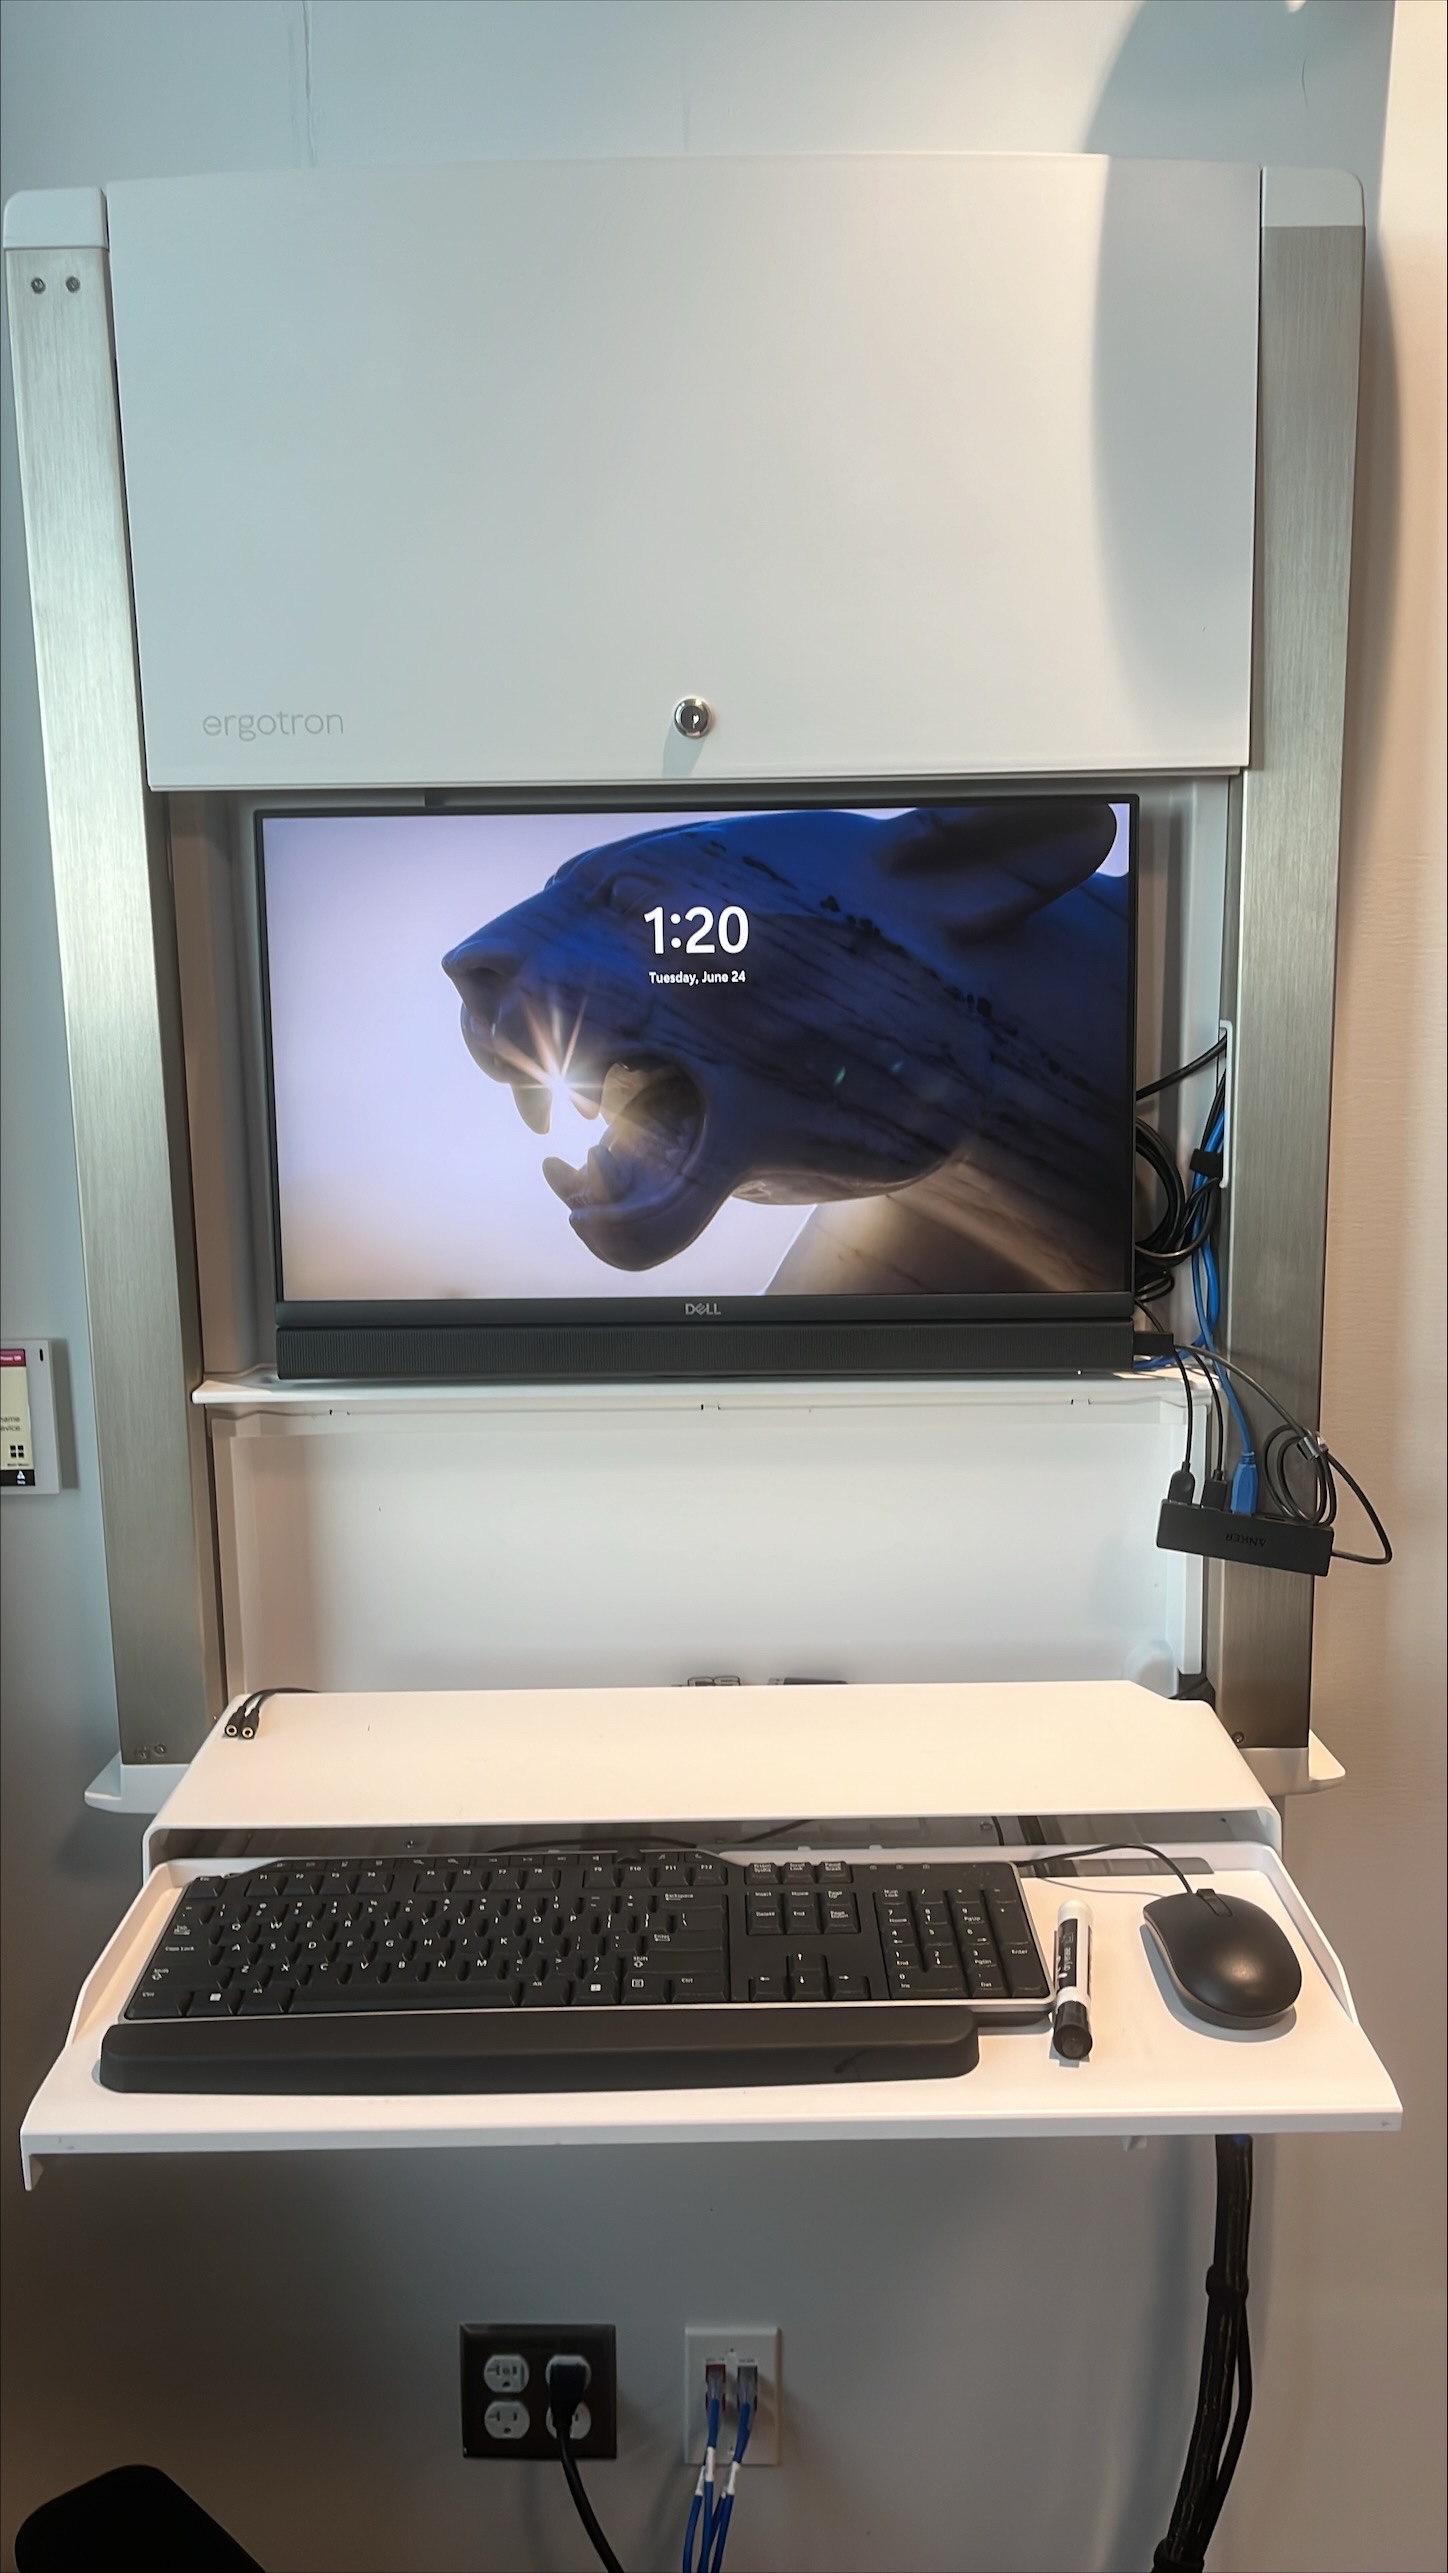
The computer placed on the podium is the primary source for this AV system. This computer runs the same image as all other podium computers in general fund classrooms and labs. You can sign in with your UCCS credentials.
Using Wireless Presentation
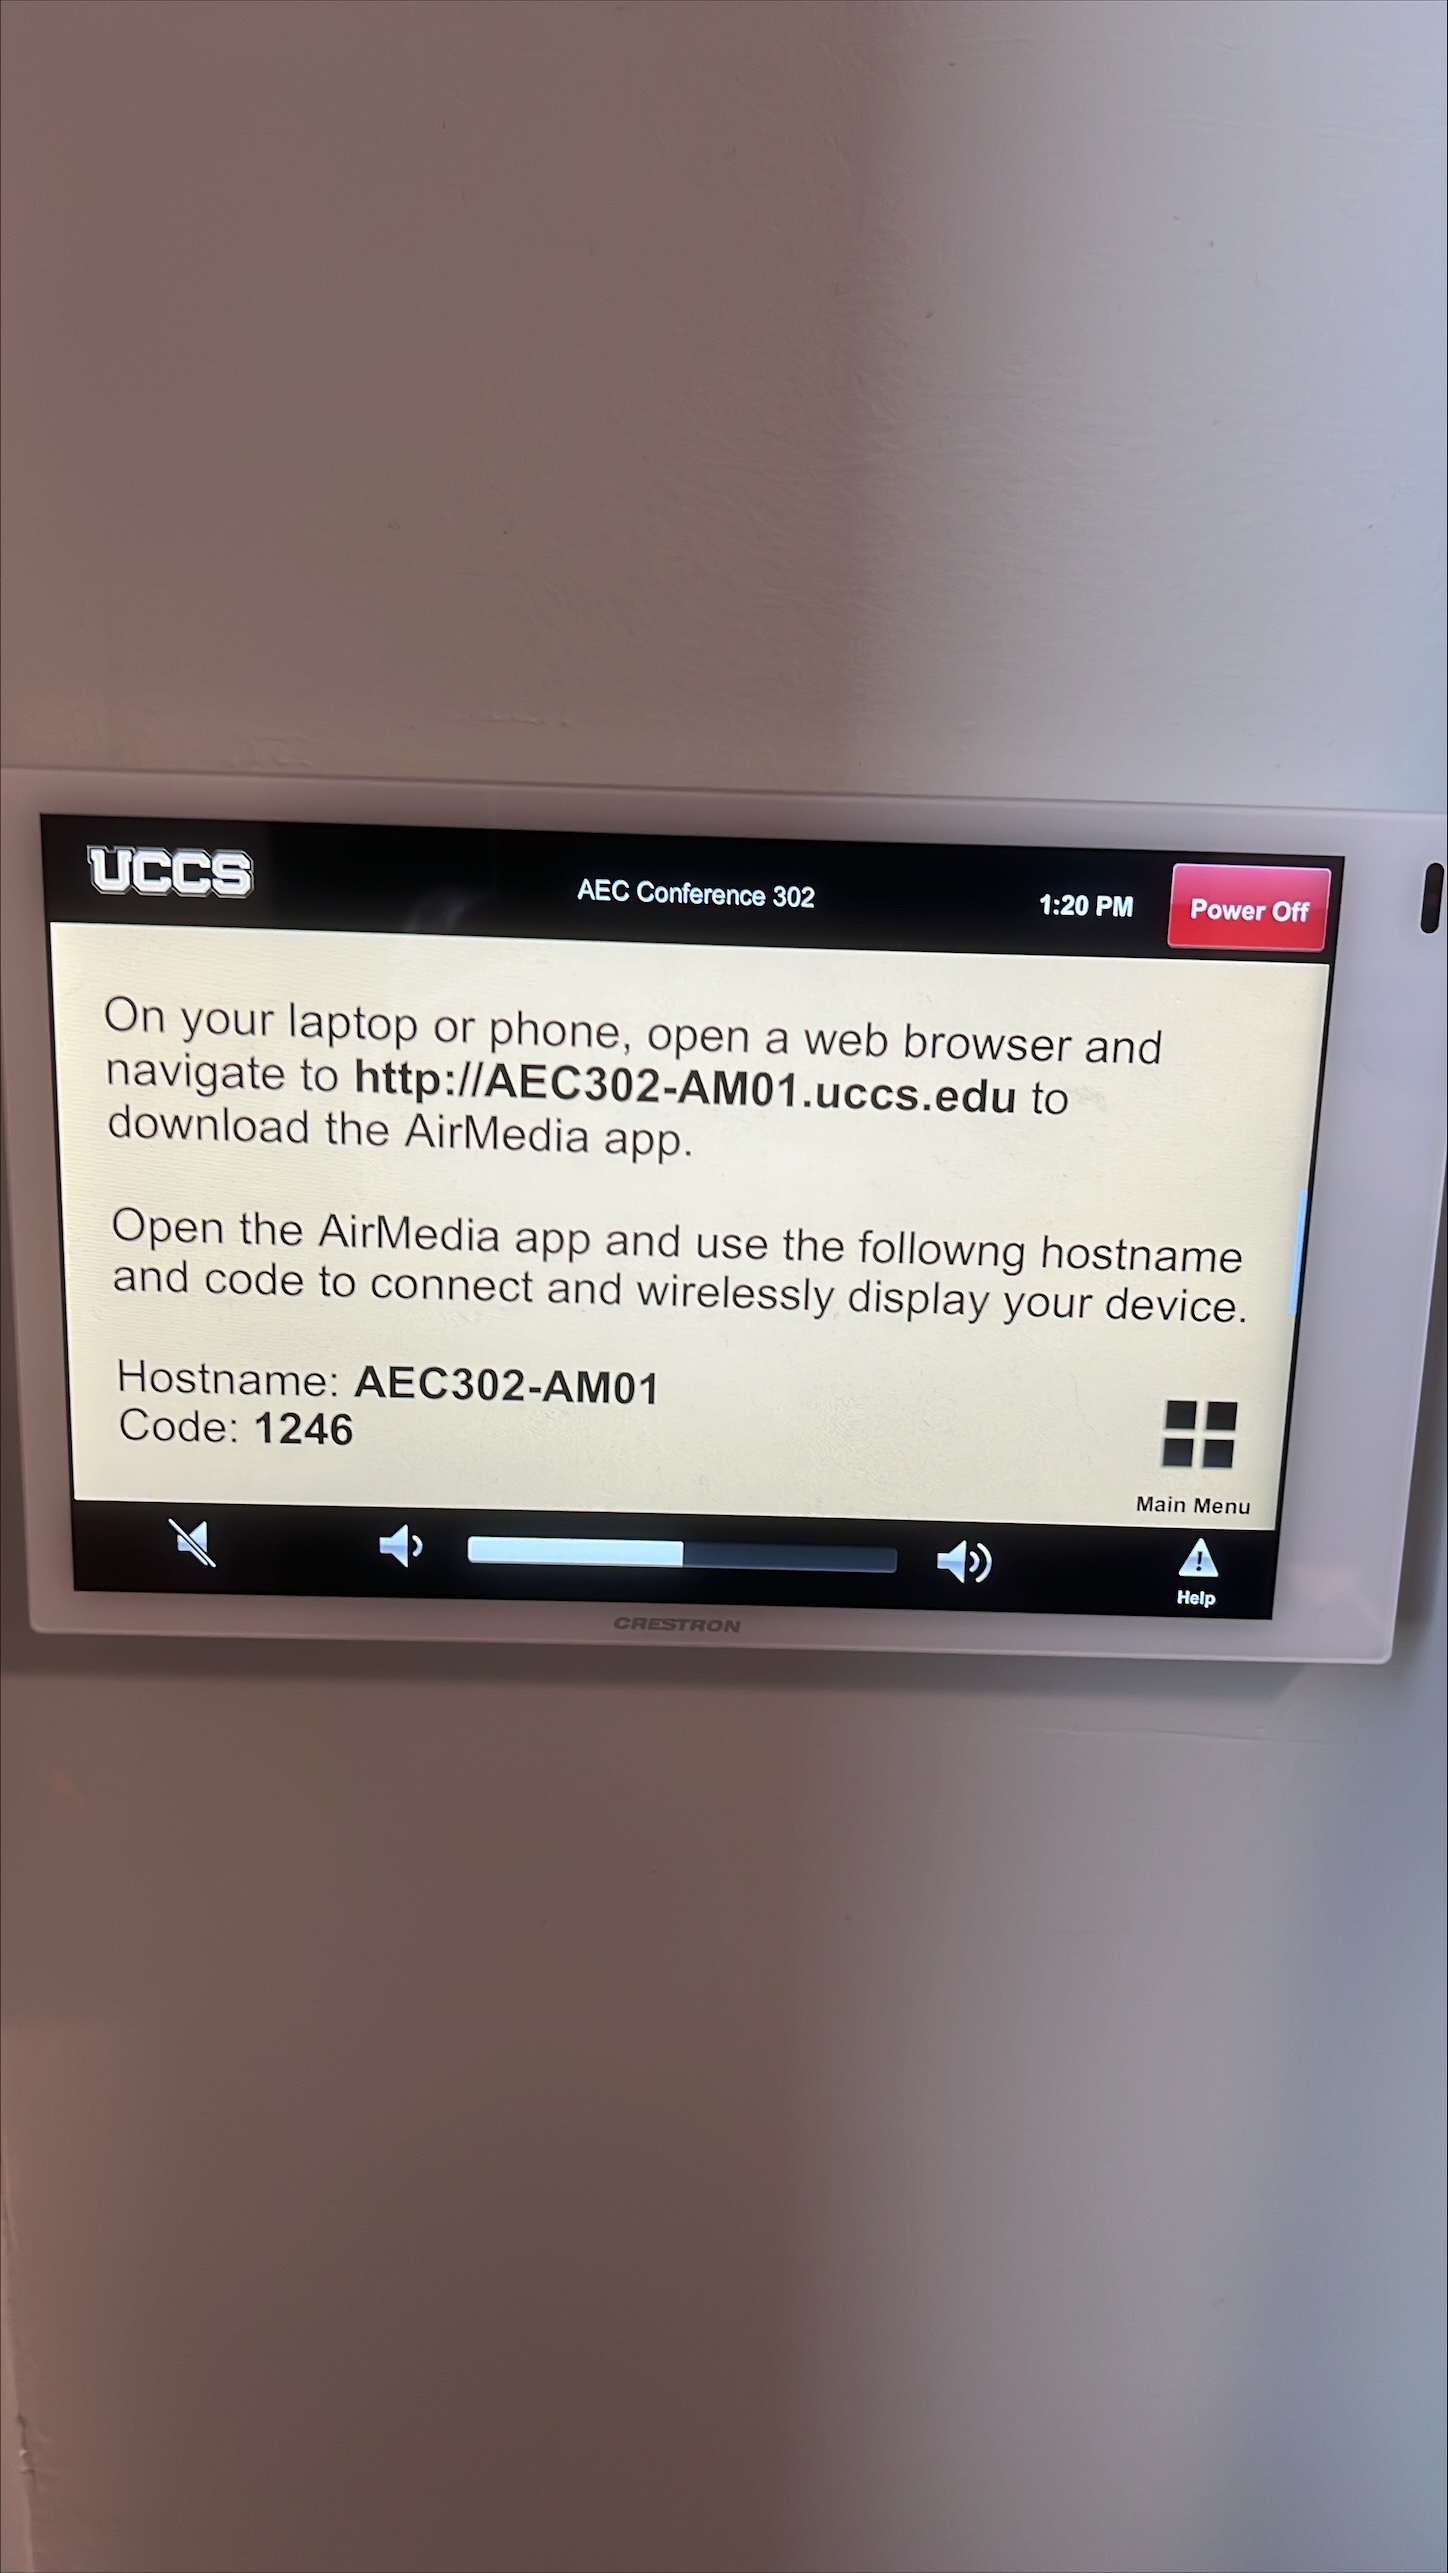
The AirMedia allows for wireless presentation of any device connected to the UCCS-Wireless network.
To connect to the AirMedia:
- Select the AirMedia source on the touch panel
- Open a web browser and enter the address listed on the touch panel or in the lower right corner of the screen
- Follow the instructions on the webpage to download the app to your device
- Enter the IP address and code to connect your device and start presenting
Screen Control
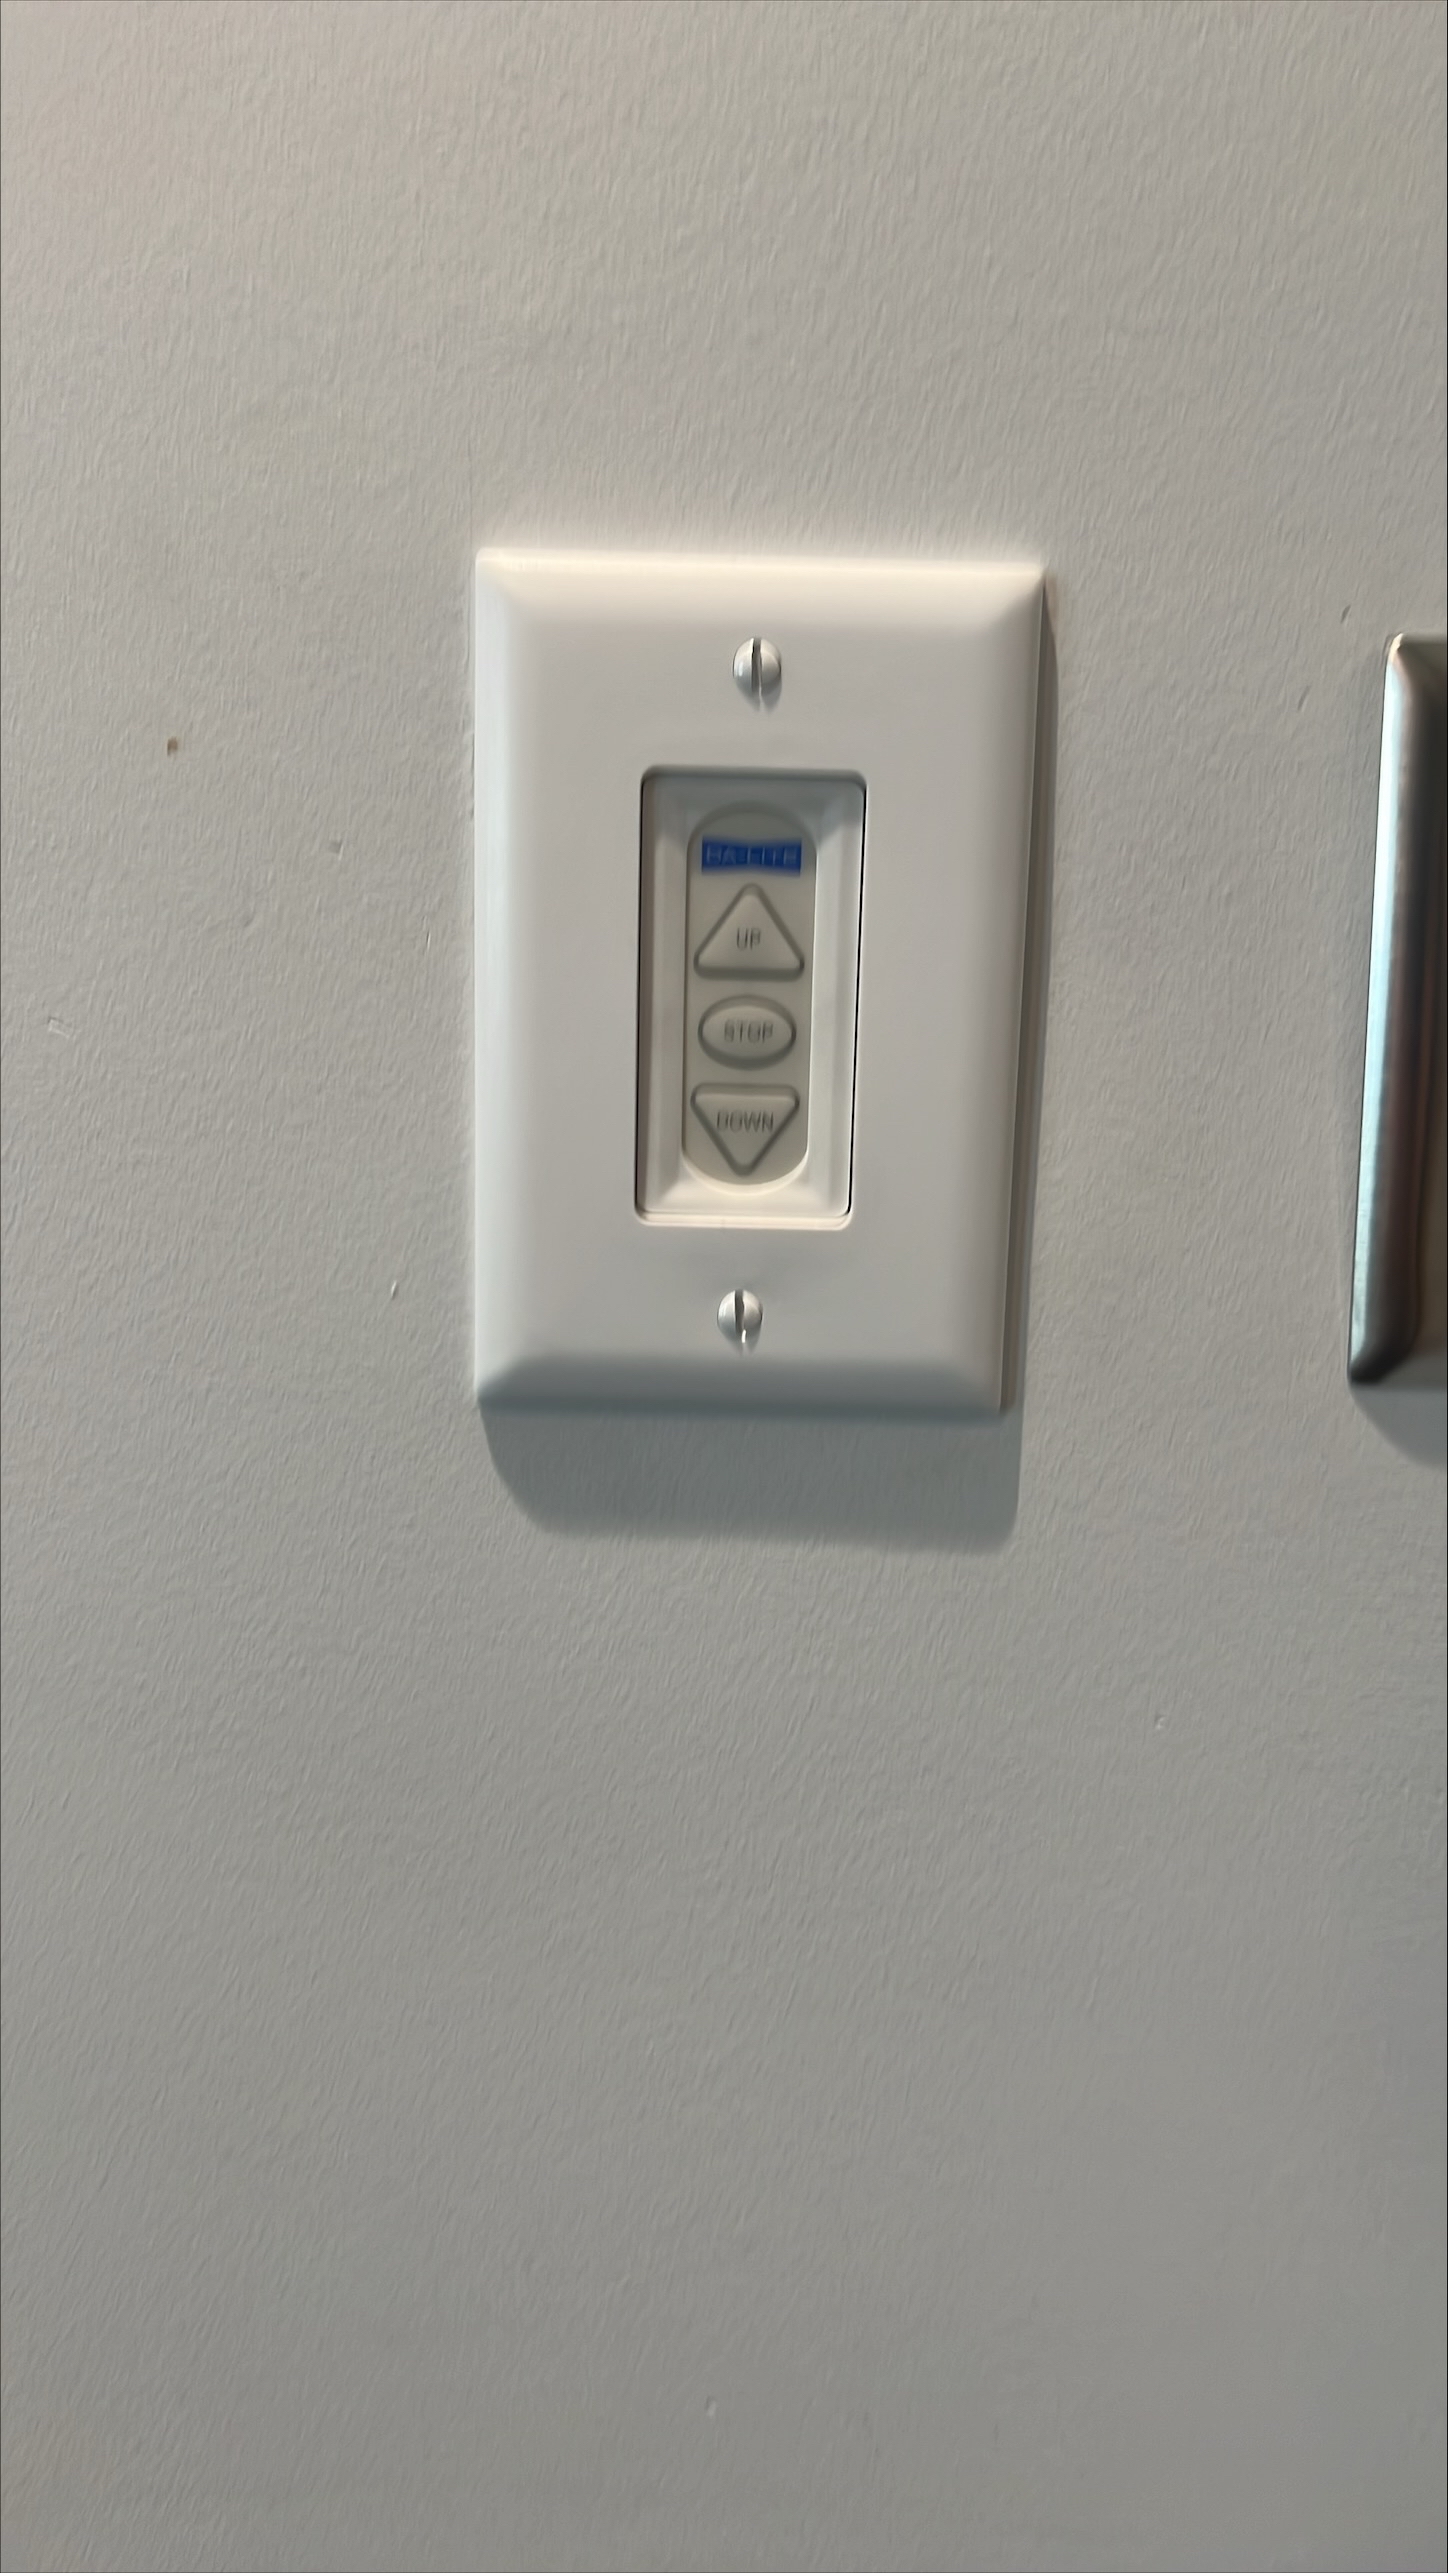
The screen in this room is automatically operated. By turning on the system, the screen should lower. When you turn off the system, it should raise. You can also use the controls on the touch screen and the wall controls as well.
Troubleshooting & Checklist
Audio Issues
Fixing Audio Issues: Standard Crestron Room
Video Issues
Fixing Video Issues: Standard Crestron Room
Vaddio/Hyflex VTC System
Room Specific Issues
This room has no unique equipment or known issues.
Photos
Microphones and Projector
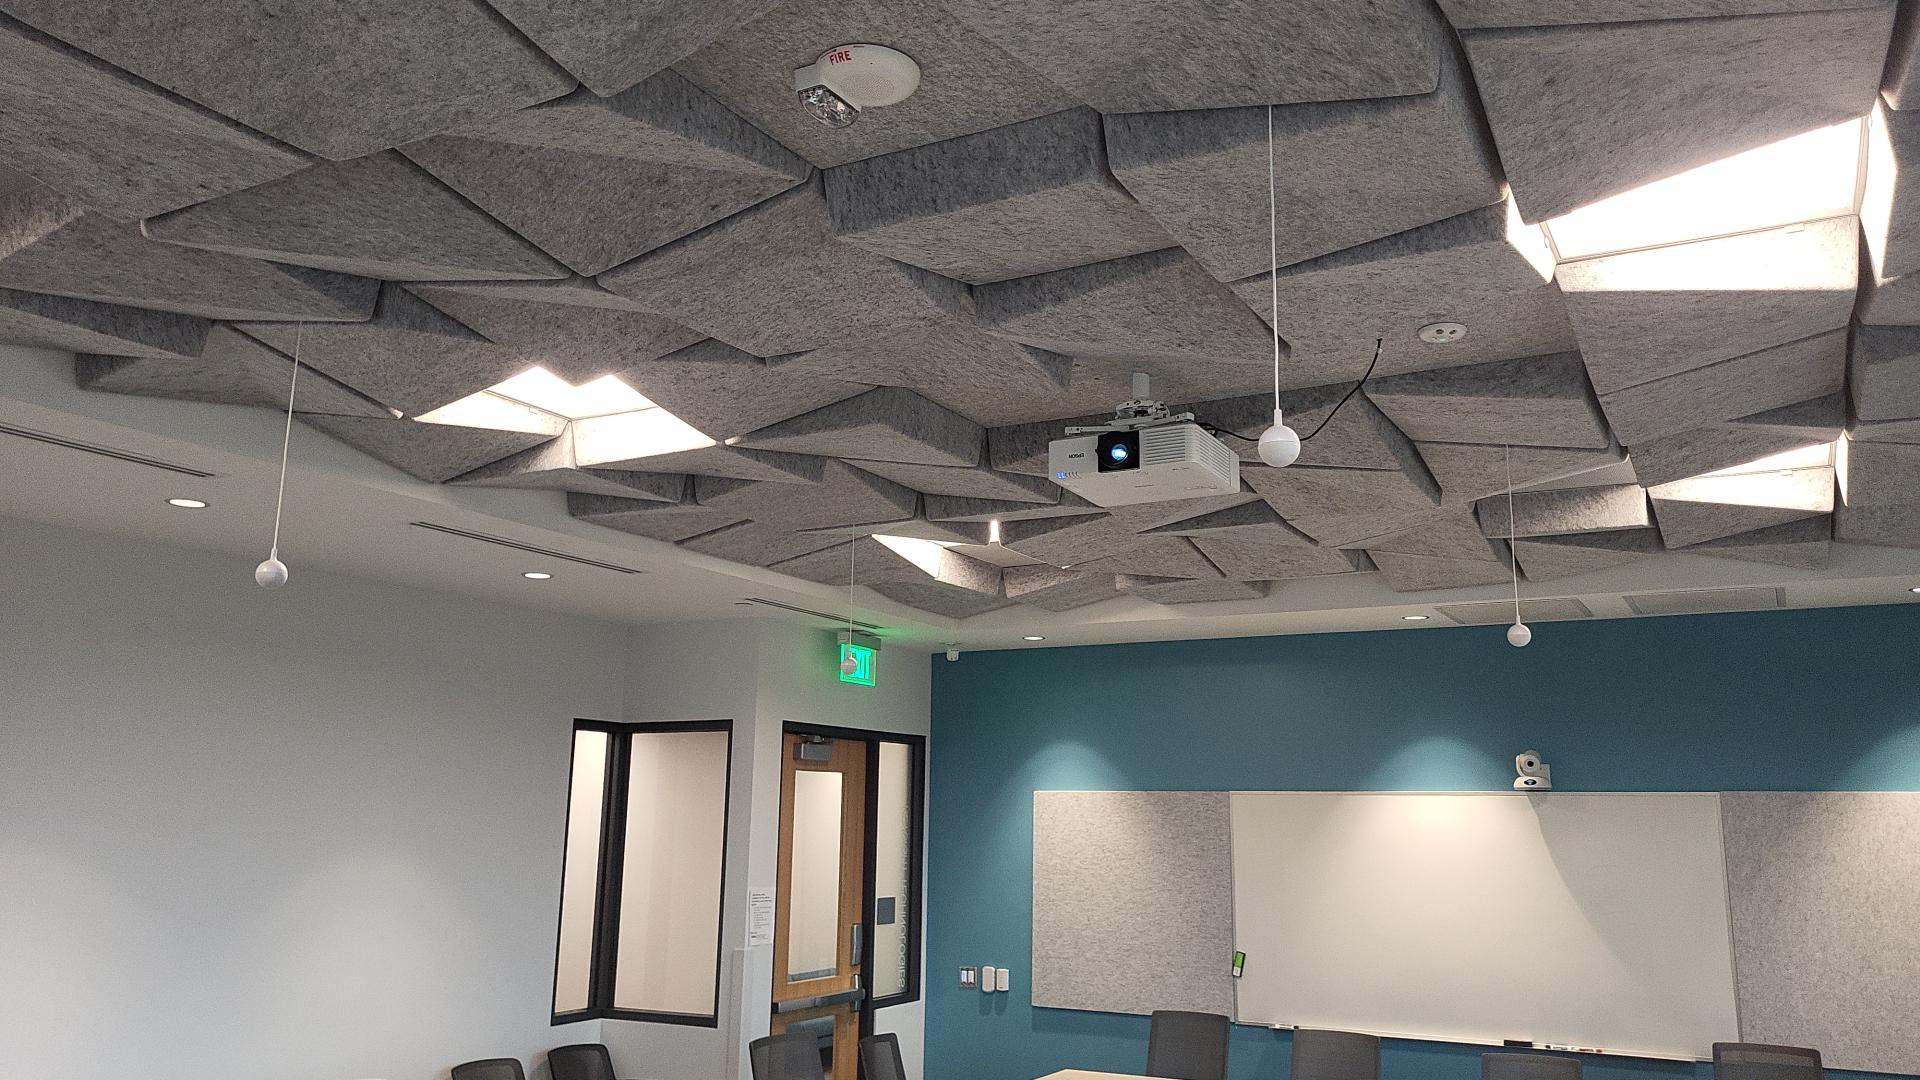
The room has 4 hyflex microphones as well as a EB-L63OU Epson projector.
Hyflex System
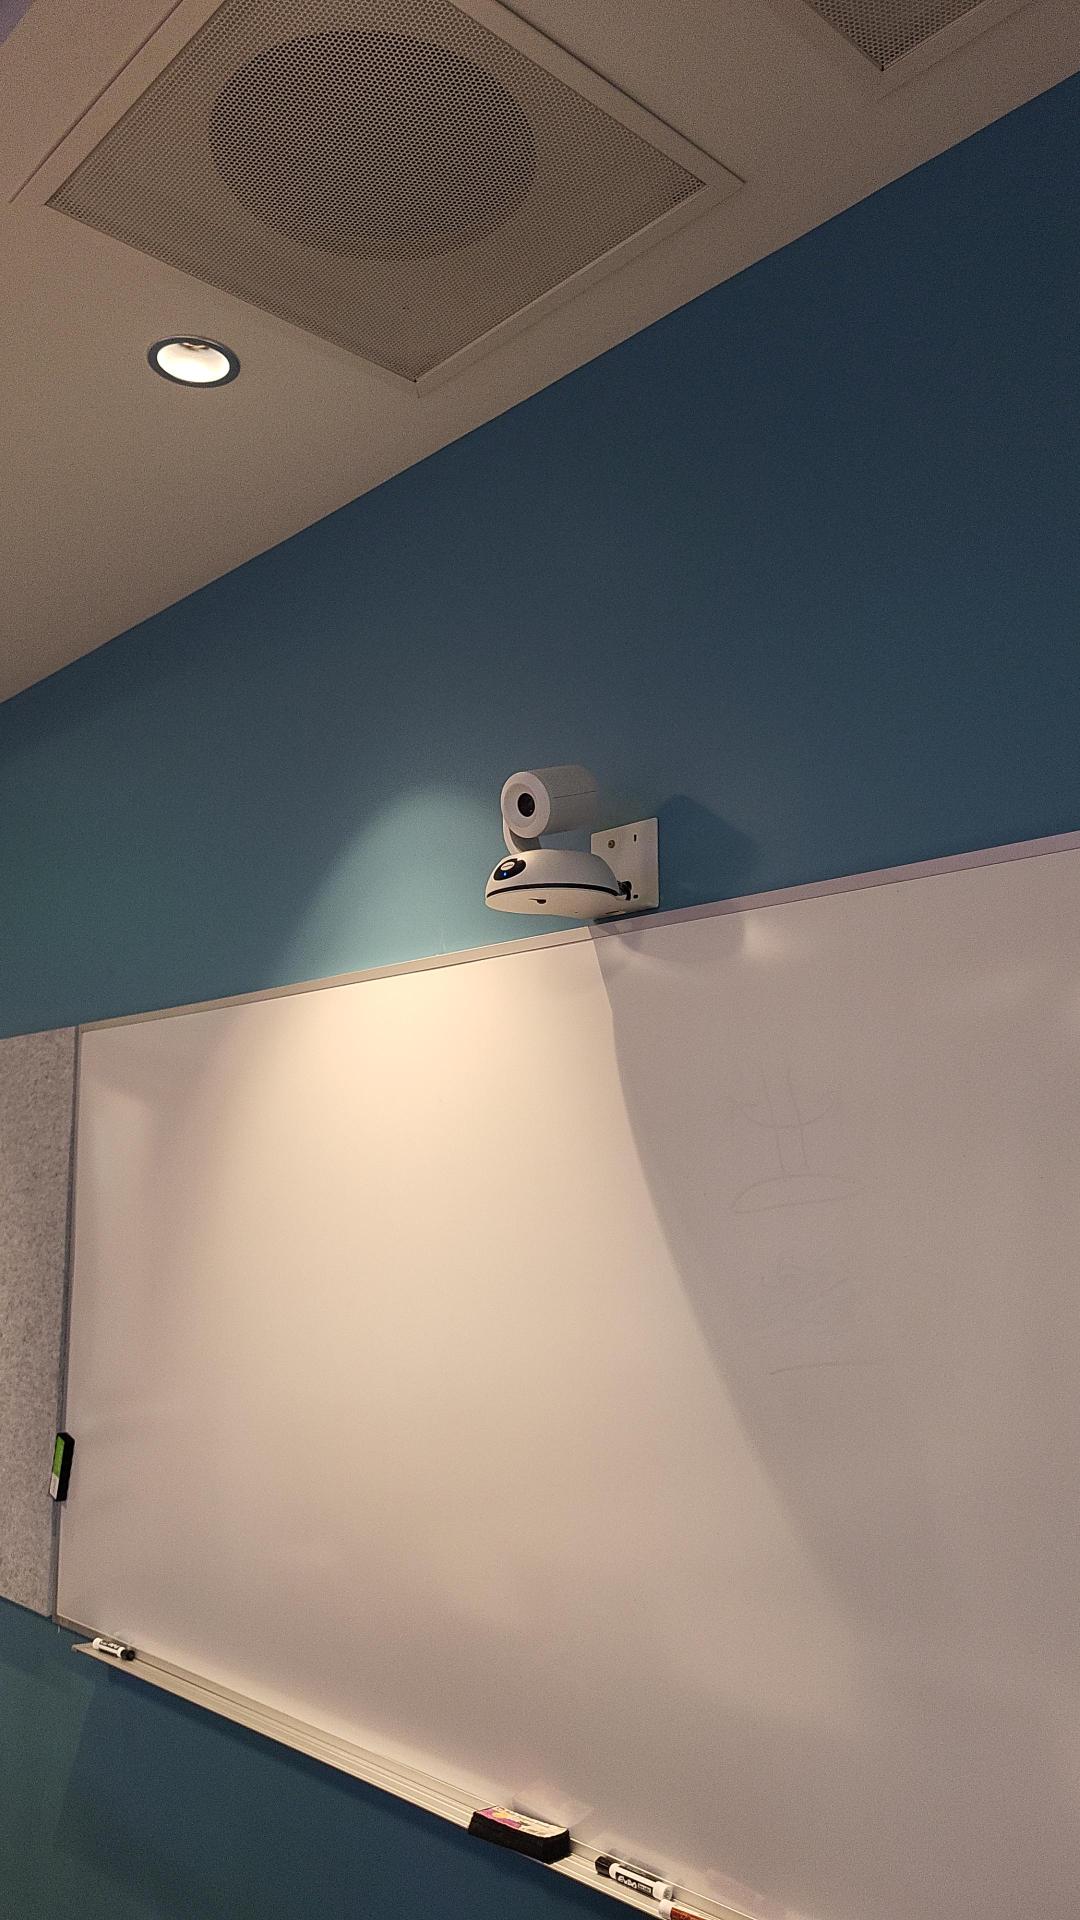
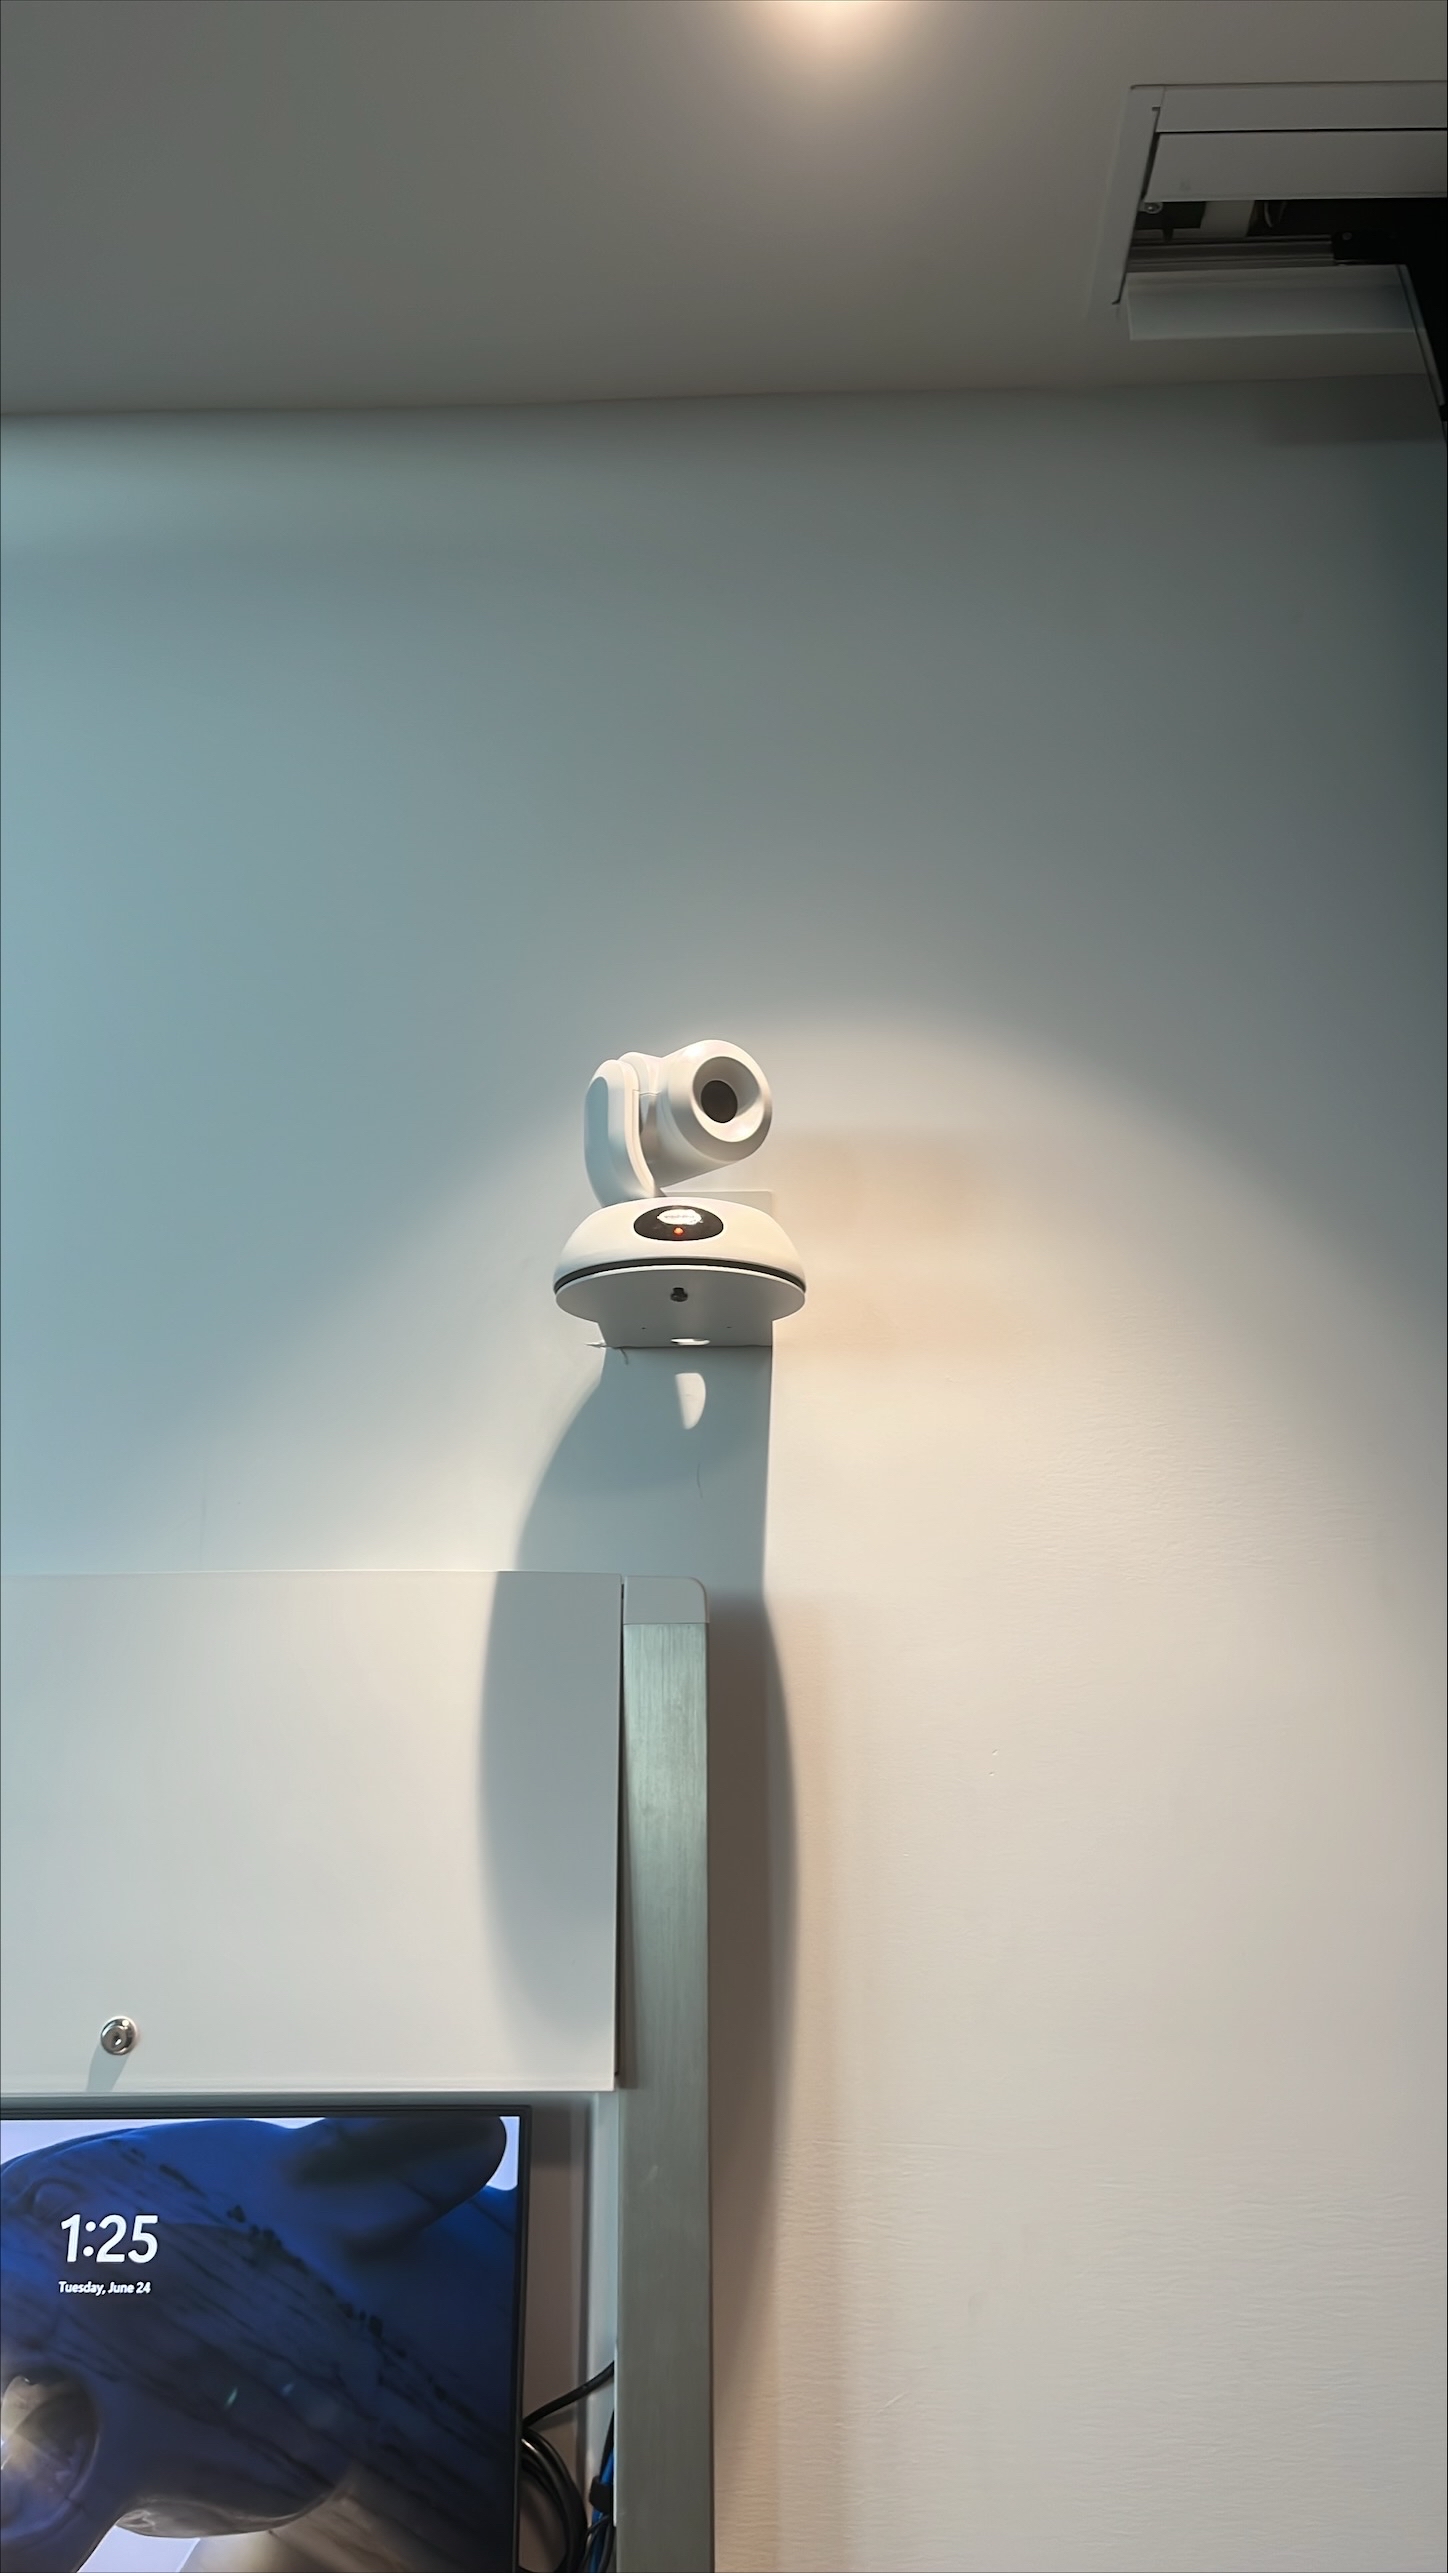
There are 2 Vaddio hyflex cameras in this room. The cameras can be operated and changed on the Crestron touch panel.